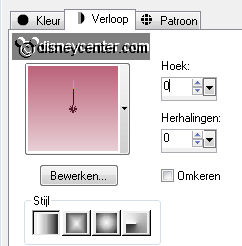
Foreground color #e8ced5 and background color #bb6379
1.
Open new image 700x700.
Fill this with gradient linear - with this setting.
Effects - Penta.com - Dot and Cross - default setting.
2.
Go to selection tool - selection - rounded square.
Pull a square about 490x490.
New raster layer - fill this with the foreground color.
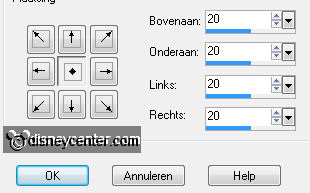
Selections - modify - contract 20.
Click at the delete key of your keyboard.
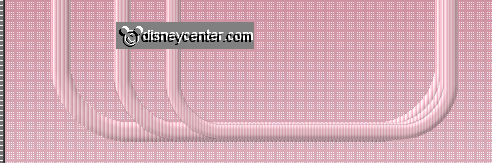
Place this 50 pixels of the left side and the top.
3.
Select the pink border with the magic wand,
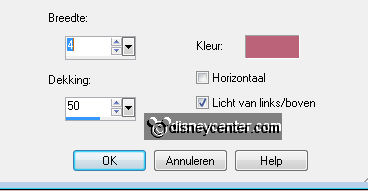
Effects - Texture effects - Blinds - with this setting.
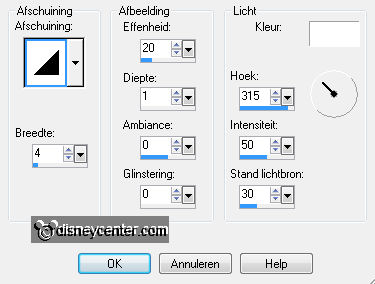
Effects - 3D Effects - Inner Bevel - with this setting.
Selections - select none.
4.
Duplicate this layer - Image - Resize 85% - resize all layers not checked.
Place this at the other one right below.
Duplicate this layer - Image - Resize 85% - resize all layers not checked.
Place this at the other one right below.
Make sure the bottom and right sides are equal.
5.
Activate raster 2 - select inside the square.
Selections - modify - expand 5.
New raster layer - fill this with the gradient from point 1.
Layers - arrange - move down.
6.
Activate copy of raster 2 - select inside the square.
Selections - modify - expand 5.
New raster layer - fill this with the gradient from point 1.Invert checked.
Layers - arrange - move down.
7.
Activate copy(2) of raster 2 - select inside the square.
Selections - modify - expand 5.
New raster layer - fill this with the gradient from point 1. (Invert NOT
checked).
Layers - arrange - move down.
8.
Lock the bottom layer - stay at one of the other layers.
Layers - merge - merge all visible layers.
Unlock the bottom layer.
9.
Copy DVB Easter doodle1 and paste as a new layer.
Place this in the right upper corner.
Duplicate this layer - Image - flip - image - mirror.
Layers - merge - merge down.
Layers - arrange - move down.
10.
Duplicate the doodle merged layer 3 times more (total 4)
Stay at raster 2 - Effects - Xeroflex 2 - Constellation - setting at Bling Bling.
With this setting. - Click OK.
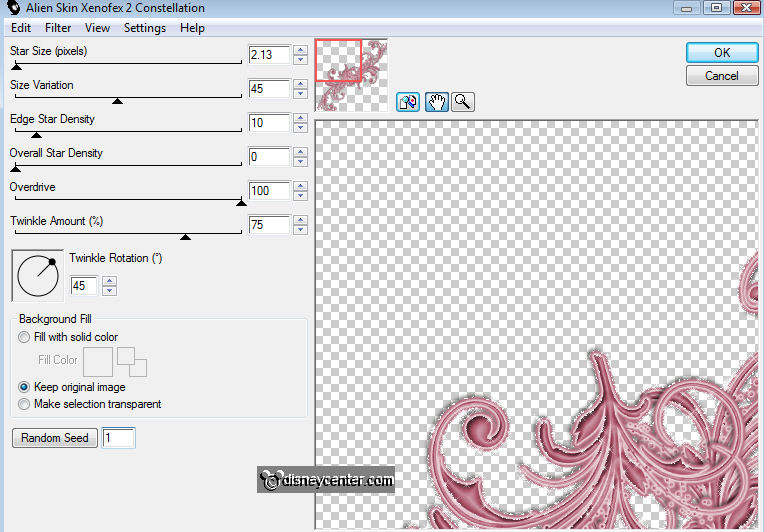
Repeat the Constellation at the other layers of the doodle - click only at random seed.
11.
Copy Disney Easter21 and paste as a new layer.
Image - Resize 85% - resize all layers not checked.
Place this right on the 3 squares. see example.
Effects - Xero - Porcelain - with this setting.

Give the same drop shadow as in point 9.
12.
Go to selection tool - free hand selection - and select the egg from the
basket.
Adjust - Hue and Saturation - Colorize with this setting.
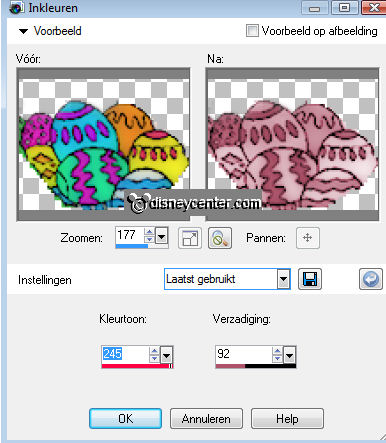
Selections - select none.
13.
Copy bloemhoekje - and paste as a new layer.
Image - flip - place this in the top square.
Effects - Xero - Porcelain - as in point 11.
Give the same drop shadow as in point 9.
14.
Copy Lacarolita Easter Flower8 - and paste as a new layer.
Place this right at the bottom.
Give the same drop shadow as in point 9.
15.
Copy Lacarolita Easter Flower - and paste as a new layer.
Place this at the plant right at the bottom.
Give the same drop shadow as in point 9.
16.
Copy ostern_set3_dekor1 - and paste as a new layer.
Adjust - Hue and Saturation - as point 12.
Give the same drop shadow as in point 9.
17.
Copy flower - and paste as a new layer.
Place this left at the bottom of the 3 squares.
Duplicate this layer - image - Resize 35% - resize all layers not checked.
Place this in the second square -
Give the same drop shadow as in point 9.
Duplicate this 4 more times and place them as in example.
18.
Go to text tool - font CoventryGarden - size 72 -
foreground locked.
Write - Happy - enter - Write Easter - convert to raster layer.
Place this below in the middle. see example.
Give the same drop shadow as in point 9.
19.
New raster layer - put your watermark into the image.
Image - Resize 75% - resize all layers checked.
20.
Image - Canvas size 565x565 with this setting.
New raster layer - Layers - arrange - Send to bottom.
Fill this with the background color.
21.
Selections - select all - selections - modify - contract 20.
Effects - 3D Effects - drop shadow - with this setting.
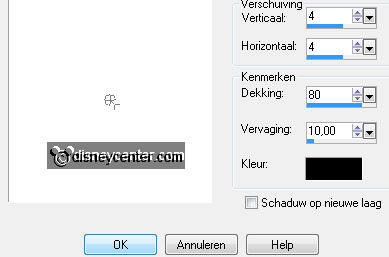
Repeat the drop shadow, but now with -4.
Selections - select none.
22.
Lock the 3 top layers of the doodle.
Stay at the bottom layer (the background color layer)
Edit - copy - copy merged.
23.
Open Animation shop.
Paste as a new animation.
Back in PSP - Lock layer 1 and open layer 2.
Edit - copy - copy merged.
Back in Animation shop - paste after current frame. Make sure the last frame is
always selected.
24.
Back PSP - Lock layer 2 and open layer 3.
Edit - copy - copy merged.
Back in Animation shop - paste after current frame.
25.
Back PSP - Lock layer 3 and open layer 4.
Edit - copy - copy merged.
Back in Animatie shop - paste after current frame.
26.
Animation - resize animation in 525x525.
File - save as - give name - click 3 times at next and than at finish.