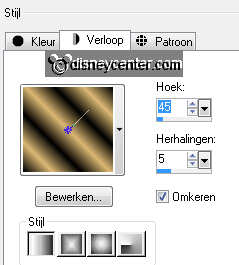
Foreground color #dbb873 and background color black
1.
Open new transparent image 800x600.
Fill this with gradient linear - with this setting.
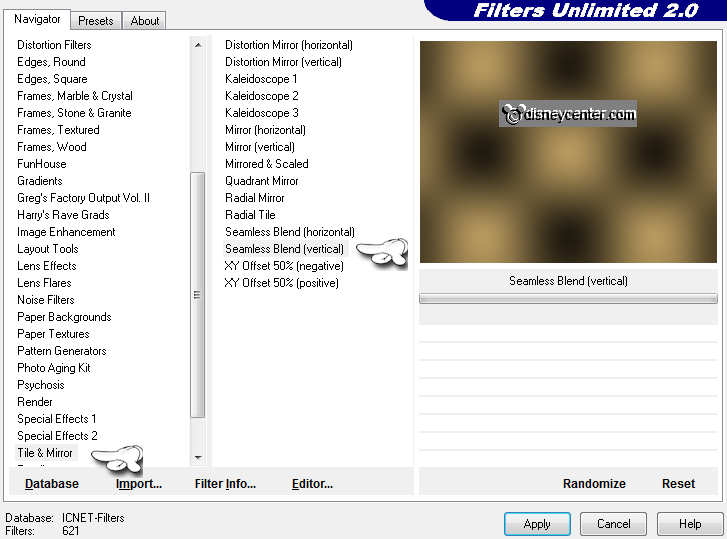
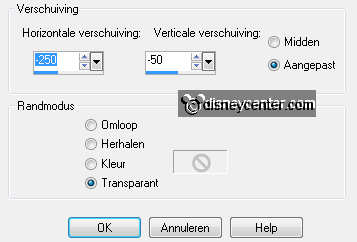
Effects - Filter Unlimited 2.0 - Tile & Mirror - Seamless Blend
(Vertical) - with this setting.
Duplicate this layer - Image - mirror - set the opacity at 50.
Layers - merge - merge down.
2.
Copy HNY and paste as a new layer on the image.
Effects - VM Distortion - Radiator - with this setting.
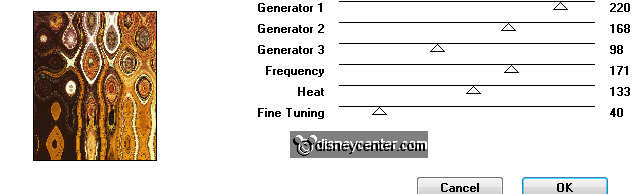
set the opacity at 10
Effects - Edge Effects - enhance.
Layers - merge - merge down.
3.
Go to selection tool - custom selection - with this setting.
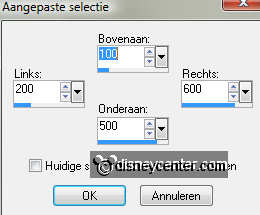
New raster layer - fill this with the foreground color.
Selections - modify - select selection borders - with this setting. .
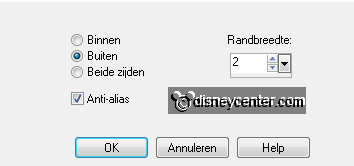
Fill this with color black
Selections - select none.
4.
Select the yellow square with the magic wand.
Copy HNY and paste into selection.
set the opacity at 35.
Selections - select none
5.
Make the bottom layer active.
Copy emmyrand2012 and paste as a new layer on the image.
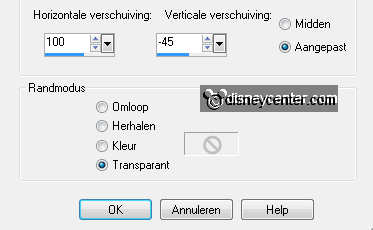
Effects - Image Effects - Offset - with this setting.
Duplicate this layer - Image - Flip - Image -
Mirror.
Layers - merge - merge down.
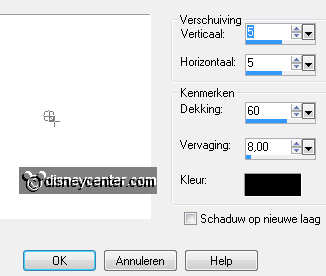
Effects - 3D Effects - drop shadow - with this setting.
6.
Copy Emmy_glitterbgr and paste as a new layer on the image.
Image - free rotate - 45 right.
Layers - arrange - move down.
7.
Make the top layer active.
Copy Emmy2012 and paste as a new layer on the image.
Give the same drop shadow as in point 5.
Place this in the middle at the top.
8.
Copy micfeest and paste as a new layer on the image.
Image - resize 90% - all.
Effects - Image Effects - Offset - with this setting.
Duplicate this layer - stay at the copy layer.
9.
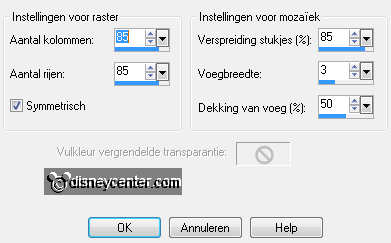
Effects - texture effects - Mosaic-Antique - with this setting.
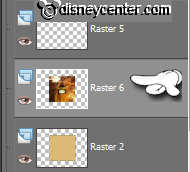
Layers - arrange - send to bottom -
Layers - arrange - move up.
Make the original tube layer active. (raster7)
Give the same drop shadow as in point 5.
10.
Copy glaschamp and paste as a new layer on the image.
Place this right at the bottom. see example.
Give the same drop shadow as in point 5.
Duplicate this layer and place this left of the glass and a little
down.
11.
Copy Emmyschaal and paste as a new layer on the image.
Place this for the glasses. see example.
Give the same drop shadow as in point 5.
12.
Make raster 6 active.
Copy vuurwerk11-12 and paste as a new layer on the image.
Place this in the left upper corner.
Duplicate this layer - image - mirror.
Layers - merge - merge down.
13.
Duplicate this layer - image - flip.
Slide them against each other (Make sure it is seamless)
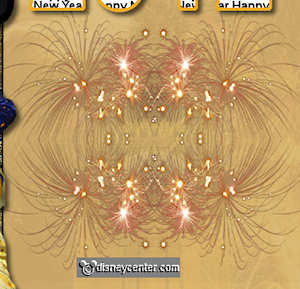
Layers - merge - merge down.
Set the opacity of this layer on 35.
14.
Make the top layer active.
Copy Emmyklok and paste as a new layer on the image.
Image - resize 125% - all layers not checked.
Give the same drop shadow as in point 5.
15.
New raster layer - put your watermark into the image.
Image - add border - symmetric - 2 pixels - color black.
Image - add border - symmetric - 25 pixels - foreground color.
16.
Select the border with the magic wand - fill this with the
gradient from point
1.
Selections - select none.
Image - add border - symmetric - 2 pixels - color black.
Image - resize 75% - all layers checked.
17.
Edit - copy - Open animation shop.
In AS - paste as a new animation.
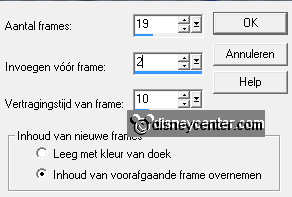
Animation - Insert Frames - Empty - with this setting.
Edit - select all.
18.
Open animation allerlei272 - Edit - select all.
Copy - paste on the image - into selected frames.
Place this in the right upper corner.
Paste (stays still in memory) into selected frames and as many
times you like.
I have done it 4 times.
File - save as - give name - click 3 times at next and than at
finish.