2014
1.
File - open new transparent image 800x500.
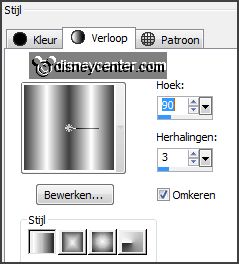
Set in the material palette the foreground color at white
and the background color at
#404040.
Make from the foreground a gradient linear - with this setting.
2.
Activate flood fill tool - fill the layer with the gradient.
Adjust - blur - Gaussian blur - radius 15.
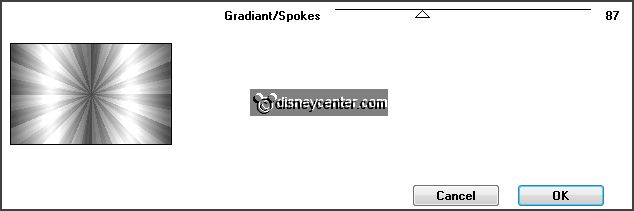
Effects - plug-ins - Tramages - Gradient/Spokes Ratio Maker - with this setting
- click OK.
Effects - plug-ins - Simple - Diamonds.
Effects - plug-ins - Simple - Half Wrap.
Effects - plug-ins - Simple -
4 Ways Average.
Effects - plug-ins
- FM Tile Tools - Blend Emboss -
with this setting -
click Apply.

3.
Layers - new raster layer.
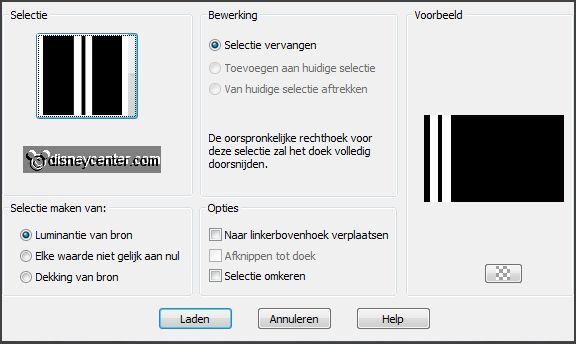
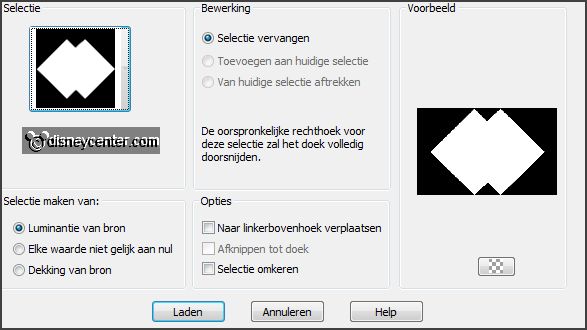
Selections - load/save selection - load selection from disk- look
Emmy2014-1 -
with this setting.
Effects - plug-ins - Alien Skin Eye Candy 5 Impact - Glass -
click at
Settings - User Setting - click at Emmy2014 - click OK.
Selections - select none.
Layers - duplicate.
Image - mirror.
Layers - merge - merge down.
4.
Layers - new raster layer.
Selections - load/save selection -
load selection from disk- look Emmy2014
-
with this setting.
Fill the selection with the background color.
Selections - modify - contract 20 pixels.
Let selection stay.
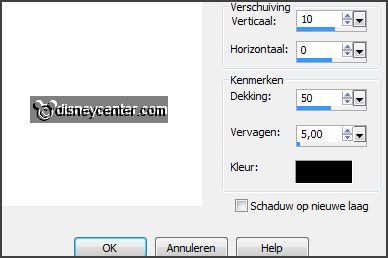
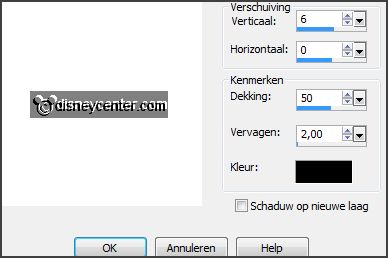
Effects - 3D Effects - drop shadow -
with this setting.
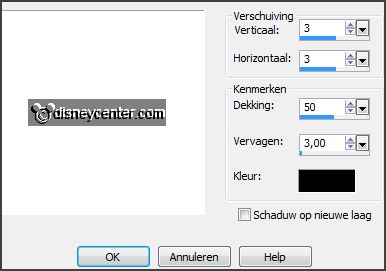
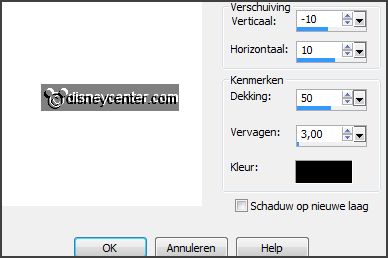
Repeat the drop shadow - now with vert. and horz. -3.
Selections - modify -
contract 20 pixels.
Repeat the drop shadow -
setting is right
Repeat the drop shadow -
now with vert.
and horz. op 3.
Click at the delete key.
Selections - select none.
5.
Effects - Geometrics Effects - Perspective Horizontal -
with this setting.
Objects - Align - right.
Layers - duplicate.
Layers - arrange - move down.
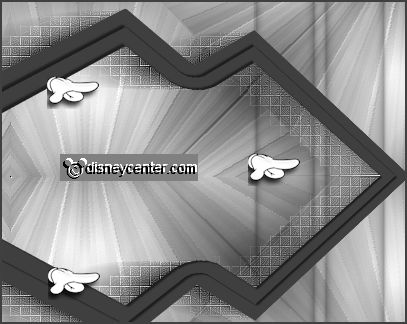
6.
Effects - Distortion effects - Wind -
with this setting.
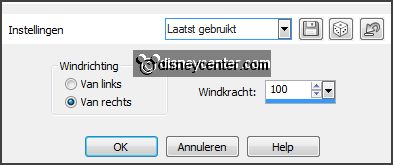
Repeat wind - mow from left - wind strength 100.
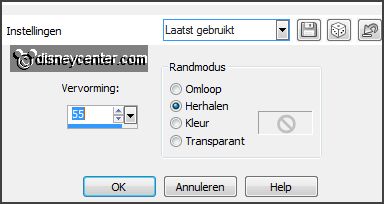
Effects - Distortion
effects - Pixelate -
with this setting.
Effects - Edge effects - enhance more.
Effects - Edge effects - enhance.
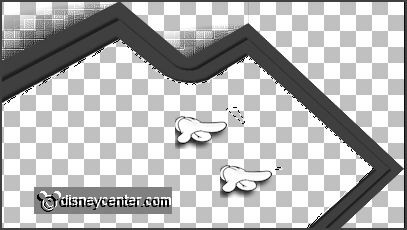
7.
Activate eraser tool and erase inside of the frame .
Activate the top layer.
Layers - merge - merge
down.
8.
Lock the 2 bottom layers.
Activate the magic wand -
with setting below
and select in the middle of the frame.

If you have selected and you see this below - then go further with red.
Do you not have this, then continue with black
.
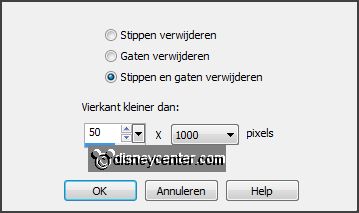
Go then to selections - modify - Remove Specks and Holes
-
with this
setting.
Selections - modify - expand 10 pixels.
9.
Activate the image skyline - edit - copy.
Edit - paste as a new layer on the image.
Activate move tool - move the image to the right.
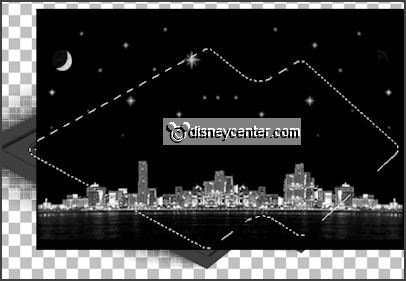
Selections - invert - click at the delete key.
Selections - select none.
Layers - arrange - move
down.
10.
Activate the top layer.
Activate the tube decoEmmy3 -
edit - copy.
Edit - paste as a new layer on the image.
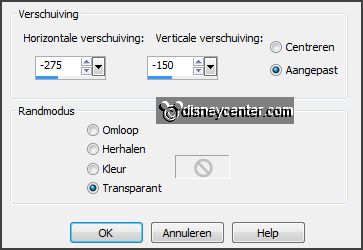
Effects - Image effects - offset -
with this setting.
Layers - duplicate.
Image - flip.
Layers - merge - merge
down.
11.
Activate the tube micsmoking -
edit - copy.
Edit - paste as a new layer on the image.
Move a little to the lefts - see example.
Effects - 3D Effects -
drop shadow -
with this setting.
12.
Activate the tube champagne.
Image - Greyscale.
Edit
- copy.
Edit - paste as a new layer on the image.
Move this right at the bottom -
see example.
Effects - 3D Effects -
drop shadow -
with this setting.
13.
Activate the tube oliebollen1.
Image - Greyscale.
Edit
- copy.
Edit - paste as a new layer on the image.
Slide it to the right at the bottom for the champagne - see example.
Effects - 3D Effects -
drop shadow -
with this setting.
14.
Activate the tube Cluster 1 -
edit - copy.
Edit - paste as a new layer on the image.
Place above the tube oliebollen - see example.
Layers - arrange - move
down.
Activate the top layer.
Layers - merge - merge
down - and 1 more time.
15.
Set in the material palette the foreground back to color and the background to
black.
Activate text tool -
with this setting.

Write - 2014 - convert to raster layer.
Effects - 3D Effects -
drop shadow -
with this setting.
Place this at the top right - see example.
16.
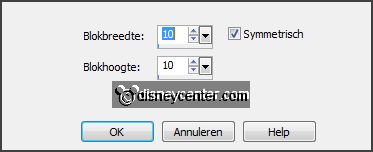
Change the font size in 36.
Write - Happy -
convert to raster layer.
Write - New -
convert to raster layer.
Write - Year -
convert to raster layer.
Layers - merge - merge
down - and 1 more time.
Effects - 3D Effects -
drop shadow - setting is
right
Place this left in the middle - see example.
17.
Activate the bottom layer.
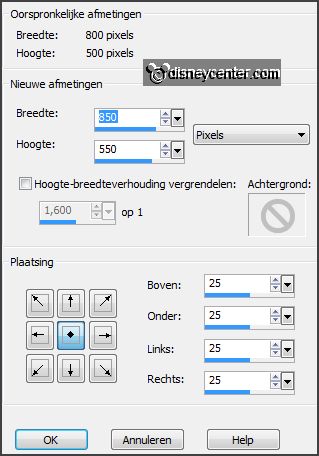
Image - canvas size -
with this setting.
Layers - new raster layer.
Set in the material palette the background to #404040.
Fill the layer with the background color.
Layers - arrange - move
down.
18.
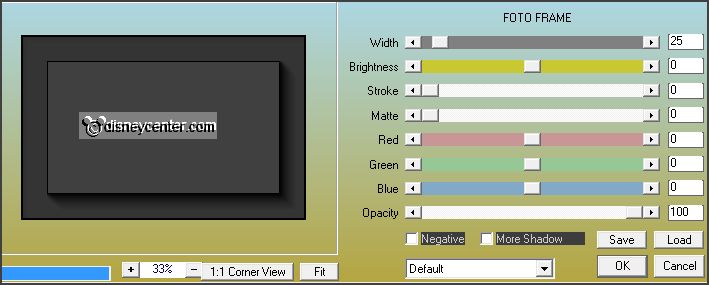
Effects - plug-ins - AAA Frames - Foto Frame -
with this setting
- click OK.
Layers - new raster layer.
Selections - select
all.
Fill the selection with the foreground color.
Selections - modify -
contract 2 pixels - click at
the delete key.
Selections - select none.
19.
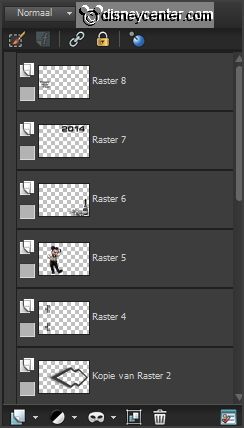
Move now raster 6 a little down.
Layers - new raster layer -
put your watermark into the image.
Lock the layer below and activate the bottom layer.

20.
Layers - merge - merge all visible layers.
Open all layers and lock the bottom layer.
Activate the layer above.
Layers - merge - merge all
visible layers.
Re-name this layer - merged1.
Open the bottom layer - edit - copy.
21.
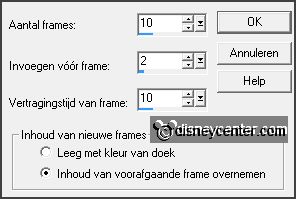
Open Animation Shop - paste as a new animation.
Animation - Insert frames - Empty frames -
with this setting.
22.
Open animation allerlei 272 - edit - select all.
Edit - copy.
Edit - paste in selected frames of the image.
Place this left on the skyline.
Paste in selected frames - place
this in the middle of the skyline - slightly higher.
Paste in selected frames frames - place
this right of the skyline slightly lower.
23.
Back in PSP.
Activate merged1 - edit - copy.
24.
In AS -
paste as a new animation.
Animation - Insert frames -
Empty - with
this setting.
Edit - copy.
Paste in selected frames frames - place
the frame exactly on the skyline.
25.
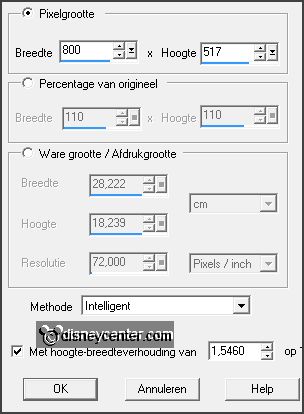
Animation - resize format of animation -
with this setting.
File - save as - give name - click 3 times at next
and than at finish.
Ready is the tag
I hope you like this tutorial.
greetings Emmy

