
This
Tutorial is copyrighted to the Tutorial Writer, © Emmy Kruyswijk 2009.
This Tutorial
may
not be forwarded, shared or otherwise placed on any Web Site or group without written
permission from
Emmy Kruyswijk
Do you want to link my lessons?
Please send
me a mail.
Materials:
Download
here
3
tubes, masker Nik-Thomm2,
filters: Bordermania -
frame#2, Penta.com - Dot and Cross, MuRa's Meisters - Copies,
Put the plug-ins in the folder plug-ins, and the mask in the
folder mask.
Daisy, Donald Strawberries.
1. Open new image 700x700
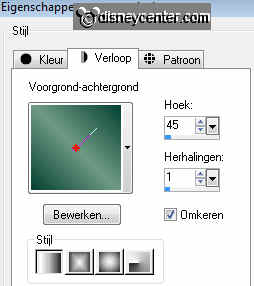
2. Flood fill this with the gradient.
3. Duplicate this layer - Image - Mirror.
4. Opacity of this layer on 50.
5. Layers - Merge - Merge all layers.
6. New raster layer - Flood fill wit foreground color #6e9b83
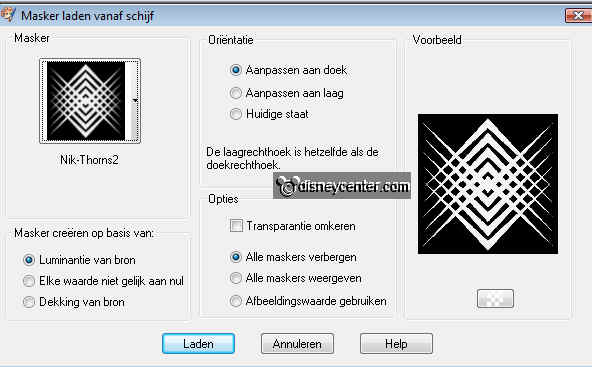
7. Layers - Mask load/save as - Load mask from disk.
8. Look for Nik-Thomm2 with this setting.
9. Layers - Merge - Merge Group.
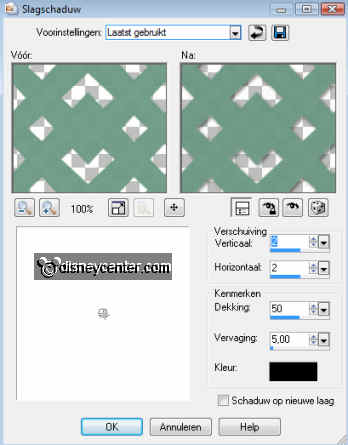
10. Effects - 3D Effects - Drop Shadow.
11. Copy the tube katrienaardbei and paste as a new layer.
12. Duplicate this layer.
13. Stay at raster 1.
14. Effects - Distortion Effects - Wind.
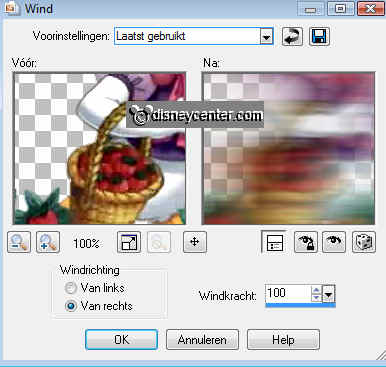
15. Layers - Merge - Merge all layers.
16. Image - Resize 45%.
17. Effects - Bordermania - Frame #2 with this setting.
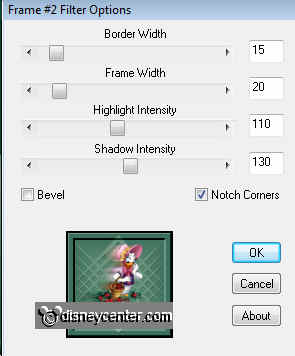
18. Open new image 700x700
19. Flood fill this with gradient.
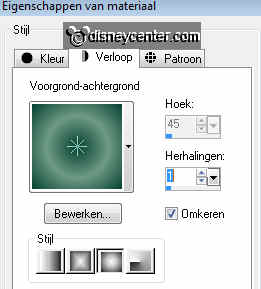
20. Effects - Image Effects - Seamless Tiling.
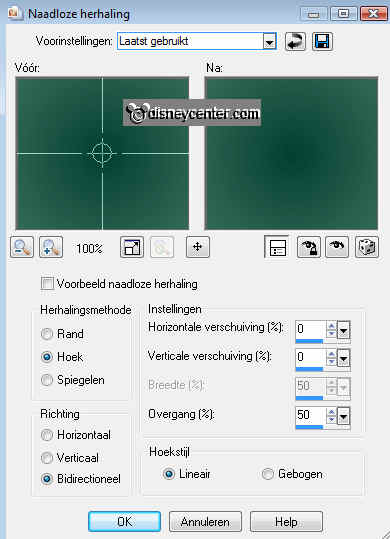
21. Copy and paste the thumbnail as a new layer.
22. Duplicate this layer - Image - Resize 80% -
All layers not checked.
23. Go to raster 2. ( the big image) Image - free rotate - right 45.00
24. Place it with the points at the edges.
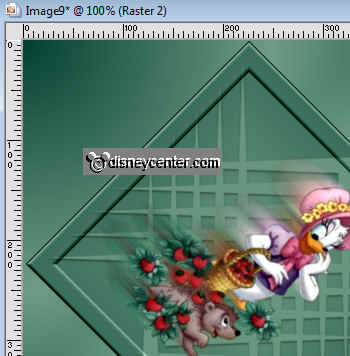
25. Now place the thumbnail in the middle of the diagonal image.
26. Copy the tube kdaardbei and paste as a new layer.
27.Place this on the right side of the thumbnail.
28. Duplicate this layer and place this on the left side. (see
example.)
29. Copy the tube donaldaardbei and paste as a new layer.
30. Place this right under.
31. Duplicate this layer.
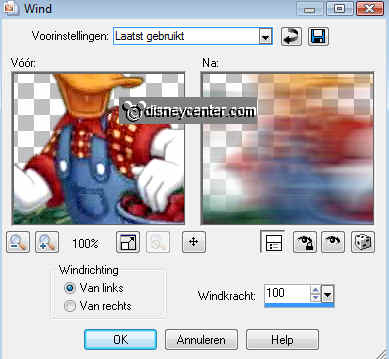
32. Stay at raster 4 - Effects -
Distortion Effects - Wind.
33. Go to selection tool - selections - rectangle.
34. New raster layer. Make a rectangle in the top right from
30x400.
35. Flood fill with background color #053f32
36. Effects - Penta.com - Dot and Cross - default settings.
37. Effects - 3d Effects - Drop Shadow same as in 10, but now
with -2 for horz. and vert.
38. Selections - select none.
39. Duplicate this layer - Image - Resize 80% - all layers not
checked. Place alongside
40. Duplicate this layer - Image - Resize 80% - all layers not
checked. Place alongside
41. Duplicate this
layer - Image - Resize 80% - all layers not checked. Place
alongside
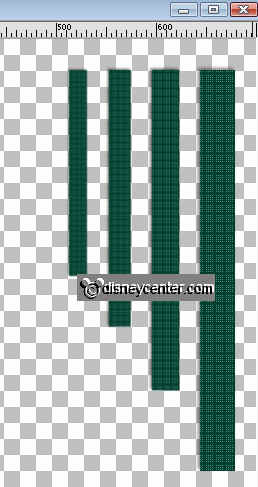
42. Lock all layers, except the 4 layers of the rectangles.
43. Stay at 1 of the other layers.
44. Layers - Merge - Merge visible.
45. Unlock the other layers.
46. Duplicate this merge layer.
47. Image - Flip - Image - Mirror.
48. Place this left under.
49. Copy the tube kdaardbei again and paste as a new layer.
50. Place this left at the bottom of the rectangles.
51. Duplicate this layer and place this near the other.
52. Duplicate this layer - image - flip.
53. Place this right at the top rectangles.
54. Duplicate this layer and place this near the other.
55. Put your watermark into the image.
56. Go to text tool - Verdana - size 72 - and write Strawberries.
Turn colors here
57. Place this on top of the diagonal square.
58. Effects - 3D Effects - drop shadow same as in point 10.
59. Layers - merge - Merge all layers.
60. Image - Add border 25 - flood fill with background color #053f32
61. Select the border - flood fill with gradient.
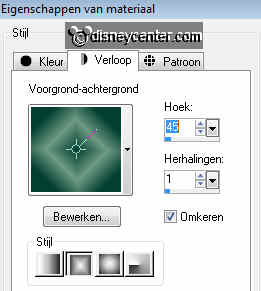
62. Effects - 3D Effects - Inner Bevel.
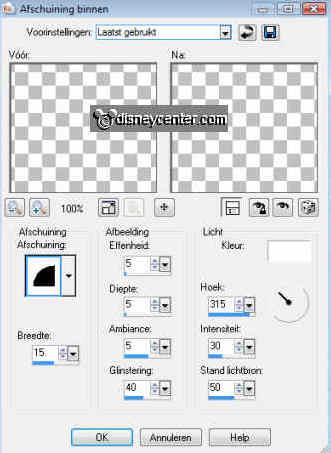
63. Image - Add border - symmetric not checked.
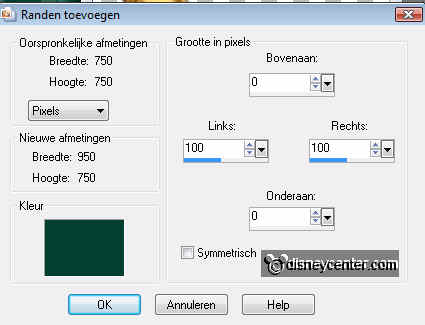
64. Select the border - flood fill with the gradient of point 61.
65. Selections - select none.
66. Copy the tube kdaardbei again and paste as new layer and
place this at the top of the left border.
67. Effects - MuRa's Meister - Copies.
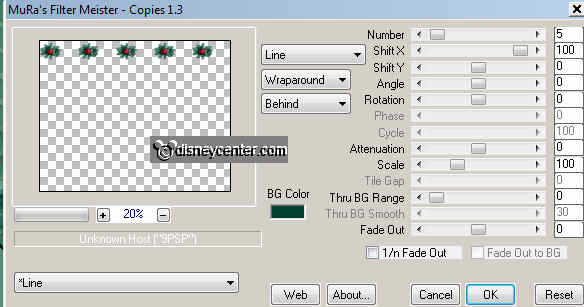
68. Image - free rotate - right 90 degrees.
69. Put this at the left border.
70. Duplicate - Image - Mirror.
71. Image - Add border - left and right 25, top and bottom 0, symmetric
not checked.
72. Flood fill with the foreground color #6e9b83
73. Select the borders and flood fill with the same gradient as
point 61.
74. Effects - 3D Effects - Inner Bevel, same as point 62.
75. Selections - select none.
76. Image - Resize 65%.
77. File - Export - JPEG - optimizer.
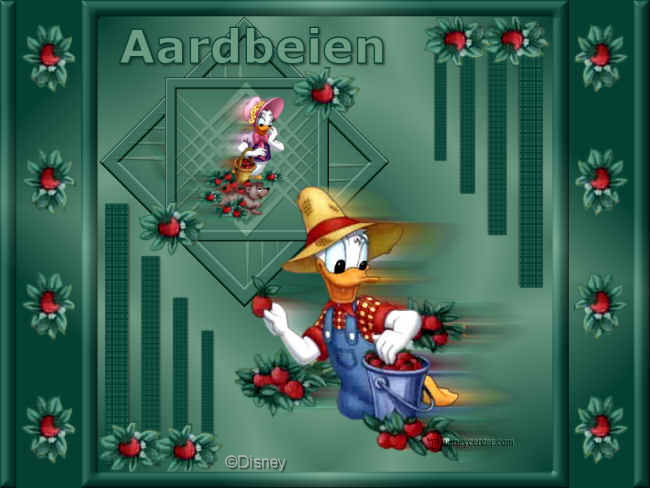
Ready is the tag
I hope you like this tutorial.
greetings Emmy,

Lesson written July
2009

