|

This
Tutorial is copyrighted to the Tutorial Writer, © Emmy Kruyswijk
28-02-2013.
This Tutorial
may
not be forwarded, shared or otherwise placed on any Web Site or group without written
permission from
Emmy Kruyswijk.
Many of the material are made by me.
Please respect my work and don't change the file names.
At all Disney creations must be copyrighted.
Do you want to link my lessons?
Please send
me a mail.
Needing:
2 tubes, 1 misted tube,
3
selections, 1 accent and 1 word-art - made by me.
1 tube from Nellie, 1 pattern - unknown.
Animation Shop
Plug-ins:
Toadies - What You Are?,
here
Penta.com - Jeans,
here
Mehdi - Wavy Lab 1.1, is by the
material.
I.C.NET Software - Filters Unlimited 2.0 -
&Background Designer IV - @ Splash,
here
Before you begins.......
Open the tubes, accent, word-art in PSP,
Set the plug-ins in the folder
plug-ins, set the pattern in the folder patterns and set the selections in the
folder selections.
Material

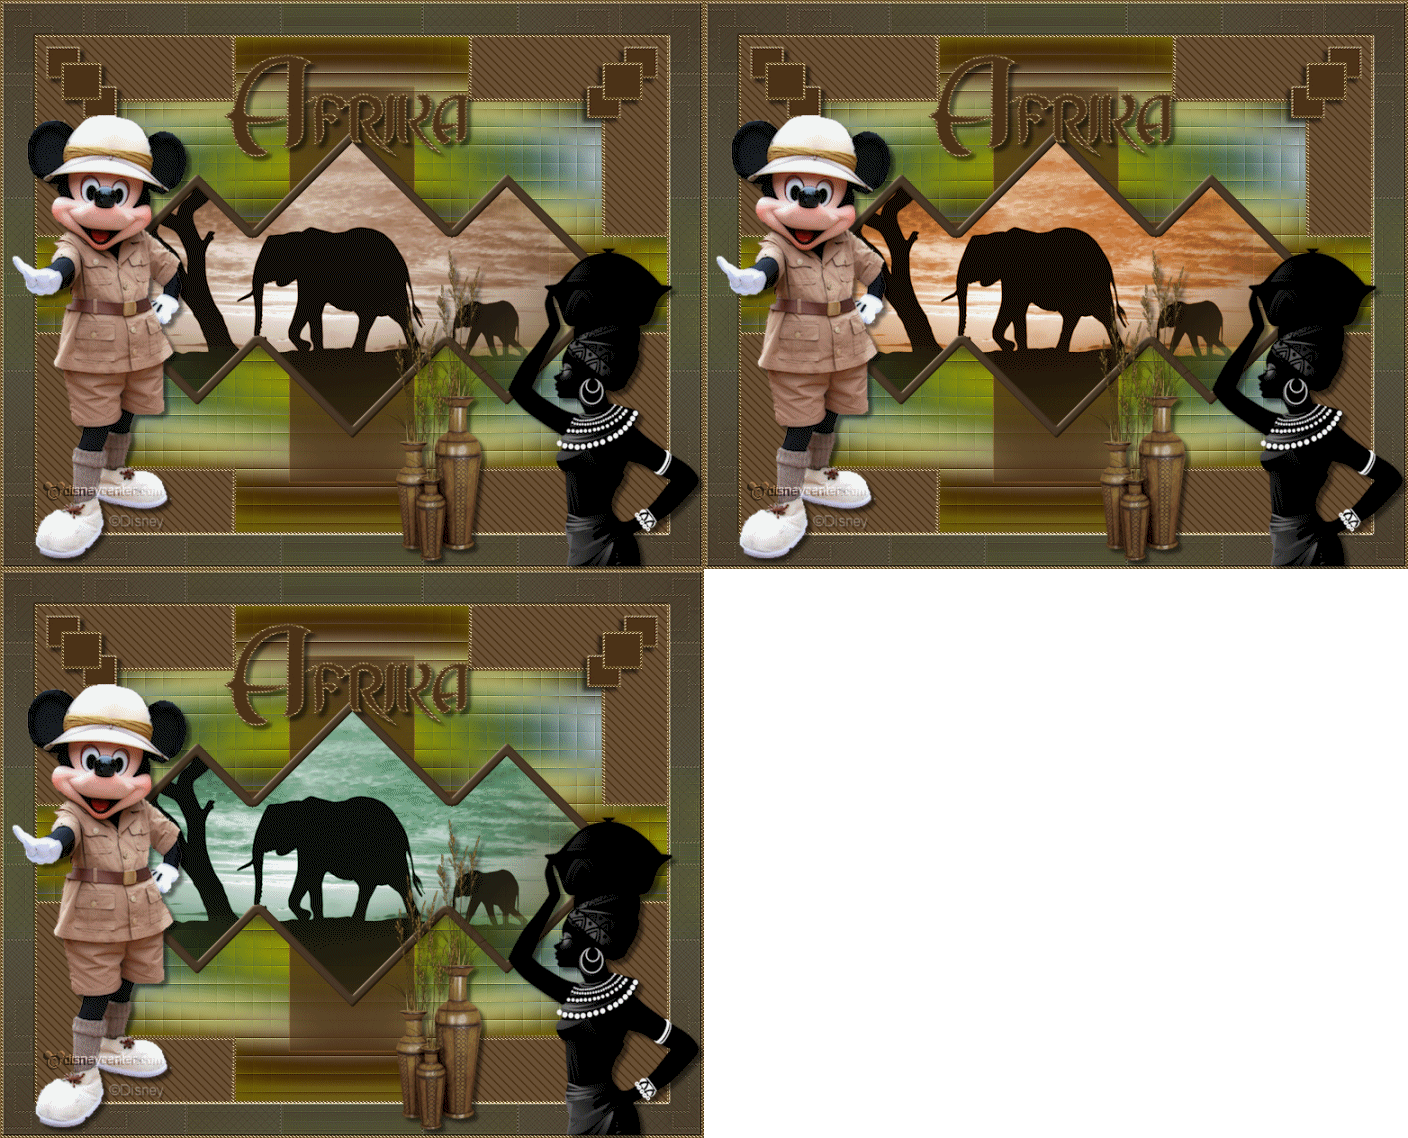
Africa
1.
File - open new transparent image 700x550.
Set in the material palette the foreground on #4b3116
and the background on #536d51.
Activate flood fill tool - fill the layer with the background color.
2.
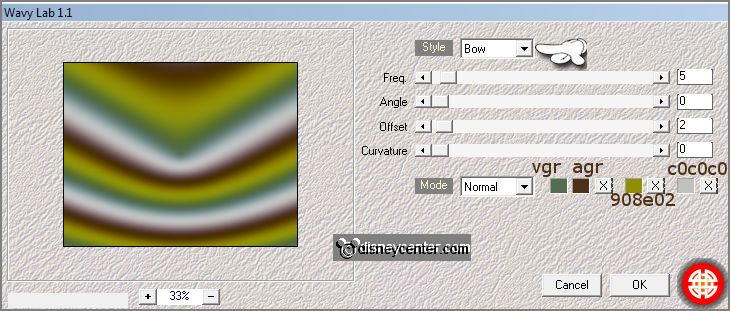
Effects - plug-ins - Mehdi - Wavy Lab 1.1 - with this setting - click
OK.
Layers - duplicate.
Image - flip.
Set in the layer palette the opacity of this layer at 50.
3.
Layers - merge - merge down.
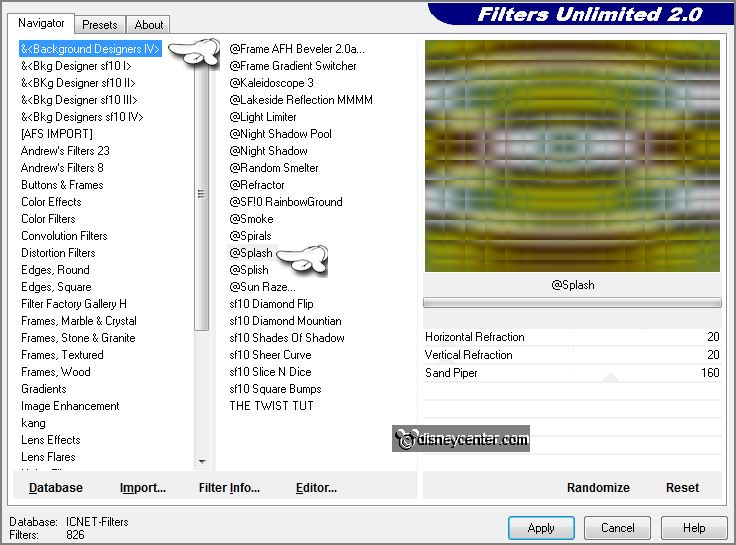
Effects - plug-ins -I.C.NET Software - Filters Unlimited 2.0 - &Background
Designer IV - @ Splash - with this setting -
click Apply.
Effects - Edge effects - enhance.
4.
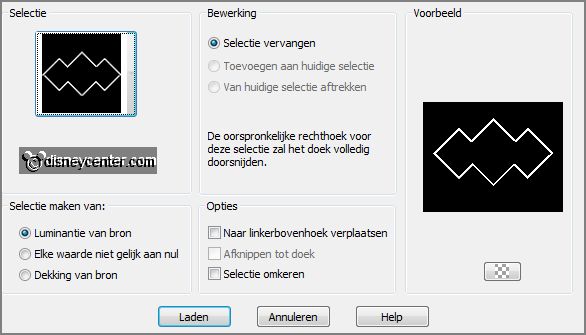
Selections - load/save selection - load selection from disk - look EmmyAfrika -
with this setting.
Layers - new raster layer.
Fill the selection with the foreground color.
Selections - select none.
5.
Effects - 3D Effects - Inner Bevel - with this setting.
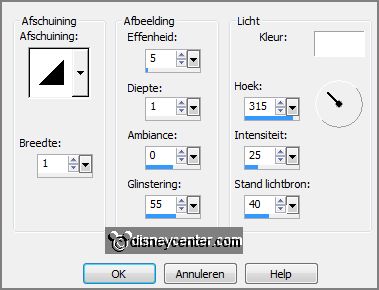
Objects - Align - Center in Canvas.
Activate the magic wand - with settings below - and select in the middle of the frame.

Selections - modify - expand 3 pixels.
6.
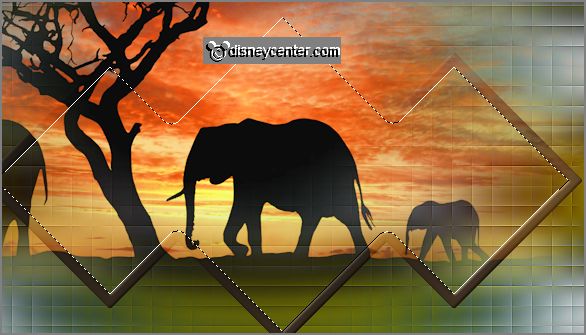
Activate MistedOlifanten - edit - copy.
Edit - paste as a new layer on the image.
Activate move tool - move the tube - as below.
7.
Selections - invert - click at the delete key.
Selections - select none.
Layers - arrange - move down.
8.
Layers - duplicate.
Layers - merge - merge down.
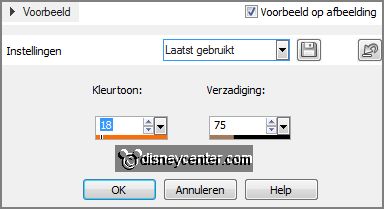
Adjust - Hue and Saturation - colorize - with this setting.
9.
Layers - duplicate.
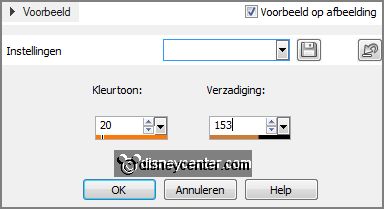
Adjust - Hue and Saturation - colorize - with this setting.
10.
Layers - duplicate.
Adjust - Hue and Saturation - colorize - with this setting.
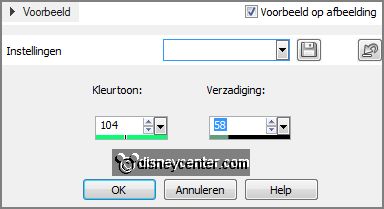
11.
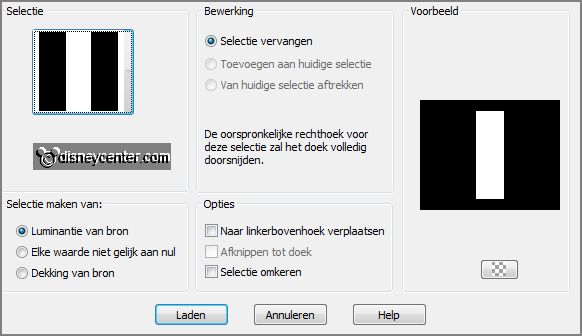
Selections - load/save selection - load selection from disk - look EmmyAfrika1 -
with this setting.
Layers - new raster layer.
Fill the selection with the foreground color.
Set in the layer palette the opacity of this layer
at 80.
12.
Layers - duplicate.
Image - free rotate - with this setting.

Set in the layer palette the opacity of this layer
at 55.
Layers - merge - merge down.
13.
Effects - Image Effects - seamless tiling - default setting.
Layers - arrange - move down - this must be done under raster 2 - see below.
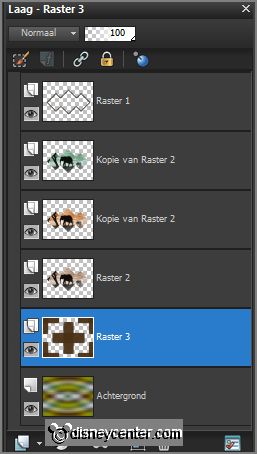
Effects - Edge effects - enhance.
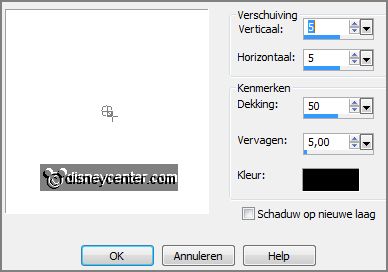
Effects - 3D Effects - drop shadow -
with this setting.
14.
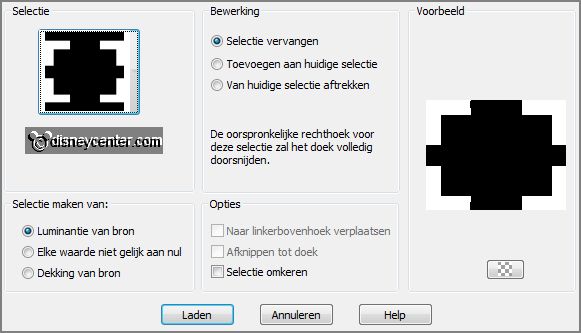
Selections - load/save selection - load selection from disk - look EmmyAfrika2 -
with this setting.
Layers - new raster layer.
Fill the selection with the foreground color.
15.
Effects - plug-ins - Penta.com - Jeans - with this setting -
click OK.

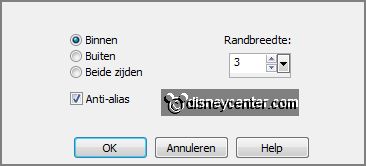
Selections - modify - select selected borders-
with this setting.
Set in the material palette the foreground to the
gold pattern - angle 0 - scale
100.
16.
Layers - new raster layer.
Fill the selection with the gold pattern.
Selections - select none.
17.
Activate eraser tool - size to 10 - and erase the top and side edges
- see below.
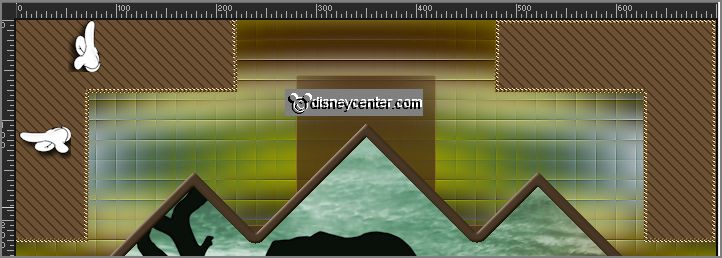
Do this at all four corners.
18.
Activate accent1 - edit - copy.
Edit - paste as a new layer on the image.
Effects - Image effects - offset - with this setting.
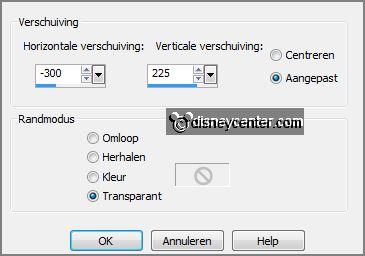
Effects - 3D Effects - drop shadow - setting is
right.
19.
Layers - duplicate.
Image - mirror.
20.
Make a copy of the image - shift+D.
Minimize the original image and work with the copy image.
21.
Image - add border 3 pixels - symmetric - color white.
Select with the magic wand the white border - fill the selection with the gold
pattern.
Selections - select none.
22.
Image - add border 35 pixels - symmetric -
background color.
Select with the magic wand the width border.
Set in the material palette the background to gradient linear - with this
setting.
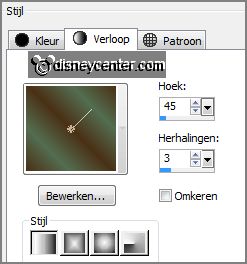
23.
Fill the selection with the gradient.
Effects - plug-ins - Toadies - What You Are? - with this setting -
click
OK.

Promote selection to layer.
Selections - select none.
24.
Layers - duplicate.
Image - flip.
Set in the layer palette the opacity of this layer at 50.
Layers - merge - merge down.
25.
Effects - 3D Effects - Inner Bevel - setting is right.
Layers - duplicate.
Layers - merge - merge down.
Effects - Edge effects - enhance.
26.
Image - add border 3 pixels - symmetric - color white.
Select with the magic wand the white border -
fill the selection with the gold pattern.
Selections - select all.
27.
Selections - modify - contract 41 pixels - selections - invert.
Edit - copy.
Edit - paste as a new image.
Minimize the copy image.
28.
Activate the original image.
Image - canvas size - with this setting.
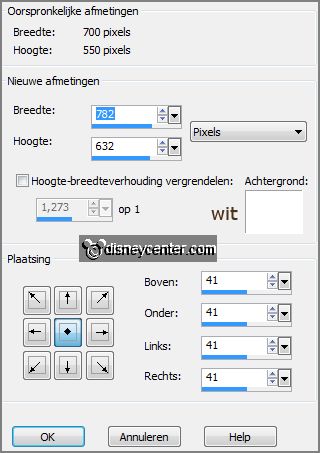
Promote background layer.
29.
Select with the magic wand the white border - click at the delete key.
Go to the border - edit - copy.
Edit - paste into selection.
Selections - select none.
30.
Make the top layer active.
Activate the tube vaseswithgrass - edit -
copy.
Edit - paste as a new layer on the image.
Effects - Image effects - offset - with this setting.
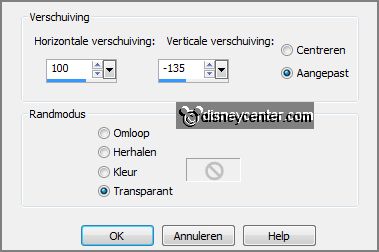
Effects - 3D Effects - drop shadow - setting is
right.
31.
Activate the tube African woman-Nellie - edit - copy.
Edit - paste as a new layer on the image.
Place this right at the bottom - see example.
Effects - 3D Effects - drop shadow -
setting is right.
32.
Activate the tube Emmymicsafari - edit - copy.
Edit - paste as a new layer on the image.
Place the tube left at the bottom - see example.
Effects - 3D Effects - drop shadow -
setting is right.
33.
Activate word-art-Africa - edit - copy.
Edit - paste as a new layer on the image.
Place this in the middle at the top - see example.
34.
Layers - new raster layer -
put your watermark into the image.
Lock both copy layers of raster 2 and activate the bottom layer.
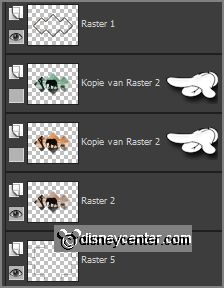
Edit - copy merged.
35.
Open animation shop - paste as a new animation.
Back in PSP - lock raster 2 and open the first copy layer of raster 2.
Edit - copy merged.
36.
In AS - paste after active frame.
Back in PSP - lock the first copy layer of raster 2
and open the second copy layer of raster 2.
Edit - copy merged.
37.
In AS - paste after active frame (Be sure
the last frame is selected).
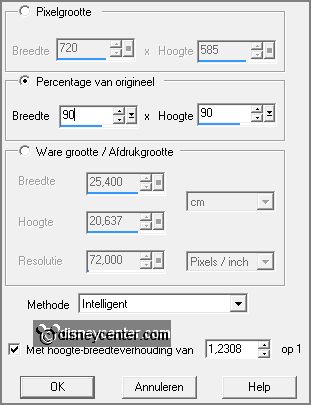
Animation - Resize format of animation - with this setting.
38.
Edit - select all.
Animation - Frame properties - set this to 75.
File - save as - give name - click 3 times
at next and than at finish.
Ready is the tag
I hope you like this tutorial.
greetings Emmy
Tested by Nelly

tutorial written 28-02-2013.
|