
This
Tutorial is copyrighted to the Tutorial Writer, © Emmy Kruyswijk 2009.
This Tutorial
may
not be forwarded, shared or otherwise placed on any Web Site or group without written
permission from
Emmy Kruyswijk
Do you want to link my lessons?
Please send
me a mail.
Materials:
Download
here
3
Disney tubes,
Template van
Babe's Desigh
filters: Bordermania - frame#2,
Download
here
Put the plug-ins in the folder plug-ins.
Cinderella
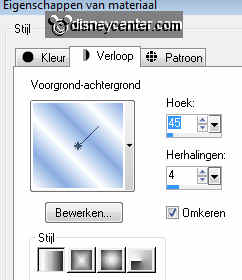
foreground color #89ade1 and background color white.
Open the Template and change all pink images in blue or another color from the
image.
You could also colorize the Transmission. I did it also.
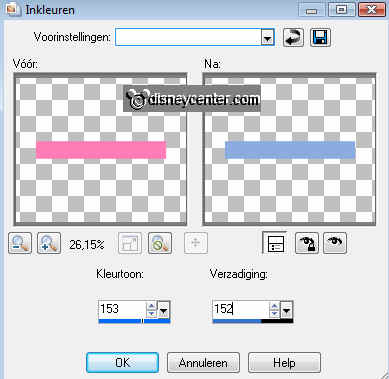
Colorize like this:
Make the image active...
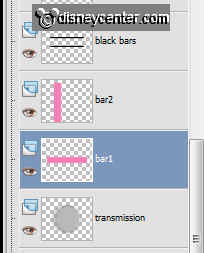
Click at the color you want to change.....
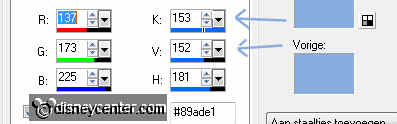
Adjust - Hue and Saturation - colorize.....
1. Open ne image 600x600
2. Fill this with the gradient radial.
3. Copy the Transmission and paste as a new layer.
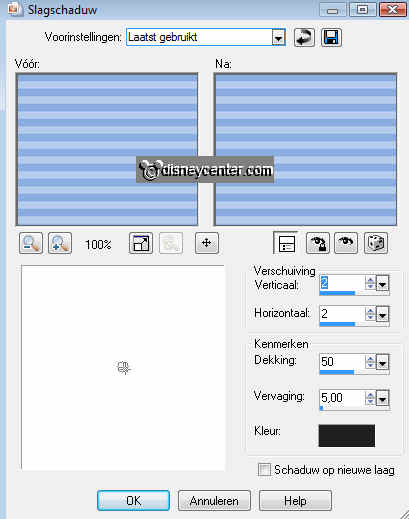
4. Effects - 3D Effects - drop shadow.
5. Image - Resize 125% - all layers not checked.
6. Copy bar2 and paste as a new layer.
7. Give the same drop shadow as in point 4.
8. Place this left - 100 pix. from the edge and
25 pix. from the top.
9. Duplicate this layer - Image - Mirror.
10. Place this also 100 pix. from the right side and 25 pix. from the top.
11. Copy bar1 and paste as a new layer.
12. Give the same drop shadow as in
point 4.
13. Place in the middle 60 pix. from the top - about 50 pix of the sides remains
14. Duplicate this layer - Image - flip.
15. Place it around 100 pix. from the bottom in the middle.
16. Copy the doodles and paste as a new layer.
17. Give the same drop shadow as in
point 4.
18. Place it at the right side.
19. Duplicate this layer - Image - mirror.
20. It stands now on the left. Look if it stays right.
21. Copy the circle and paste as a new layer.
22. Repeat point 5.
23. Give the same drop shadow as in
point 4.
24. Place this in the middle of the bars 1 and 2.
25. Copy one of the black bars and paste as a new layer.
26. Give the same drop shadow as in
point 4.
27. Layers - arrange - move down.
28. Place this in the middle of the black circle.
29. Duplicate this layer - Image - mirror.
30. Copy the dot circle and paste as a new layer.
31. Repeat point 5.
32. Give the same drop shadow as in
point 4.
33. Place this at the circle.
34. Duplicate this layer - Image - Resize 110% - all layers not checked.
35. Place this at the end of the black circle.
36. Copy one of the black hearts and paste as a new layer.
37. Give the same drop shadow as in
point 4.
38. Place this left at the top near the vertical bar.
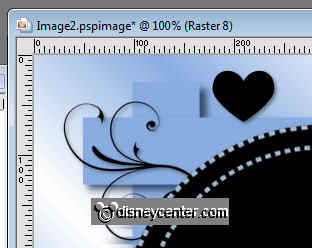
39. Duplicate this layer 7 more times and place them as the example.
40. Copy the tube fee and paste as a new layer.
41. Place this right at the bottom.
42. Close all layers, except the top layer.
43. Go to selection tool - selection - Freehand selection.
44. Make a selection round the magic wand.
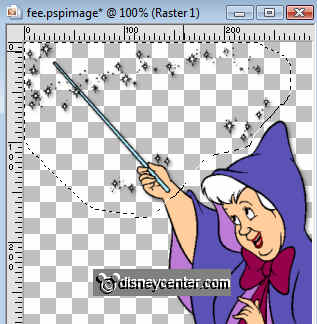
45. Duplicate this layer with selection.
46. Stay at the first layer of the fee.
47. Copy and paste as a new image.
48. Stay at the copy layer
49. Click at the delete key of your keyboard.
50. Selections - select none.
51. Copy the magic wand with hand and paste as a new layer.
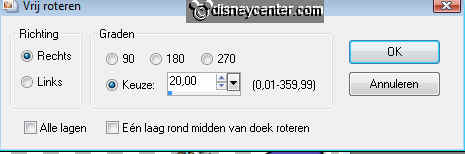
52. Image - free rotate - right 20.
53. Place this now on the arm. Make sure the connection is right.
54. Lock the first layer and stay at the copy layer.
55. Layers - merge - merge all visible.
56. Duplicate the first fee layer and place this above the merge layer.
57. Unlock all layers.
58. Copy the cinderella1 tube and paste as a new layer.
59. Give the same drop shadow as in
point 4.
60. Place this left at the bottom.
61. Copy the tube prins and paste as a new layer.
62. Place this on the black circle, so the hand touches the hand of Cinderella.
63. Layers - arrange - move down 4 times. So under the fee layer.
64. Duplicate this layer 5 times.
65. Set the opacity of the layers on- prins 1 on 0, copy on 20, copy (2) on
40, copy (3) on 60,
copy (4) on 80 and the last on 100.
66. Set your watermark into the image.
67. Stay on the bottom layer.
68. Image - Canvas size - height and width 700.
69. Select the open space and fill this with the foreground color.
70. Let selection stay.
71. Effects - texture effects - mosaic glass with this setting.

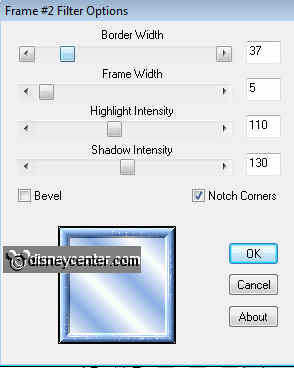
72. Effects - Bordermania - Frame 2 with this setting.
73. Selections - select none.
74. Image - resize 75%.
75. Lock all prince layers and the fee layers, except de first fee layer.
76. Edit - merge copy
77. Open Animation Shop and paste as a new animation.
78. Back in PSP - lock the first fee layer and open the second.
79. Edit - merge copy
80. Back in animation shop - paste after current frame. Watch that the last
frame is selected.
81. Back in PSP - lock the second fee
layer and open the third fee layer and the first
layer of the prince
82. Edit - merge copy
83. Back in animation shop - paste
after current frame.
84. Back in PSP - lock the first prince layer and open the
second prince layer.
85. Edit - merge copy
86. Back in animation shop - paste
after current frame.
87. Back in PSP
- lock the second prince layer and open the
third prince layer.
88. Edit - merge copy
89. Back in animation shop - paste
after current frame.
90. Back in PSP
- lock the third prince layer and open the
fourth prince layer.
91. Edit - merge copy
92. Back in animation shop - paste
after current frame.
93. Back in PSP
- lock the fourth prince layer and open the
fifth prince layer.
94. Edit - merge copy
95. Back in animation shop - paste
after current frame.
96. Back in PSP
- lock the fifth prince layer and open the sixth
prince layer.
97. Edit - merge copy
98. Back in animation shop - paste
after current frame.
99. Edit - select all - Properties of frame on 30.
100. Select now the first frame - animation - Properties of frame
op 75. The last frame on 250.
101. File - save as - click 3 times on next and than finish.
Ready is the tag
I hope you like this tutorial.
greetings Emmy,

lesson written
30-08-2009
