1.
File - open new transparent image 700x500.
Set in the material palette the foreground
color at #5c5b21 and the background color
at
#322103.
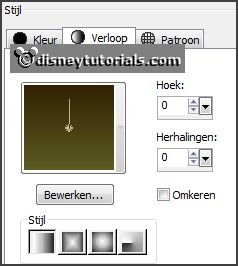
Make from the foreground a gradient radial -
with this setting.
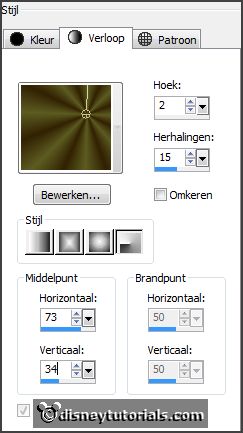
Activate flood fill tool - fill the layer with the gradient.
Adjust - blur - Gaussian blur - radius 20.
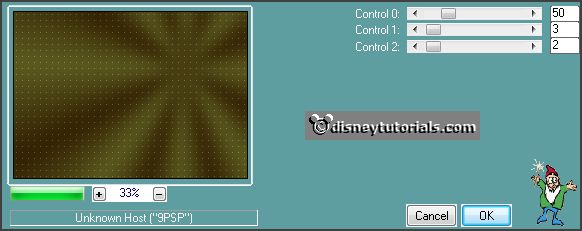
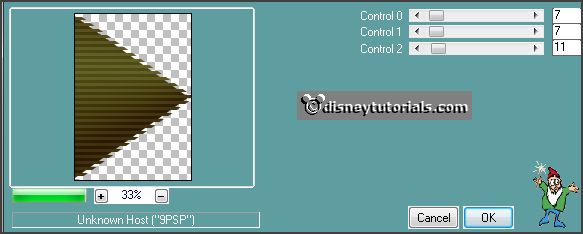
Effects - plug-ins - Carolaine and Sensibility - CS_Dots - with this setting -
click OK.
2.
Layers - duplicate.
Activate freehand selection tool - from point to point - and make a
selection - as below.
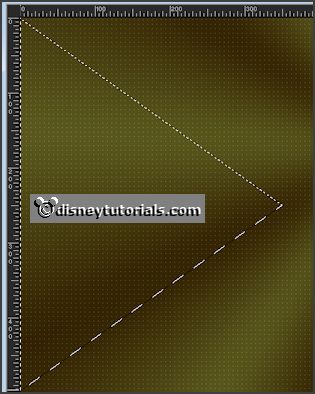
Selections - invert - click at the delete key.
Selections - invert.
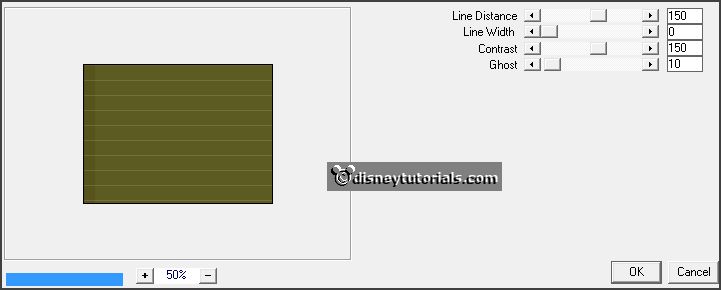
Effects - plug-ins - Carolaine and Sensibility - CS_HLines -
with this setting - click OK.
Selections - select none.
3.
Layers - duplicate.
Image - mirror.
Layers - merge - merge down.
Effects - 3D Effects - drop shadow -
with this setting.
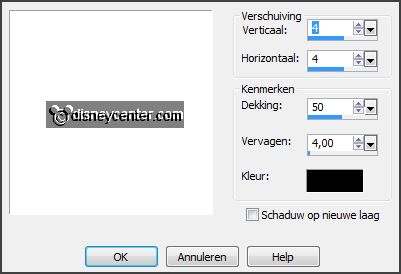
Repeat the drop shadow - now with vert. and horz. on -4.
4.
Layers - duplicate.
Image - resize 75% - all layers not checked.
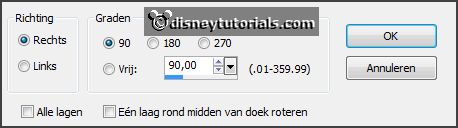
Image - free rotate -
with this setting.
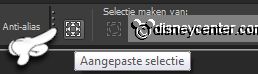
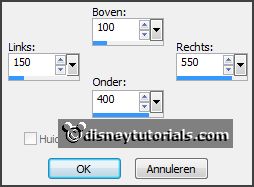
Activate selection tool - custom selection -
with this setting.
5.
Layers - new raster layer.
Set the foreground back to color.
Fill the selection with the foreground color.
6.
Layers - new raster layer.
Fill the selection with the background color
Selections - modify - contract 8 pixels - click on the delete key.
Selections - select none.
Effects - 3D Effects - drop shadow - setting is right. (-4)
Layers - merge - merge down.
7.
Layers - duplicate.
Image - free rotate - setting is right.
Activate the magic wand -
with this setting below - and select the green square of raster 2.

Effects - plug-ins - Carolaine and Sensibility - cs_textures -
with this setting - click OK.
8.
Activate the top layer.
Select with the magic wand the green square - and repeat cs_textures - setting
is right - click OK.
Selections - select none.
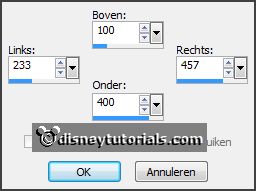
Activate selection tool - custom selection -
with this setting.
9.
Layers - new raster layer.
Change the gradient in linear -
with this setting.
Fill the selection with the gradient.
10.
Layers - new raster layer.
Fill the selection with the background color.
Selections - modify - contract 8 pixels - click on the delete key.
11.
Layers - new raster layer.
Activate the tube Yvonne_bloem_11_21_oktober_2008 - edit - copy.
Edit - paste in selection.
Selections - select none.
Effects - 3D Effects - drop shadow - setting is right. (-4)
12.
Activate raster 4.
Effects - 3D Effects - drop shadow - setting is right. (-4)
Layers - merge - merge down.
13.
Activate the tube GrimsonLeaves -
edit - copy.
Edit - paste as a new layer on the image.
Activate move tool - set this right at the top - see example.
Effects - 3D Effects - drop shadow - setting is right. (-4)
14.
Activate the tube nw-autumnleaves -
edit - copy.
Edit - paste as a new layer on the image.
Place this right at the bottom - see example.
Effects - 3D Effects - drop shadow - setting is right. (-4)
15.
Activate the tube minsafari -
edit - copy.
Edit - paste as a new layer on the image.
Place this at the left side.
Effects - 3D Effects - drop shadow -
with this setting.
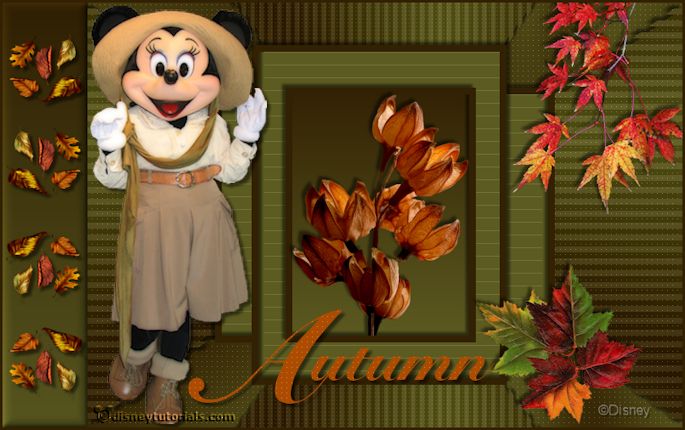
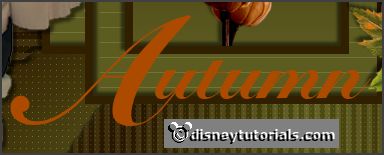
16.
Lock the foreground color and change the background color in # ac4c01.
Activate text tool -
with this setting.

Write the capital A - convert to raster layer.
Change the size in 75 - and write utumn - convert to raster layer.
Place them against each other - as below.
Layers - merge - merge down.
Effects - 3D Effects - drop shadow - setting is right.
17.
Select with the magic wand the letters.
Effects - plug-ins - Carolaine and Sensibility - CS_Dots - setting is right -
click OK.
Selections - select none.
18.
Layers - new raster layer - put your watermark into the image.
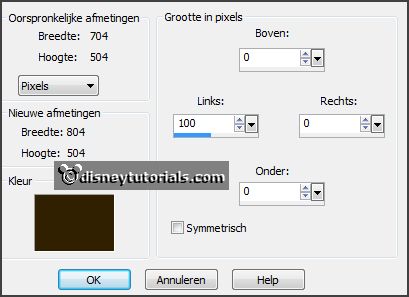
Image - add border - not symmetric - background color -
with this setting.
Open the foreground color.
Select with the magic wand the border.
Fill the selection with the gradient.
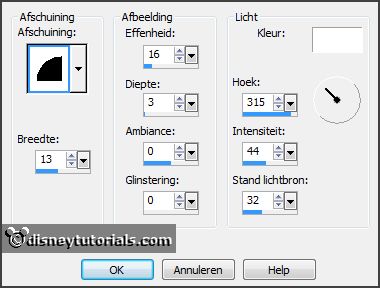
Effects - 3D Effects - Inner bevel -
with this setting.
Selections - select none.
19.
Activate the tube leaves -
edit - copy.
Edit - paste as a new layer on the image.
Place this at the top of the border - 50 pixels from the top -
see example.
Layers - duplicate.
Image - flip.
Layers - duplicate.
Image - mirror.
Set this under the other - see example.
Layers - duplicate.
Image - flip.
20.
Look now or they stay equal - otherwise move a little.
Lock the bottom layer.
Stay at 1 of the other layers.
Layers - merge - merge all visible layers.
Open the bottom layer again.
21.
Image - add borders 3 pixels - symmetric - background color.
Image - resize 85% - all layers checked.
File - export - JPEG Optimize.