This
Tutorial is copyrighted to the Tutorial Writer, © Emmy Kruyswijk July 2008 and
is
used with my permission by Stepping Stones-Through PSP Yahoo Group. This Tutorial
may
not be forwarded, shared or otherwise placed on any Web Site without written
permission from
Emmy Kruyswijk.
Materials
1 tube,
font ( I used Square721BT)
filter Dsb flux
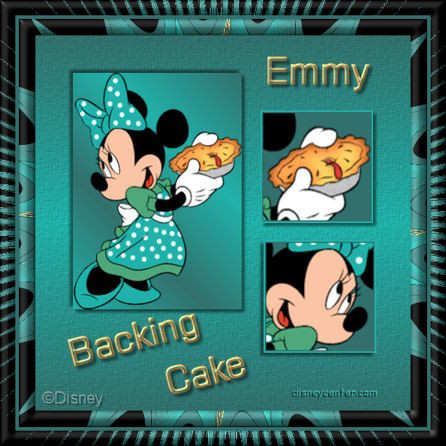
Disney
tag Backing Cake.
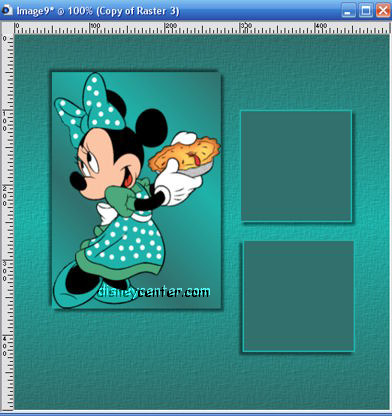
Open your tube - shift D - close the original.
1. Open
a new image 500 x 500 raster layer transparent.
2. Take a light color from your tube for the background and a dark color for the
foreground.
3. Make the foreground gradient linear, angle 0 - repeat 1 invert checked.
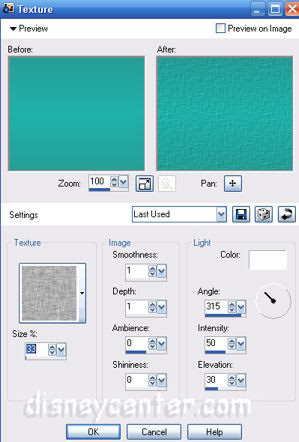
4. Flood fill the new image with the gradient. Go to Effects. Texture Effects-Texture
- Canvas
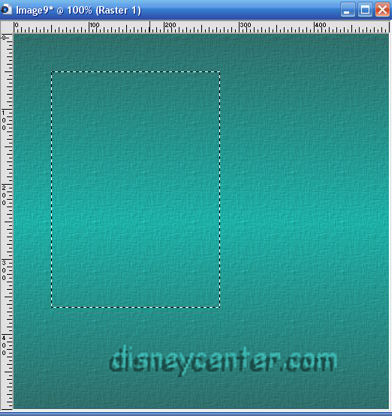
5. Go
to your selection tool and make a rectangle about 225 x 325,
6. Add
a new raster layer.
7. Floos fill this with the gradient, but change the angle in 45 and repeat in 2
invert unchecked. Let stay the selection.
8. Go to your tube. Copy and paste into the selection.
9. Effects - 3D Effects . Drop Shadow H & V 4 Opacity 50 Blur 5
10 Repeat this drop shadow, but than with H & V -4
11 Selection - Select none.
12 Add a new raster layer. Go to your selection tool - custom-selection
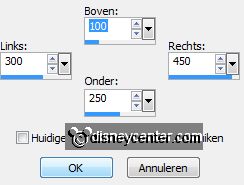
13
Flood fill
this with the dark color, let the selection stay.
14 Add a new raster layer flood fill this with the light color, selection - modify -
contract 2
15 Go to the delete button at your computer and delete..
16 Activate your top layer (raster 4) right click Merge - merge down.
17 Add a drop shadow H & V 4 Opacity 50 Blur 5
18 Duplicate this layer - Image - mirror
19 Get your move tool and place it under your first square. (See screen)
20 Stay
at raster 3 in your layer palette. Get your magic wand. Go inside the square,
selection - modify - contract 2 - OK
21 Go to your tube. Than to the selection tool and make a selection of a tile of
your tube.
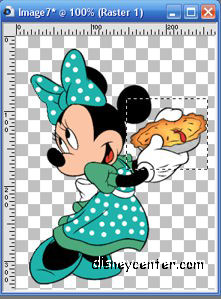
22 Copy
and paste it into selection of your image.
23 Selection none
24 Activate your top layer.
25 Go with your magic wand inside the top layer. Selection - modify - contract 2
- OK.
26 Select another tile of your tube. Copy and paste into the selection of your
image. ( I had mirror my selection, but that's up to you).
27 Selection none.
28 Make your foreground to another light color of your tube and the background
to your dark color.
29 Go to your text tool and use a nice font.

30 Type
your text, Put it under your tube. Image free rotate - left 15
31 Convert to raster layer.
32 Effects - 3D Effects - Inner bevel
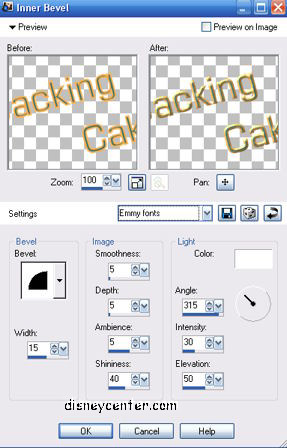
33 Add
a drop shadow H & V 4 Opacity 50 Blur 5.
34 Add your name use the same Inner bevel and drop shadow as before.
35 Image - add border 1 black, Image - add border 20 dark color. Image - add
border 1 black
36 Selection - select all - modify - contract 22 - selection - invert.
37 Effects - dsb-flux - center mirror - 6 -123 OK
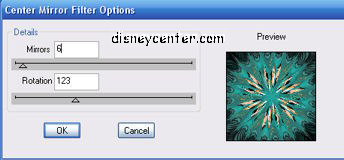
38 The
same Inner bevel as before.
39 Selection none
40 Image - add border 5 dark color.
41 Image - add border 20 black. Select the black border.
42 Effects - dsb-flux - center mirror, change mirror in 25 -123 OK
43 Selection none.
44 Add
your watermark.
45
Image - resize 75 % all layers checked. Save as JPEG.
Your tag is ready.
I hope
you like my first lesson.
greeting Emmy

Lesson written July 2008
