
This
Tutorial is copyrighted to the Tutorial Writer, © Emmy Kruyswijk 2011.
This Tutorial
may
not be forwarded, shared or otherwise placed on any Web Site or group without written
permission from
Emmy Kruyswijk
Do you want to link my lessons?
Please send
me a mail.
Material
s
download
here
1
Template from Beth,
3 Disney Tubes, 1 backgr/tube, 1 silver pattern.
Filters
download
here
Filters Unlimited 2.0 - Paper
Textures - Papyrus,
Xero - Porcelain,
Alien Skin - Glow
2.1 or Alien Skin Eye Candy 5 Impact - Gradient Glow.
Put the filters in the folder plug-ins.
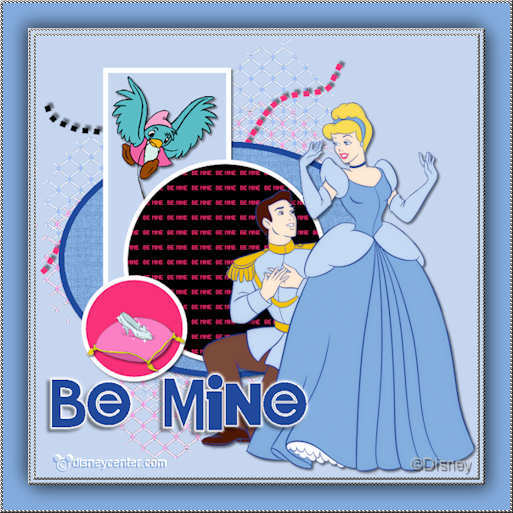
Be Mine
Foreground color #c6d6ef and background color #214a9c
1. Open new image 800x800.
2. Fill this with the foreground color.
3. Copy the background BG2-B and paste as a new layer.
4. Image - Resize 125% -Resize all layers not checked - Image - mirror.
5. Place this at the left side.
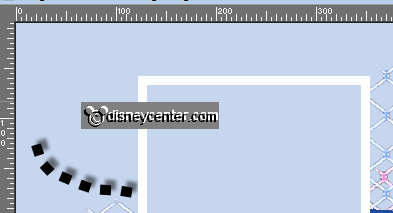
Open the Template_151_Beth_09
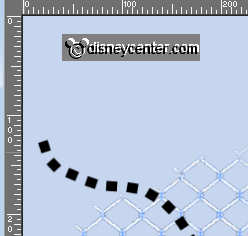
6. Copy the Black Squigly Line and paste as a new layer.
7. Place this left - about 120 pix of the top.
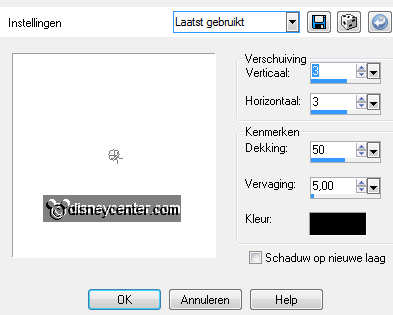
8. Effects - 3D Effects - Drop shadow with this setting.

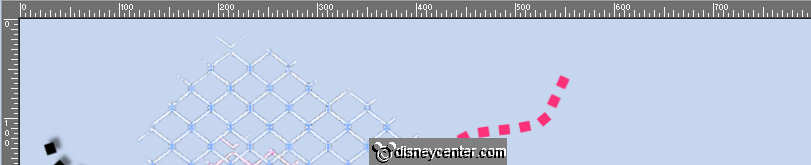
9. Copy the Pink Squigly Line and paste as a new layer.
10. Place this 50 pix. of the top and 550 pix from the left side.
11. Give the same drop shadow as in point 8.
12. Copy the Gray Oval and paste as a new layer.
13. Select the gray oval - fill with #83acde.
14. Effects - Filters Unlimited 2.0 - Paper Textures - Papyrus - default
setting.
15. Selections - select none.
16. Copy the Pink Oval Frame and paste as a new layer.
17. Select the pink frame and fill this with the background color. Selections -
select none.
18. Lock all layers, except raster 5 and 6.
19. Stay at raster5 - Layers - merge - merge all visible layers. Open the
layers.
20. Move the oval a little to the left. About 50 pix. of the side.
21. Effects - 3D Effects - drop shadow with this setting.
22. Copy the Gray Rect and paste as a new layer.
23. Select the rectangle - fill this with the foreground color.
24. Selections - select none.
25. Copy the Black Frame and paste as a new layer.
26. Select the frame and fill this with white.
27. Selections - select none.
28. Lock all layers, except raster 5 and 6.
29. Stay at raster 5 - Layers - merge - merge all visible layers. Open the
layers.
30. Give the same drop shadow as in point 21.
31. Move a little to the left. About 60 pix. of the top and 125 pix. from the
side.
32. Copy the tube cind1 and paste as a new layer.
33. Place this at the top of the rectangle.
34. Copy the Black Circle and paste as a new layer.
35. Copy the Be Mine Word Art and paste as a new layer.
36. Copy the LG White circle frame and paste as a new layer.
37. Lock all layers, except raster 6, 7 and 8.
38. Stay at raster 6 - Layers - merge - merge all visible layers. Open the
layers.
39. Give the same drop shadow as in point 21.
40. Move the oval in the middle of the blue oval. see example.
41. Copy the Pink Circle and paste as a new layer.
42. Copy the White Circle Frame and paste as a new layer.
43. Lock all layers, except raster 6 and 7.
44. Stay at raster 6 - Layers - merge - merge all visible layers. Open the
layers.
45. Move the circle a little to the left and down. see example.
46. Copy the tube cind2 and paste as a new layer.
47. Place this on the little circle below.
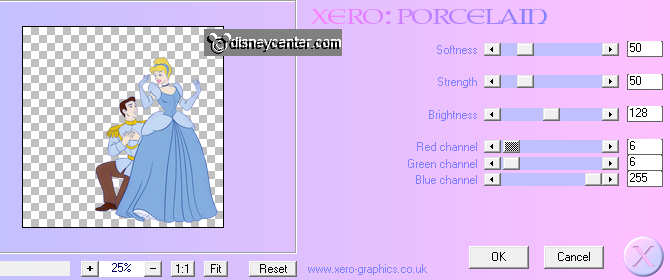
48. Copy the tube cind3 and paste as a new layer.
49. Place this right at the bottom.
50. Effects - Xero - Porcelain with this setting.
51. Give the same drop shadow as in point 21.
52. Copy BE Mine BG and paste as a new layer.
53. Copy BE Mine and paste as a new layer.
54. Select the black letters of BE Mine and fill this with the background color.
55. Selections - select none.
56. Lock all layers, except raster 8 and 9.
57. Stay at raster 8 - Layers - merge - merge all visible layers. Open the
layers.
58. Stay at the layer of Be Mine - image - free rotate.
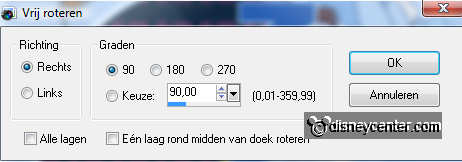
59. Place it left below.
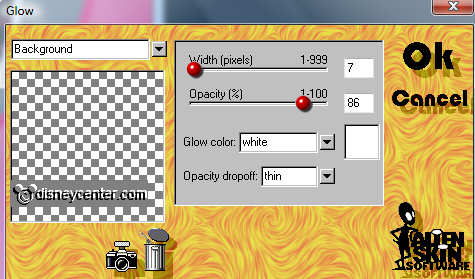
60. Effects - Alien Skin - Glow 2.1 with this setting.
61. Give the same drop shadow as in point 21.
62. Layers - merge - merge all.
63. Image - Resize 65% - resize all layers checked.
64. Put your watermark into the image.
65. Open the silver pattern - put the foreground on silver pattern.
66. Image - add border 3 - color black.
67. Select the border - fill this with the silver pattern.
68. Effects - 3D Effects - Inner Bevel with this setting.
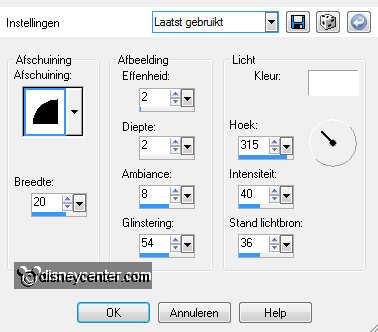
69. Selections - select none.
70. Image- add border 3 - foreground color
71. Image - add border 3 - color black.
72. Select the border - fill this with the silver pattern.
73. Give the same Inner Bevel as in point 68.
74. Selections - select none.
75. Image - Resize 85% - Resize all layers checked.
76. Image - add border 25 - color #83acde.
77. Selections - select all - selections - contract 25
78. Effects - 3D Effects - drop shadow with this setting.
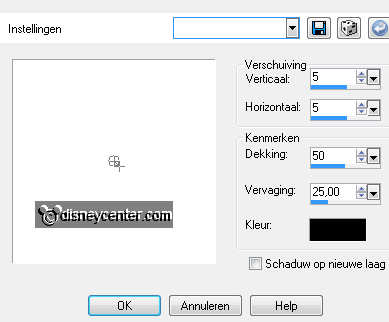
79. Repeat the drop shadow, but now horz. and vert. on -5.
80. Selections - select none.
81. Image - add border 3 - color black.
82. Select the border - fill this with the silver pattern.
83. Give the same Inner Bevel as in point 68.
84. Selections - select none.
85. File - Export - jpeg optimizer.
Ready is the tag
I hope you like this tutorial.
greetings Emmy,

Tutorial written
14-03-2011
