1.
File – open new transparent image 800x650.
Selections – select all.
2.
Activate the image bugsland1 – edit - copy.
Edit – paste in selection.
Selections – select none.
3.
Adjust – blur – Gaussians blur – radius 30.
Layers – duplicate.
Image – flip.
4.
Put in the layer palette the opacity of this layer to 50.
Layers – merge – merge down.
5.
Edit – paste as a new layer on the image (image stays still in memory).
Effects – plug-ins – FM Tile Tools – Blend Emboss – with this setting –
click OK.

6.
Image – resize 85% - all layers not checked.
Selections – select all.
Selections – float – selections – defloat.
Selections – modify – select selected border – with this setting.
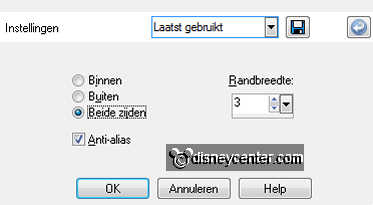
7.
Set the foreground color in your Layer palette to #527554.
Layers – new raster layer.
Activate flood fill – fill the selection with the foreground color.
Selections – select none.
Effects – 3D Effects – drop shadow – with this setting.
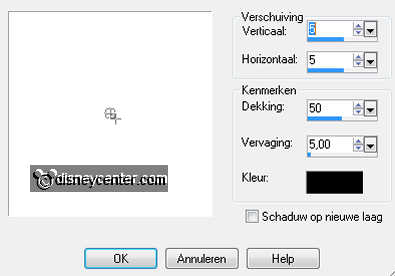
8.
Activate raster 2.
Activate de misted tube bugslife4 – edit - copy.
Edit – paste as a new layer on the image.
Activate move tool and move the tube in the middle at the bottom
9.
You will now see a piece under the border.
Who are we going to get away with eraser tool – with this setting.

Stay on the tube layer and erase the bottom.
Set in the layer palette the Blend Mode to Luminance (Legacy).
10.
Activate the misted tube bugslife15 – edit - copy.
Edit – paste as a new layer on the image.
Image – resize 75% - all layers not checked.
Move the tube left at the bottom – move a bit until you find him attractive.
Erase the part away again, what comes out of the border and where it comes over
the other tube..
Set in the layer palette the Blend Mode to Luminance (Legacy).
11.
Activate the misted tube bugslife2 - edit - copy.
Edit – paste as a new layer on the image.
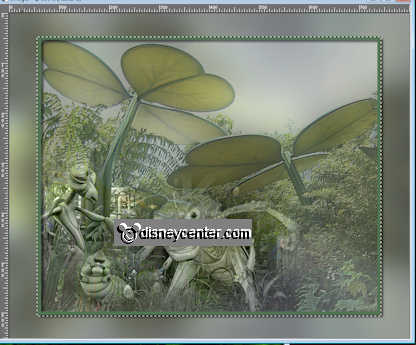
Move the tube between the 2 others left at the bottom – see example.
Set in the layer palette the Blend Mode to Luminance (Legacy).
12.
Activate the tube bugslife - edit - copy.
Edit – paste as a new layer on the image.
Move the tube to the right side.
Effects – 3D Effects – drop shadow – setting is right.
13.
Activate the bottom layer.
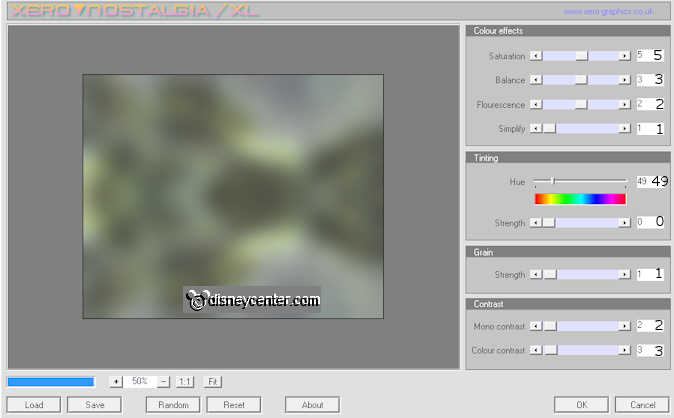
Effects – plug-ins – Xero – Nostalgia – with this setting – click OK.
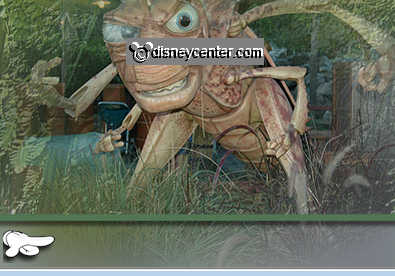
Activate selection tool – rectangle – and make a selection – as below.
14.
Selections – invert.
In the layer palette – Promote selection to layer..
Selections – select none.
15.
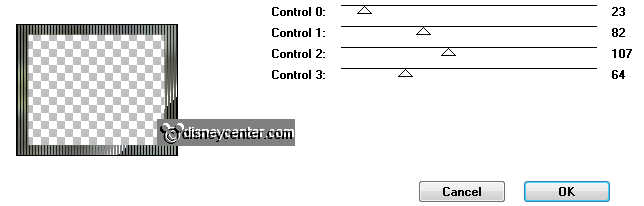
Effect – plug-ins – Tramages – Tow the Line – with this setting - click OK.
Open the top layer activate this.
Layers – new raster layer – put your watermark into the image.
16.
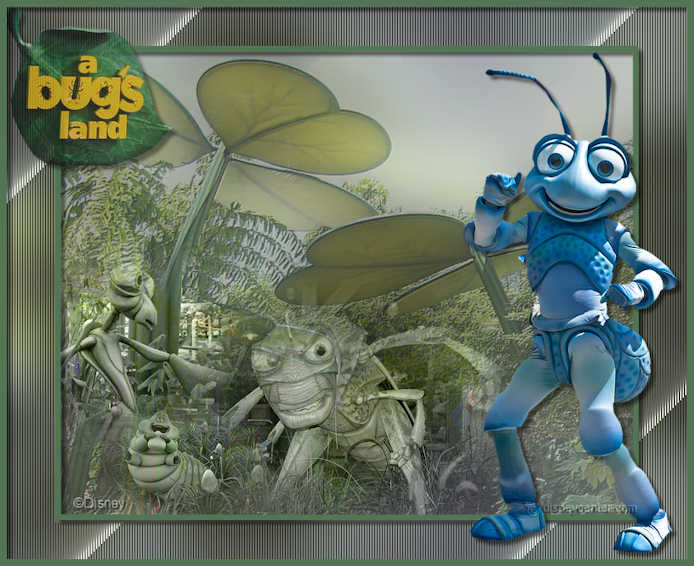
Activate the tube bugslife17 - – edit - copy.
Edit – paste as a new layer on the image.
Move the tube in the left upper corner.
Effects – 3D Effects – drop shadow – setting is right.
17.
Image – add border – symmetric – 8 pixels - foreground color.
Select the border with the magic wand – with this setting.

Effects – 3D Effects – drop shadow – setting is right.
Selections – select none.
18.
Image – resize 85% - all layers checked.
File – export – JPEG Optimizer.