10.
Activate the bottom layer.
Activate the tube sier - edit - copy.
Edit - paste as a new layer on the image.
Place the tube at the top left.
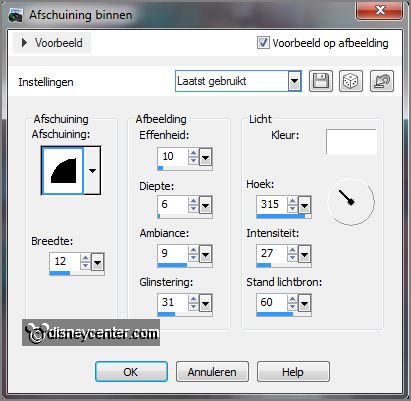
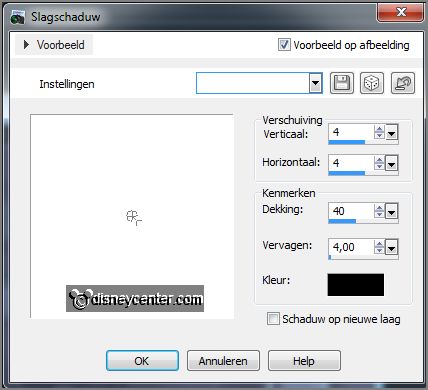
Effects - 3D Effects - drop shadow - setting is right.
11.
Layers - duplicate.
Image - flip.
Layers - merge - merge down.
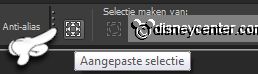
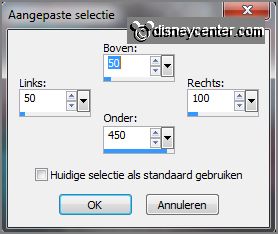
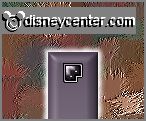
Activate selection tool - rectangle - make a selection - as below.
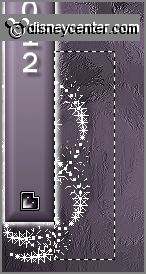
Click on the delete key.
12.
Layers - duplicate.
Image - mirror.
Layers - merge - merge down..
13.
Layers - duplicate.
Make the original layer active.
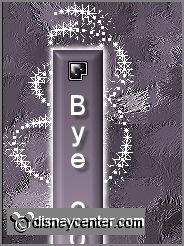
Effects - plug-ins - Xenoflex 2.0 - Constellation - with this setting - click OK.
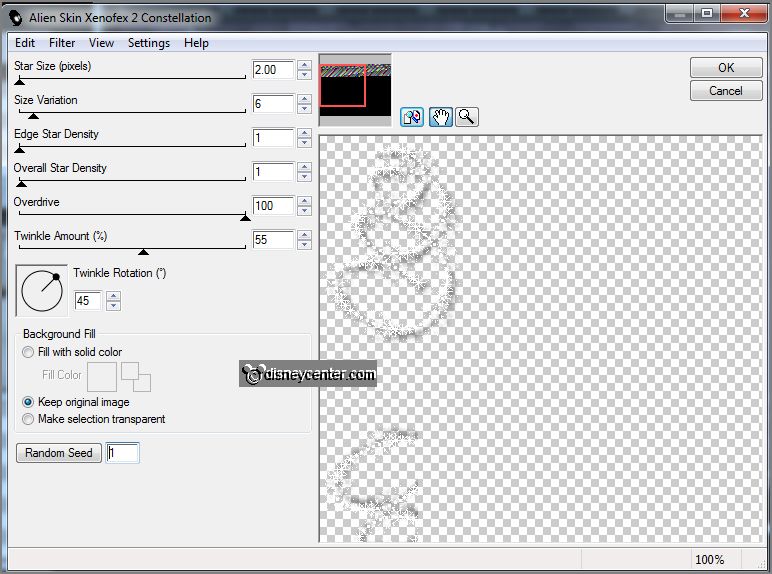
Make the copy layer active.
Effects - plug-ins - Xenoflex 2.0 - Constellation - click on Random Seed - click OK.
14.
Activate the top layer.
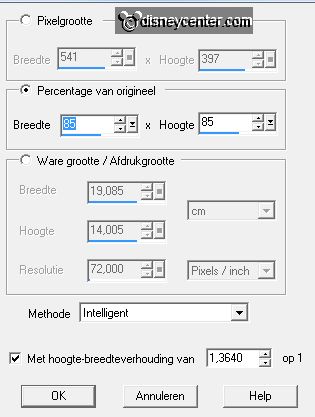
Activate Element73 - Image - resize 75% - all layers checked.
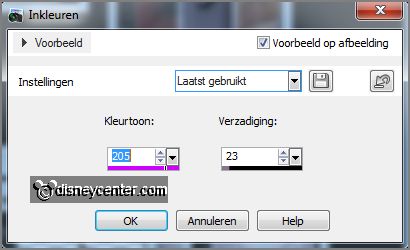
Adjust - Hue and Saturation - colorize - setting is right.
15.
Edit - copy.
Edit - paste as a new layer on the image.
Place the tube at the bottom left on the rectangle - see example.
Effects - 3D Effects - drop shadow - setting is right.
16.
Layers - duplicate.
Image - mirror.
Layers - merge - merge down.
17.
Layers- duplicate.
Activate free hand selection tool - free hand - make a selection
- as below.

18.
Layers - duplicate.
Make the original layer active.
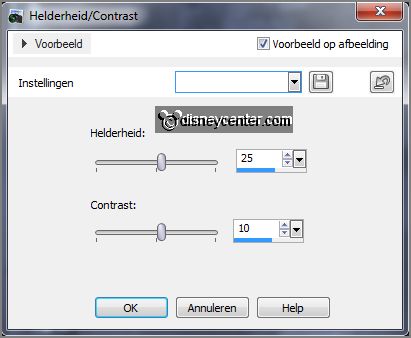
Adjust - brightness and contrast - brightness/contrast - with this setting.
19.
Make the copy layer active.
Adjust - brightness and contrast - brightness/contrast - now with brightness at
55 - contrast stays the same.
Selections - select none.
Lock the copy layer.
20.
Activate klok1 - edit - copy.
Edit - paste as a new layer on the image.
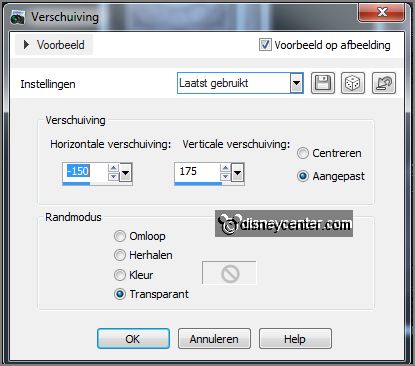
Effects - Image effects - offset - with this setting.
Effects - 3D Effects - drop shadow - setting is
right.
21.
Activate klok2 - edit - copy.
Edit - paste as a new layer on the image.
Effects - Image effects - offset - hole the minus away at horz.
offset.
Effects - 3D Effects - drop shadow - setting is right.
22.
Activate the tube minnieshow - edit - copy.
Edit - paste as a new layer on the image.
23.
Layers - duplicate.
Image - resize 90% - all layers not checked.
Make the original tube layer active.
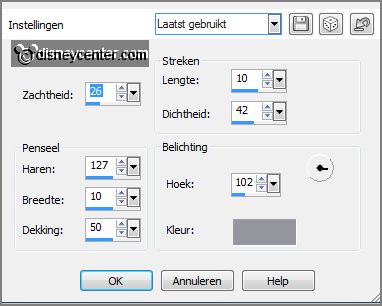
Effects - texture effects - Mosaic Antique - with this setting.
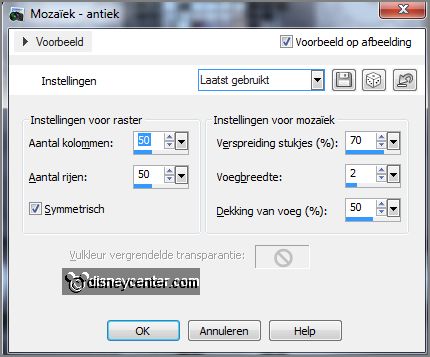
et in the layer
palette the opacity of this layer to 40.
Effects - Edge effects - enhance.
24.
Make the top layer active.
Effects - 3D Effects - drop shadow - setting is right.
25.
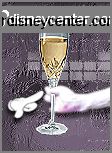
Activate the tube champagne - edit - copy.
Edit - paste as a new layer on the image.
Effects - Edge effects - enhance.
Effects - 3D Effects - drop shadow - setting is right.
26.
Activate de tube glass - edit - copy.
Edit - paste as a new layer on the image.
Erase the piece glass by the hand.
Effects - Edge effects - enhance.
27.
Layers - new raster layer - put your watermark into the image.
Make the bottom layer active - edit - copy merged.
28.
Open animation shop - paste as a new animation.
Back in PSP - lock raster 8 and 7 and open copy of raster 8 and 7.
29.
Edit - copy merged.
In AS - edit - paste after active frame.
Edit - select all.
30.
Open animation Emmybubbels - edit - copy.
Edit - select all.
Edit - paste after active frame.
Place the animation at the glass.
31.
Animation - resize format of animation - with this setting.