|

This
Tutorial is copyrighted to the Tutorial Writer, © Emmy Kruyswijk.
This Tutorial may not be forwarded, shared or otherwise placed on any Web Site
or group without written
permission from
Emmy Kruyswijk.
Many of the material are made by me.
Please respect my work and don't change the file names.
At all Disney creations must be copyrighted.
Do you want to link my lessons?
Please send
me a mail.
Needing:
2 tubes, word-art and 3 selections made by me.
1
image and 2 tubes unknown.
Plug-ins:
Simple - Diamonds, Simple - Pizza Slice Mirror, AP01
[Innovations] -Lines SilverLining, Xero - Porcelain,
download here
Before you begins.......
Open the tubes, image and word-art in PSP.
Set the
the plug-ins in the folder
Material

Beautiful China
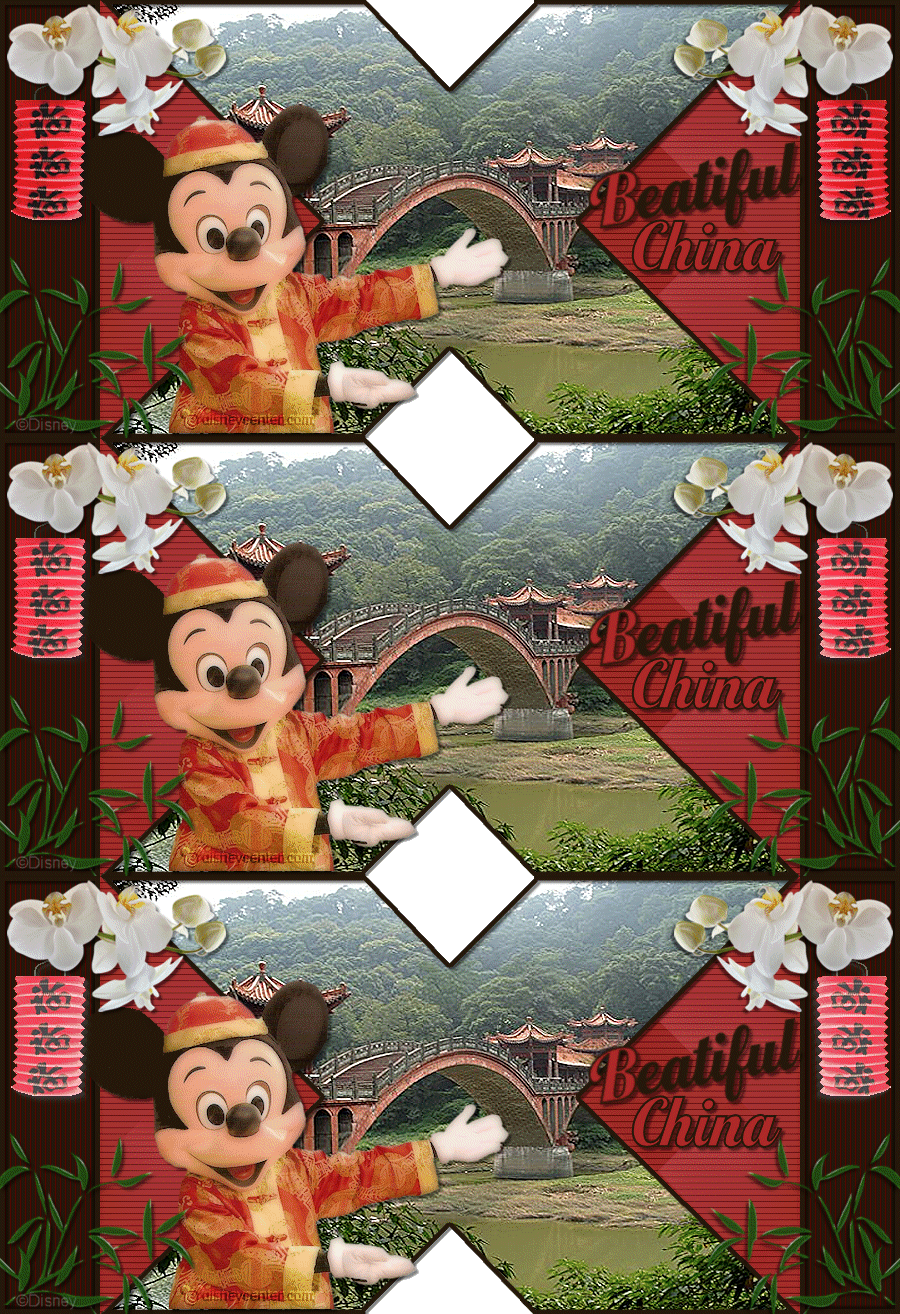
1.
File - open new transparent image
800x500.
Set in the material palette the foreground color on
#ad2927
and the background
color on
#26180b.
Convert to raster layer.
2.
Selections - select all..
Activate the image
china-bruggen - edit - copy.
Edit - paste into selection.
Selections - select none.
3.
Adjust - blur - Gaussian blur - radius 15.
Effects - plug-ins - Simple - Diamonds.
Effects -
plug-ins - Simple - Pizza Slice Mirror
Repeat the Pizza Slice Mirror 4 more times.
4.
Selections - load/save selection - load selection from disk - look
Emmychina - with this setting.
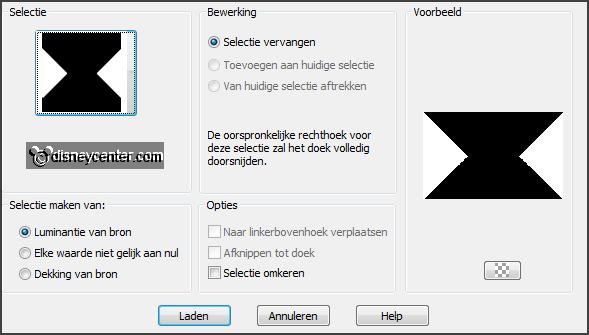
Layers - new raster layer.
Activate flood fill tool - fill the selection with the foreground color.
5.
Selections -
load/save selection - load selection from disk
Emmychina1 -
with this setting.
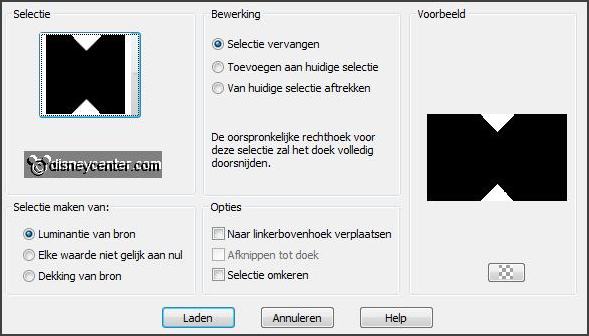
Activate the bottom layer - click at the delete key.
Activate the top layer.
Set in the layer palette the opacity at 90.
Effects -
plug-ins
- AP01 [Innovations] -Lines SilverLining -
with this setting -
click OK.
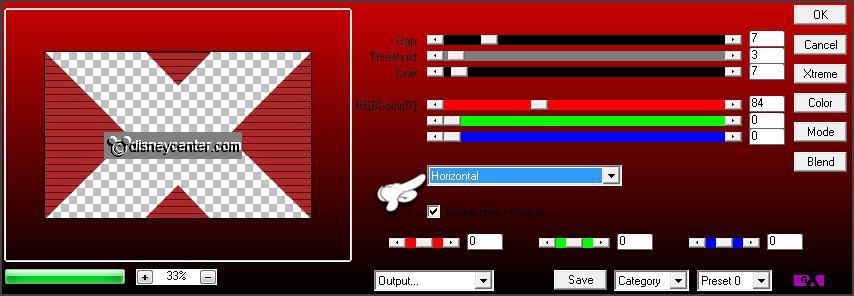
6.
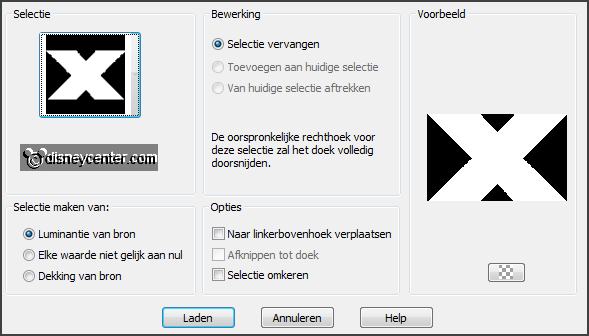
Selections -
load/save selection - load selection from disk
Emmychina2 -
with this setting.
Layers - new raster layer.
Edit - paste in selection (stays in memory).
Effects - Edge effects - enhance.
7.
Layers - new raster layer.
Fill the selection with the background color.
Selections - modify - contrast 5 pixels - click at the delete key.
Selections - select none.
Effects - 3D Effects - drop shadow -
with this setting.

8.
Image - resize - width 700 - all layers checked.
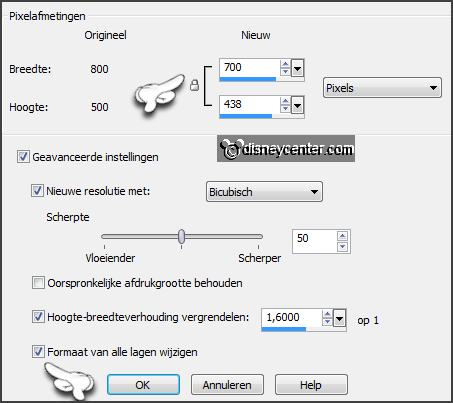
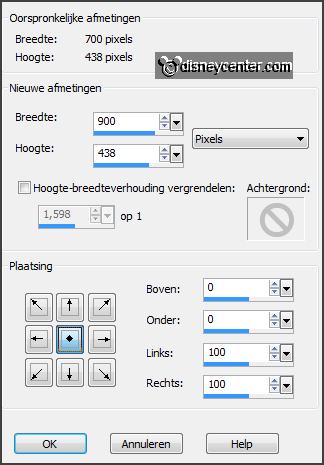
Image - canvas size -
with this setting.
Activate the bottom layer.
Activate the magic wand - with setting below - select the transparent sides.

9.
Layers - new raster layer.
Fill the selection with the background color.
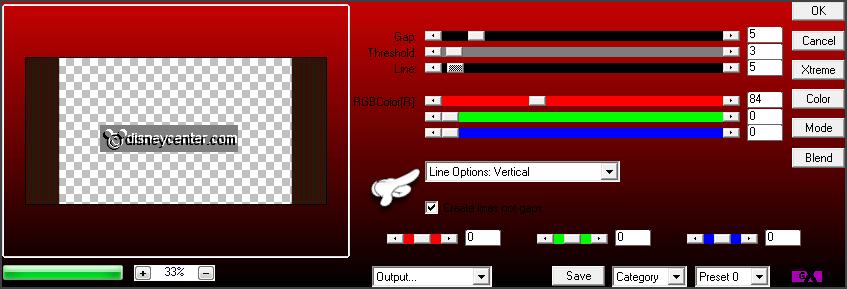
Effects -
plug-ins - AP01 [Innovations] -Lines
SilverLining -
with this setting - click OK.
10.
Layers - new raster layer.
Fill the selection with the background color.
Selections -
modify - contrast 5 pixels - click at the delete key.
Selections
- select none.
Effects - 3D Effects -
drop shadow - setting is right.
Repeat the drop shadow - now with vert. and horz. at -3
11.
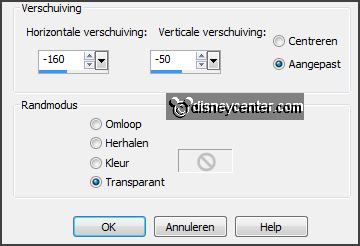
Activate the tube micchina 3 - edit - copy.
Edit - paste as a new layer on the image.
Effects - Image effects - offset -
with this setting.
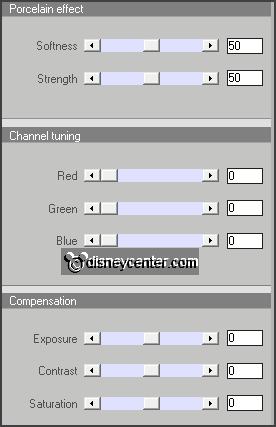
Effects -
plug-ins
- Xero - Porcelain -
with this setting
- click OK.
12.
Activate the tube leaves -
edit - copy.
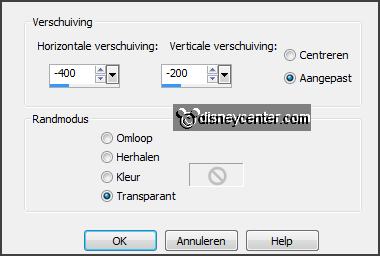
Edit - paste as a new layer on the image.
Effects - Image effects - offset -
with this setting.
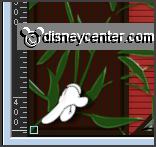
Activate eraser tool - and erase in the corner below the piece of the branch -
set the width at 7.
Effects - 3D Effects -
drop shadow
- with
this setting.

Layers - duplicate.
Image - mirror.
Layers - merge - merge down.
13.
Activate the tube orchidee -
edit - copy.
Edit - paste as a new layer on the image.
Image - free rotate -
with this setting.

Place this in the left upper corner - see example.
Effects - 3D Effects -
drop shadow
- setting
is right.
14.
Layers - duplicate.
Image - mirror.
Layers - merge - merge down.
15.
Activate the tube japlampion1 -
edit - copy.
Edit - paste as a new layer on the image.
Place this in the left upper corner - below the orchidee - see example.
Effects - 3D Effects -
drop shadow -
setting is right.
16.
Layers -
duplicate.
Image - mirror..
Layers - merge - merge down.
Layers - arrange - move down.
Layers - duplicate - and 1 more time.
17.
Activate the original tube layer (raster 10).
Adjust - brightness and contrast - brightness/contrast -
with this setting.
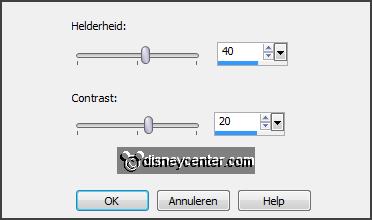
Activate copy of raster 10.
Repeat the brightness and contrast - now with brightness at 60.
Activate copy(2) of raster 10.
Repeat the brightness and contrast - now with brightness
at 80.
Lock the 2 copy layers.
18.
Activate word-art-Emmychina -
edit - copy.
Edit - paste as a new layer on the image.
Place this in the right triangle - see example.
19.
Layers - new raster layer -
put your watermark into the image.
Activate the bottom layer.
20.
Edit - copy merged.
Open Animation Shop - paste as a new animation.
21.
Back in PSP.
Lock raster 10 and open copy of raster 10.
Edit - copy merged.
In AS - paste after active frame.
22.
Back in PSP.
Lock copy of raster 10 and open copy(2) of raster 10.
Edit - copy merged.
In AS - paste
after active - be sure the last frame is
selected.
23.
File - save as - give name - click 3 times at next and than at finish.
Ready is the tag
I hope you like this tutorial.
greetings Emmy
Tested by Nelly

tutorial written 09-10-2013
|