1.
Set in the material palette the foreground color at #04968c and the
background color at #a34a3c.
Customize your colors, if you used a different
picture.
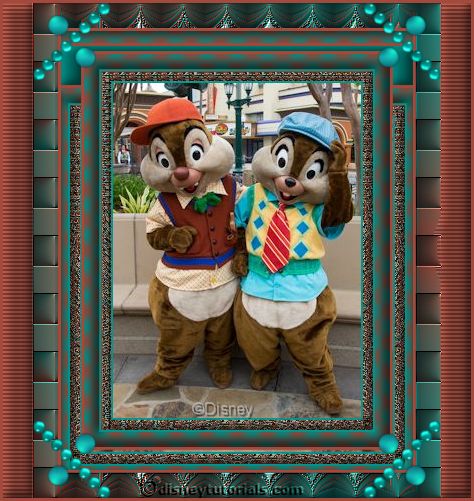
2.
Activate the image chipendale - shift+D - and close the original image.
Image - add borders 2 pixels - symmetric - foreground color.
Image - add borders 10- pixels -
symmetric - background color.
3.
Activate the magic wand - with settings below - select the width border.

Effects - plug-ins - Sybia - Quantumt - with this setting - click OK.
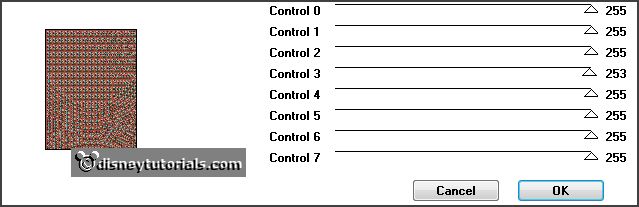
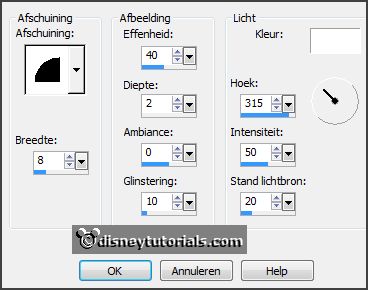
Effects - 3D Effects - Inner Bevel - with this
setting.
Selections - select none.
4.
Image - add borders 2 pixels -
symmetric - foreground color.
Image - add borders 15- pixels -
symmetric - background color.
Select with the magic wand the width border.
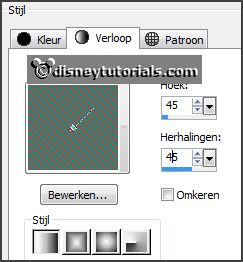
Make from the foreground a gradient linear -
with this setting.
5.
Fill the selection with the gradient.
Promote layer to selection.
Selections - select none.
6.
Image - mirror.
Set the opacity of this layer to 50.
Layers - merge - merge down.
Effects - 3D Effects - Inner Bevel - setting
is right.
7.
Image - add borders 3 pixels -
symmetric - background color.
Image - add borders 20- pixels -
symmetric - foreground color.
Select with the magic wand the width border.
Effects - plug-ins - Kiwi's Oelfilter -
Guck Mal... - with this setting - click OK.
Promote layer to selection.
Selections - select none.
8.
Select with the magic wand the width border -
see below - perhaps twice.
Effects - 3D Effects - Inner Bevel - setting
is right.
Selections - select none.
9.
Image - add borders 3 pixels -
symmetric - background color.
Image - add borders 25- pixels -
symmetric - foreground color.
Select with the magic wand the width border.
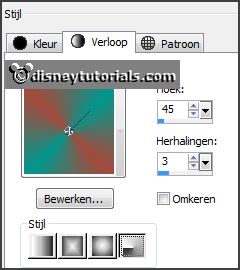
Change the gradient in radial - with this
setting.
10.
Fill the selection with the gradient.
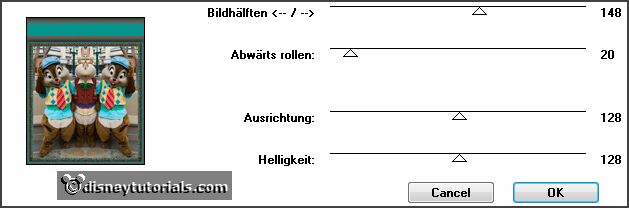
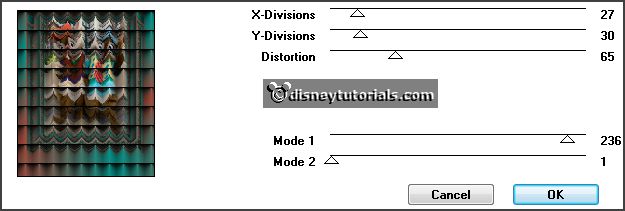
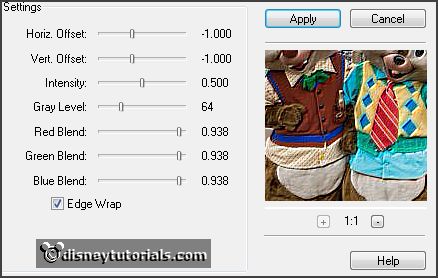
Effects - plug-ins - VM Instant Art -
Origami Folder - with this setting -
click OK.
Promote layer to selection.
Selections - select none.
11.
Layers - duplicate.
Image - flip.
Set the opacity of this layer to 50.
Layers - merge - merge down.
Effects - plug-ins - FM Tile Tools -
Blend Emboss - with this setting -
click OK.
12.
Activate the tube decoEmmy16 - edit - copy.
Edit - paste as a new layer on the image.
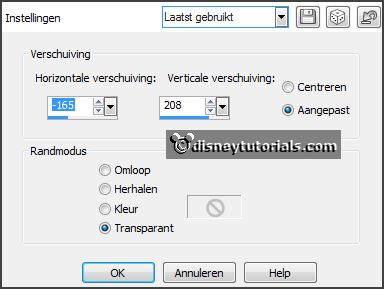
Effects - Image effects - offset - with this
setting.
Effects - plug-ins - Simple - Top Left Mirror - click OK.
13.
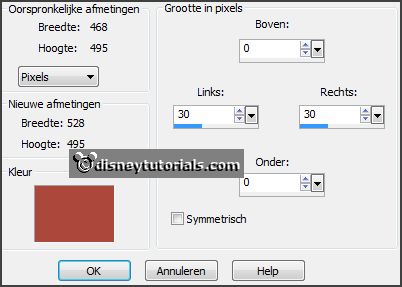
Image - add borders - not symmetric -
background color - with this setting.
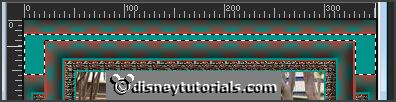
Select with the magic wand the width border.
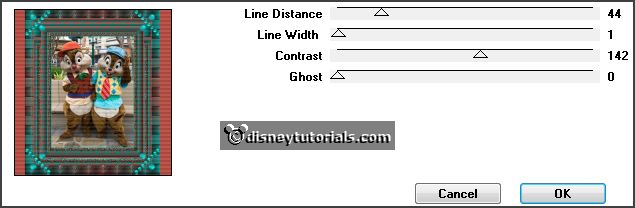
Effects - plug-ins - Penta.com - VRT2 -
with this setting - click OK.
Effects - Edge effects - enhance.
Effects - 3D Effects - Inner Bevel - setting is right.
Selections - select none.
14.
Image - add borders 3 pixels -
symmetric - foreground color.
Layers - new raster layer - put your watermark into the image.
Layers - merge - merge all layers.
File - export - JPEG Optimizer.