|

This
Tutorial is copyrighted to the Tutorial Writer, © Emmy Kruyswijk.
This Tutorial may not be forwarded, shared or otherwise placed on any Web Site
or group without written
permission from
Emmy Kruyswijk.
Many of the material are made by me.
Please respect my work and don't change the file names.
At all Disney creations must be copyrighted.
Do you want to link my lessons?
Please send
me a mail.
Needing:
3 tubes
made by me.
1 tube searched on the
internet.
1 font.
Plug-ins:
Penta.com - Color Dot
Simple - Blintz
FM Tile Tools - Blend Emboss
Simple - Diamonds
AAA Frames - Foto Frame
Tramages - Quilt
download here
Before you begins.......
Open the tubes in PSP.
Set the plug-ins in the folder plug-ins.
Minimize the font or install this.
Material

Deco

1.
File - open new transparent image
800x500.
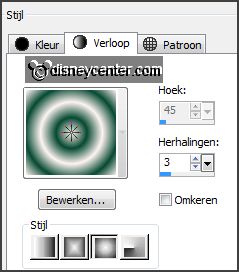
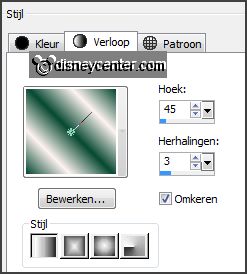
Set in the material palette the foreground color at
#fdf3f1
and the background color at
#074932.
Make from the foreground a gradient sunburst - with this setting.
2.
Activate
flood fill tool - fill the layer with the gradient.
Adjust - blur - Gaussian blur - radius 25.
Effects - plug-ins - Simple - Blintz
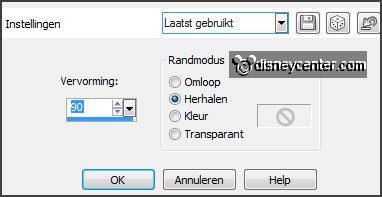
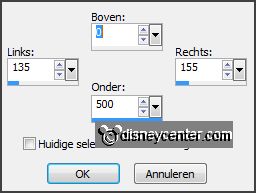
Effects - Geometric Effects - Perspective Vertical -
with this setting.
3.
Layers - duplicate.
Image - flip.
Set in the layer palette the opacity to 50.
Layers - merge - merge down.
4.
Effects - plug-ins - Simple - Diamonds.
Layers - duplicate.
Image - mirror.
Set in the layer palette the opacity to 50.
Layers - merge - merge down.
5.
Layers - duplicate.
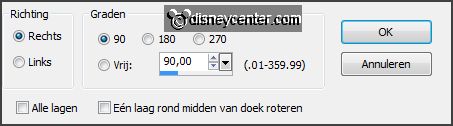
Image - free rotate -
with this setting.
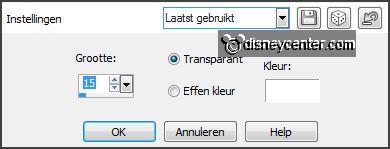
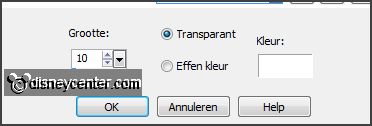
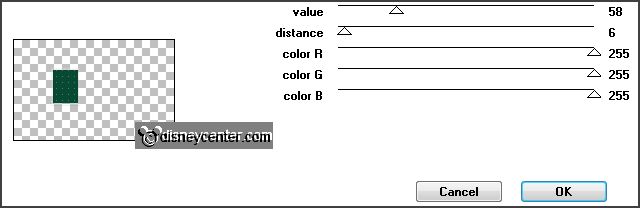
Effects - 3D Effects - chisel -
with this setting.
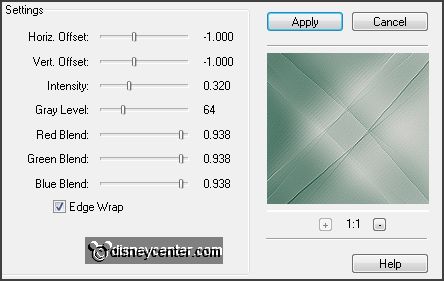
Effects - plug-ins
- FM Tile Tools - Blend Emboss -
with this setting
-
click OK.
6.
Activate the tube decoEmmy - edit - copy.
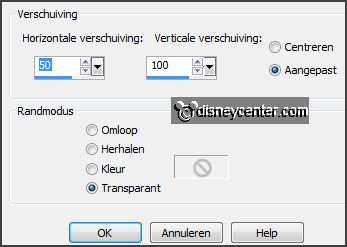
Edit - paste as a new layer on the image.
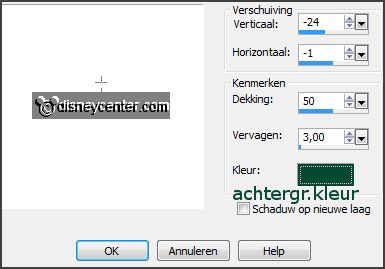
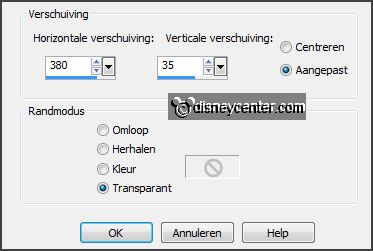
Effects - Image effects - offset -
with this setting.
Effects - 3D Effects - drop shadow - with this setting.
7.
Layers - duplicate.
Image - mirror.
Layers - merge - merge down.
8.
Layers - duplicate.
Image - resize 85% - all layers not checked.
Objects - Align - Top.
Layers - merge - merge down.
9.
Layers - new raster layer.
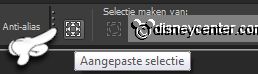
Activate selection tool - custom selection -
with this setting.
Set in the material
palette the foreground back to color.
Fill the selection with the foreground color.
Selections - select none.
10.
Image - duplicate.
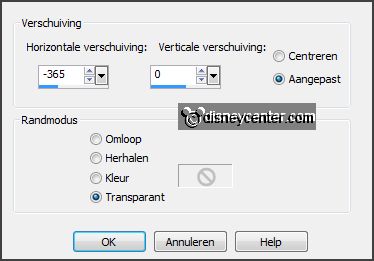
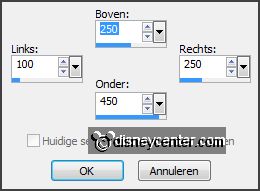
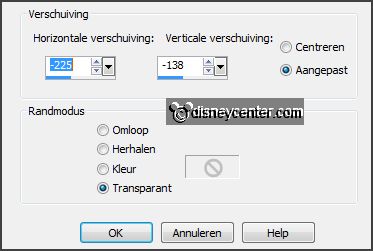
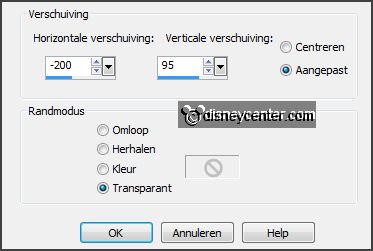
Effects - Image effects - offset
-
with this setting.

Layers - merge - merge down.
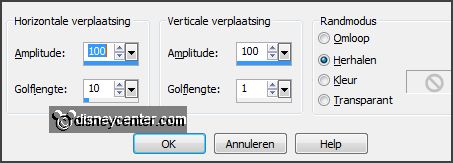
Effects - Distortion effects - wave -
with this setting.
Layers - arrange - move down - and 1 more time.
Activate selection tool - custom selection
-
with this setting.
11.
Activate the top layer.
Layers - new raster layer.
Fill the selection with the
background color.
Selections - select none.
Effects - 3D Effects - chisel -
with this setting.
12.
Layers - duplicate.
Image - resize 85% - all layers not checked.
Effects - Image effects - offset
-
with this setting.
13.
Layers - duplicate.
Image - resize 85% - all layers not checked.
Effects - Image effects - offset -
setting is right.
14.
Activate copy of raster 4.
Effects - plug-ins
- Penta.com - Color Dot -
with this setting - click
OK.
Activate the top layer.
Layers - merge - merge down
- and 1 more time.
15.
Layers - duplicate.
Image - mirror.
Layers - merge - merge down.
16.
Activate the tube decoEmmy1 -
edit - copy.
Edit - paste as a new layer on the image.
Effects - Image effects - offset
-
with this setting.
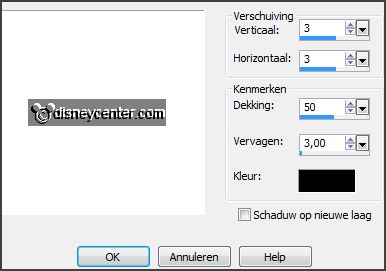
Effects - 3D Effects - drop shadow -
with this setting.
17.
Layers - duplicate.
Image - resize 50% - all layers not checked.
Effects - Image effects - offset
-
with this setting.
18.
Activate the tube element 36 -
edit - copy.
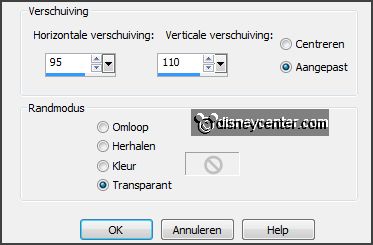
Edit - paste as a new layer on the image.
Effects - Image effects - offset
-
with this setting.
Effects - 3D Effects - drop shadow -
setting is right.
19.
Layers - duplicate.
Image - mirror.
Layers - merge - merge down.
20.
Activate the tube minniekerst10 -
edit - copy.
Edit - paste as a new layer on the image.
Effects - 3D Effects - drop shadow - setting is right.
Activate move tool - move a little to the left - see example.
21.
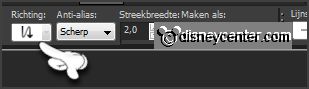
Activate text tool -
with this setting.

Write
- Christmas - convert to raster layer.
Place this - as in the example.
Activate text tool again -
change this setting.

Write
- Merry -
convert to raster layer.
Place this so - that the second R exactly is on the R of Christmas.
Lock raster 9 and activate raster 8.
22.
Activate eraser tool - size 15 - and erase the R of Christmas.
Open raster 9 again and activate the top layer.
Layers - merge - merge down.
Effects - 3D Effects - drop shadow - setting is right.
23.
Activate the tube decoEmmy -
edit - copy.
Edit - paste as a new layer on the image.
Effects - Image effects - offset
-
with this setting.
Effects - 3D Effects - drop shadow - setting is right.
24.
Layers - new raster layer -
put your watermark into the image.
Image - add border - symmetric 2 pixels - background color.
Image - add border - symmetric 25 pixels -
foreground color.
25.
Activate the magic wand - with setting below - and select the width border.

Promote selection to layer.
Set in the material
palette the foreground back to
gradient linear -
with this setting.
Fill the selection with the gradient.
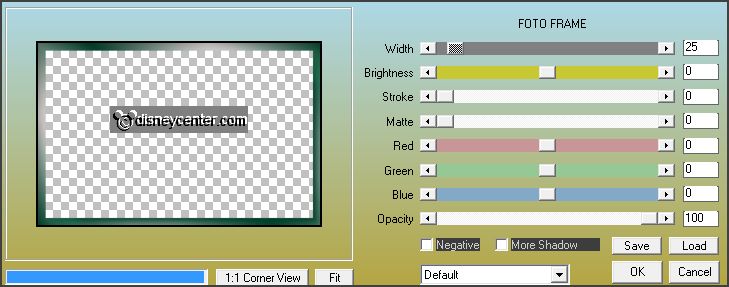
Effects - plug-ins
- AAA Frames - Foto Frame -
with this setting - click OK.
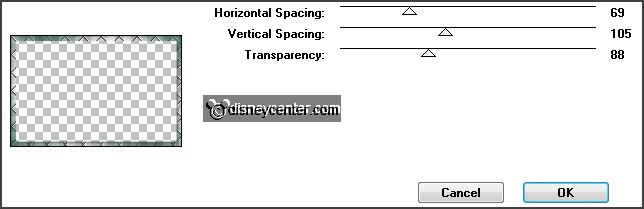
Effects - plug-ins
- Tramages - Quilt -
with this setting - click OK.
Selections - select none.
26.
Image - add border - symmetric 2 pixels -
background color.
Image - resize 85% - all layers checked.
File - export - JPEG Optimizer.
Ready is the tag
I hope you like this tutorial.
greetings Emmy
Thank you Nelly for testing.

tutorial written
08-11-2013 | 