|

This
Tutorial is copyrighted to the Tutorial Writer, © Emmy Kruyswijk
17-06-2012.
This Tutorial may not be forwarded, shared or otherwise placed on any Web Site
or group without written
permission from
Emmy Kruyswijk
At all Disney creations must be copyrighted.
Do you want to link my lessons?
Please send
me a mail.
Needing:
2
tubes, 1 image, 2 word-art -
all made by me.
Before you begins.......
Open the tubes, image and word-art in PSP,
Material

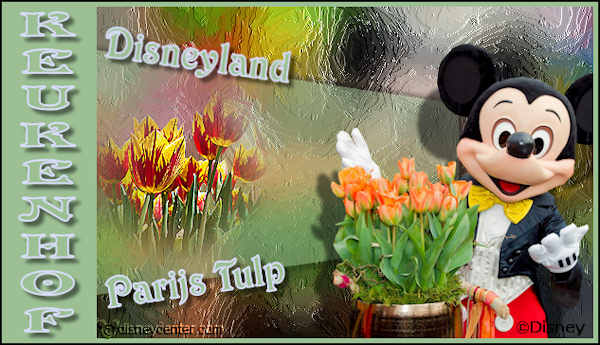
Disneyland
Paris Tulip
1.
Set in the material palette the foreground at a light color
#d8dcf9 and the background at a light/dark color #9cc094.
Activate the image (mmtulp) – Duplicate the image by clicking shift+D.
Close the original image.
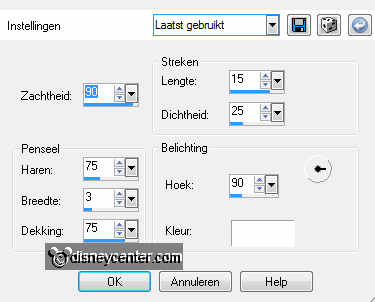
2.
Effects – Art Media Effects – brush strokes – with this setting.
Layers – new raster layer.
3.
Activate flood fill tools – and fill the layer with the background color.
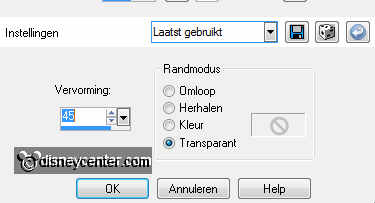
Effects – Geometrics effects – Perspective horizontal – with this setting.
4.
Image – resize format 75% - all layers not checked.
Activate move tool – move this layer to the left side.
Set in the layer palette the opacity of this layer at 50.
5.
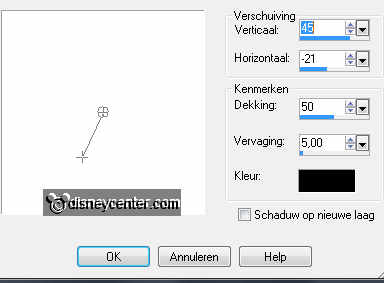
Effects – 3D Effects – drop shadow – with this setting.
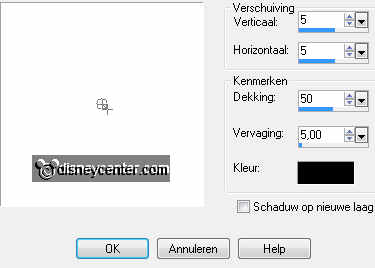
Repeat the drop shadow - now with horz. and vert. at -5.
6.
Activate the tube disneylandtulpmisted – edit – copy.
Edit – paste as a new layer on the image.
Place this to the left – see example.
Effects – Edge effects – enhance.
7.
Activate word-art-disneylandtulp – edit – copy.
Edit – paste as a new layer on the image.
Place this to the left – see example.
Effects – 3D Effects – drop shadow – with this setting.
8.
Activate the tube mmtulp – edit – copy.
Edit – paste as a new layer on the image.
Place this at the right side at the bottom – see example.
Effects – 3D Effects – drop shadow – with this setting.
9.
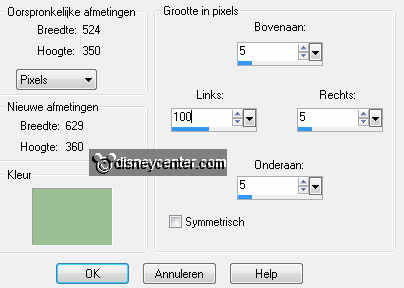
Image – add border – symmetric not checked – background color – with this
setting.
10.
Activate word-art-keukenhof – edit – copy.
Edit – paste as a new layer on the image.
Place this at the width border – see example.
11.
Image – add border – symmetric checked – 2 pixels – color black.
Layers – new raster layer – set your watermark into the image.
12.
Layers – merge – merge all layers.
Image – resize – width at 600 pixels.
File – export – JPEG Optimizer.
Ready is the tag
I hope you like this tutorial.
greetings Emmy
Tested by Cobie.

tutorial written 17-06-2012
| 