1.
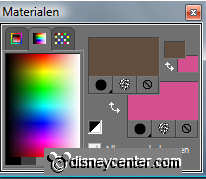
Set in the material palette the foreground at #f466a1 and the background at #614e3f.
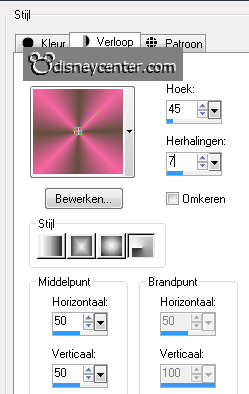
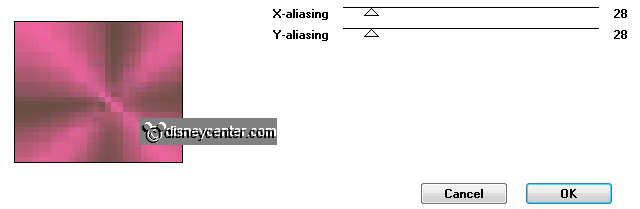
Make from the foreground a gradient radial with this setting.
2.
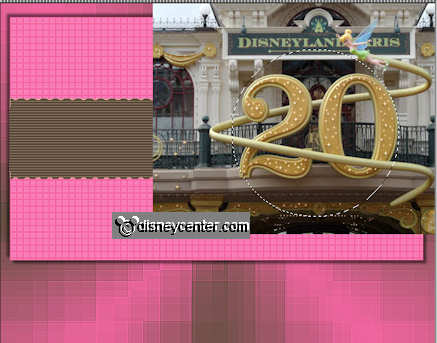
Open the template.
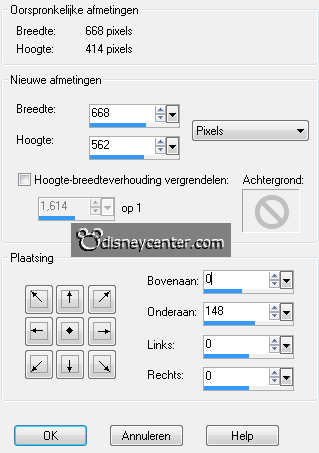
Image – canvas size – with this setting.
Lock all layers. except the bottom layer.
3.
Activate flood fill tool – fill the bottom layer with the gradient. You
should probably click two times.
Effects – plug-ins – Filter Factory H – alias blur – with this setting – click
OK.
Effects – Edge effects – enhance more.
4.
Open the second layer (LrgeRectangle) – activate the magic wand – with this
setting.

Select the grey rectangle – fill this with the flood fill – foreground color.
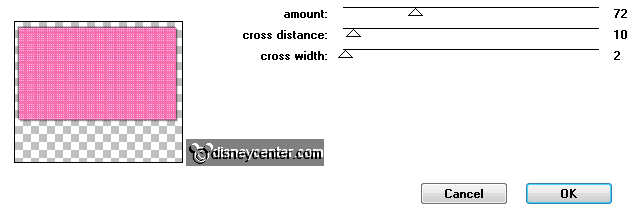
Effects – plug-ins – Penta.com – Dot and Cross – with this setting – click OK.
Effects – 3D Effects – drop shadow – with this setting.
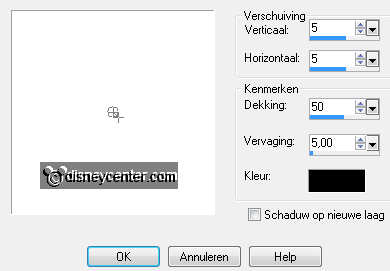
Repeat the drop shadow – now with vert. and horz. at -5.
5.
Open the third layer (ScallopLine) – activate the magic wand –
setting is right.
Select the grey small rectangle – fill this with the background color.
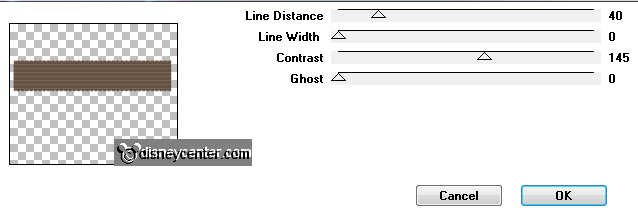
Effects – plug-ins – Penta.com – VTR2 – with this setting – click OK.
Effects – Edge effects – enhance.
.
Activate move tool – move a little down - see example.
6.
Open the fourth layer (BlkCircle) – activate the magic wand –
setting is right.
Select the black circle.
Activate the image 20jaardlp – edit - copy.
Edit – paste as a new layer on the image.
7.
Activate move tool – move the image right at the top – see below.
Selections – invert – click at the delete key.
Selections – select none.
Delete in the layer palette the black circle.
8.
Open in the layer palette the White Scallop – select with the magic wand
this layer – setting is right.
Fill with the flood fill the selection – color #750738.
Effects – plug-ins – Penta.com – VTR2 – setting is right – click OK.
9.
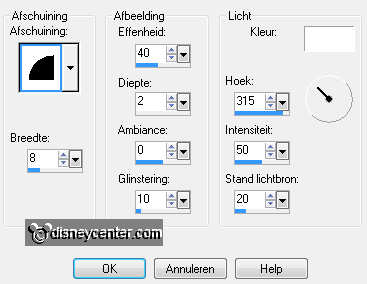
Effects – 3D Effects – Inner Bevel – with this setting.
Selections – select none.
Layers – merge – merge down.
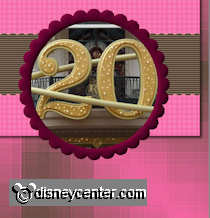
Activate move tool and move the circle a little to the left and down
– see below and example.
10.
Activate the tube White-Blk Scallop – edit - copy.
Edit – paste as a new layer on the image.
11.
Move this in the left upper corner with the move tool – see example.
Layers – duplicate.
Image – mirror – image – flip.
12.
Activate the tube min20jaardlp – edit - copy.
Edit – paste as a new layer on the image.
13.
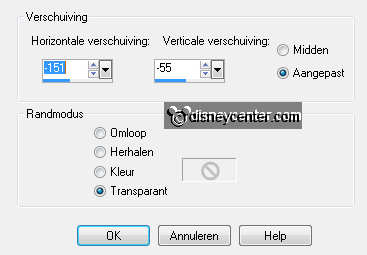
Effects – Image effects – off set – with this setting.
Effects – 3D Effects – drop shadow – with this setting.
Turn the colors in the material palette – see below.
14.
Activate text tool – with this setting.

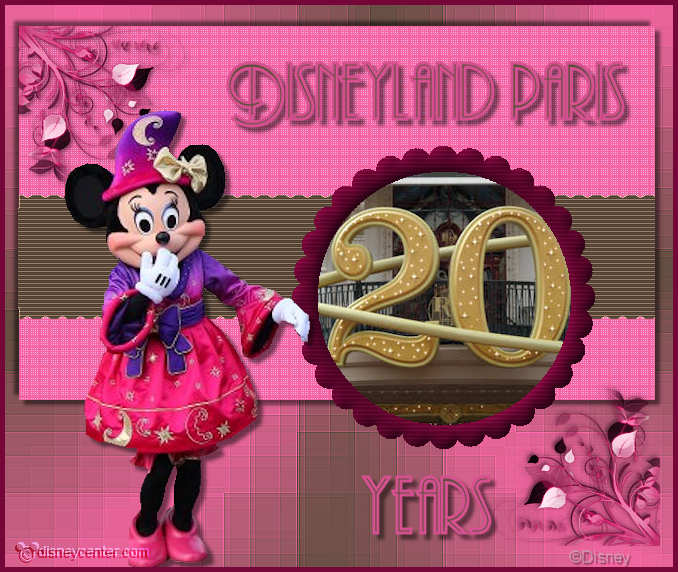
Write – Disneyland Paris – convert to raster layer.
Effects – 3D Effects – drop shadow – setting is right.
Move this with the move tool right at the top – see example.
15.
Activate text tool – and write – Years – convert to raster layer.
Effects – 3D Effects – drop shadow – setting is right.
Move this with the move tool right at the bottom – see example.
16.
Delete in the layer palette the top layer (info).
Layers – new raster layer – put your watermark into the image.
Image – add border – symmetric – 5 pixel – color #750738.
File – export – JPEG Optimizer.