4 tubes, font Cocktail shaker, preset shape BV Susan 03
filter: Screenworks - Pixel Shade
Materials

Put the plug-ins in the folder plug-ins.
Dumbo
1. Open a new image 600x400.
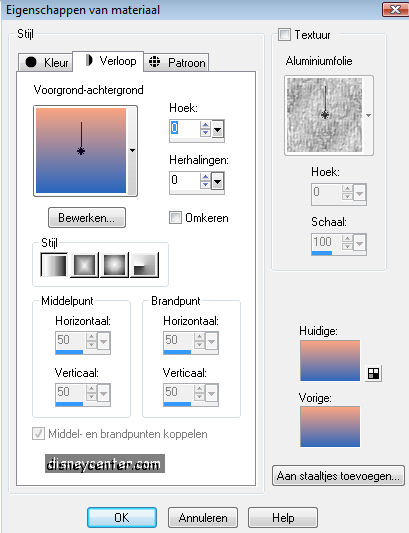
2. Flood fill with gradient, foreground color #2965bf and background
color #f9a483
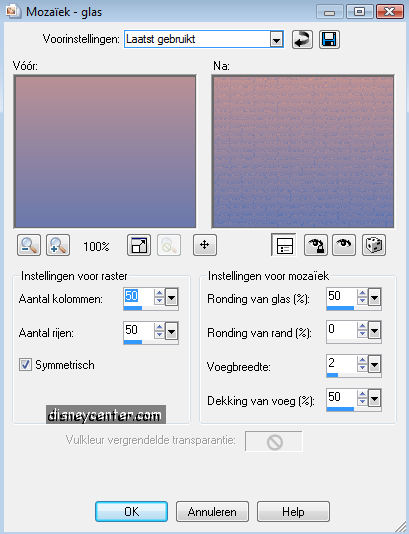
Go to Effects - Texture Effects - Mosaic glass...
3. Go to Preset Shape Tool and find BV Susan 03.
4.Go from right to left around 150 high.
5. Edit - copy - paste as a new layer.
6. Go back to your image and delete this layer.
7. Go back to the other image the BV Susan 03.
8. Go to the Crop Tool and crop the uneven squares, see below
.
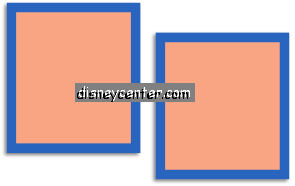
9. Copy and paste as a new layer at your image. Place the links
above.
10. Go to Effects - 3D Effects - drop shadow Vert.2, Horz.-2,
Opacity 50, Blur 5.00
11. Duplicate this layer and place this left below.
12. Stay at raster 1.
13. Copy the Dumbo001_cmh tube and paste as a new layer.
14. Place this right below.
15. Duplicate this layer.
16. Stay at the first tube layer.
17. Go to Effects - Distortion effects - wind from right 100
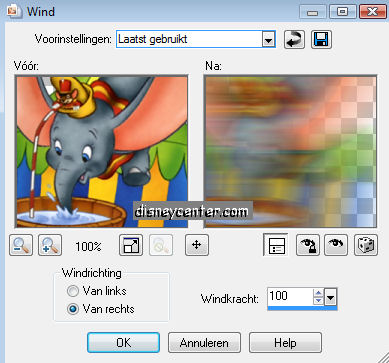
18. Repeat point 17 but now from left 100.
19. Stay at the copy of the tube layer.
20. Effects - 3D Effects - Drop Shadow Vert.2, Horz.2, Opacity 50,
Blur 5.00
21. Go to Text Tool and write Dumbo & Timothy.

22. Give the same drop shadow as in point 20.
23. Put your watermark in the image.
24. Image - Add border 40 color white.
26. Select the white border and flood fill this with the gradient as
in point 2. Only now checked invert.
27. Let selection stay.
28. Effects - Screenworks - Pixel Shade
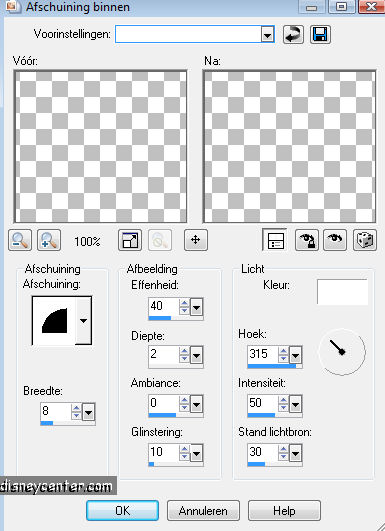
29. Effects - 3D Effects - Inner Bevel
30. Selections - select none.
31. Image - add border 10 background color.
32. Image - add border 40 foreground color.
33. Select this border and flood fill this with gradient. Invert not
checked.
34. Repeat point 27, 28 and 29.
35. Copy the Dumbo82 tube and paste as a new layer.
36. Place this left below.
37. Duplicate this layer. Image - mirror. This stays now right
below.
38. Copy the Dumbo83 tube and paste as a new layer.
39. Place this to the top right.
40. Duplicate this layer. Image - mirror. This stays now at the top
left.
41. Layers- merge - Merge all layers.
42. Image - Resize format 75 %.
43. Now we make the animation.
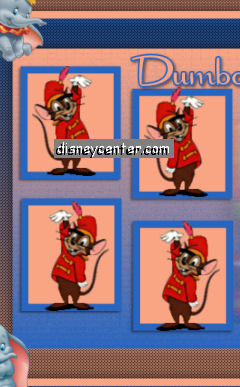
44. Copy the Dumbo84 tube and paste as a new layer.
45. Place this in the first square left.
46. Duplicate 3 times more and place them in the other squares.
47. For the bottom 2 go to Image - Mirror. see below
48. Lock the top 3 layers and stay at the background layer.
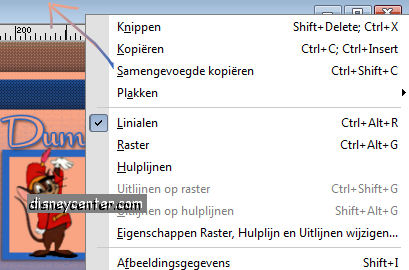
49. Click on the edge of the image (see below) and then copy
merged .
50. Open now animation shop.
51. Paste as a new animation.
52. Back to PSP Lock raster 1 and open copy of raster1
53. Repeat point 49 and paste after active frame.
54. Back to PSP Lock copy of raster1 and open copy(2) of raster1.
55. Repeat point 49 and paste after active frame.
56. Back to PSP Lock copy(2) of raster1 and open copy(3) of raster1.
57. Repeat point 49 and paste after active frame.
58. In animation shop. Edit - Select all.
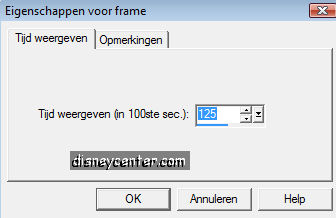
59. Animation - Frame Properties - 125.
60. File - Save as....Give name
Ready is the tag
I hope you like this tutorial.
greetings Emmy,

Tutorial written
14-04-2010