|

This
Tutorial is copyrighted to the Tutorial Writer, © Emmy Kruyswijk
21-01-2013.
This Tutorial
may
not be forwarded, shared or otherwise placed on any Web Site or group without written
permission from
Emmy Kruyswijk.
Many of the material are made by me.
Please respect my work and don't change the file names.
At all Disney creations must be copyrighted.
Do you want to link my lessons?
Please send
me a mail.
Needing:
6
tubes, 2 selections and 1 image - all made by me.
Filters: Penta.com - Jeans, AAA Frames - Foto Frame,
Download here
Before you begins.......
Open the tubes and word-art in PSP,
Set the plug-ins in the folder
plug-ins and the selections in the folder selections.
Material

This lesson is translated in
 by
Xena by
Xena
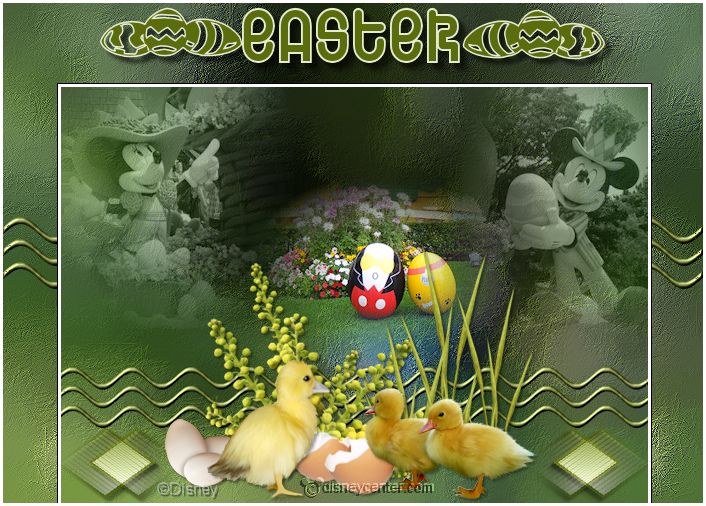
Easter Eggs
1.
File - open new transparent image 700x500.
Convert to raster layer.
Set in the material palette the foreground color on #e4ebcf
and the background on #5b6c0c.
Selections - select all.
2.
Activate the image easterlilo - edit - copy.
Edit - paste into selection.
Selections - select none.
3.
Adjust - blur - Gaussian blur - radius 20.
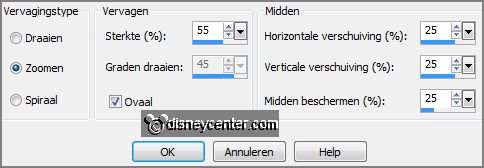
Adjust - blur - radial blur - with this
setting.
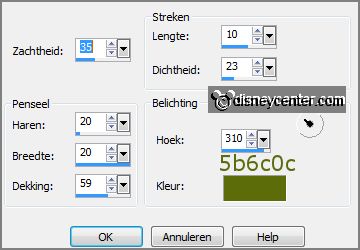
Effects - Art Media effects - brush strokes - with
this setting.
4.
Repeat radial blur - setting is right.
Repeat Art Media effects - brush strokes - setting is right.
5.
Activate the tube Emmymisted1 - edit - copy.
Edit - paste as a new layer on the image.
Activate move tool - set the tube in the right upper corner.
Set in the layer palette the blend mode to Luminance (Legacy).
Set the opacity of this layer to 61.
6.
Activate the tube Emmymisted2 - edit - copy.
Edit - paste as a new layer on the image.
set the tube in the left upper corner.
Set in the layer palette the blend mode to Luminance (Legacy).
Set the opacity of this layer to 61.
7.
Activate the tube Emmymisted3 - edit - copy.
Edit - paste as a new layer on the image.
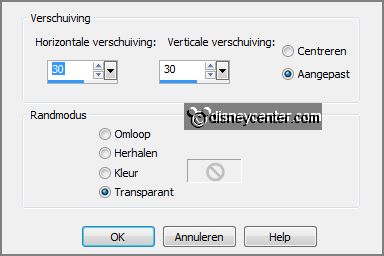
Effects - Image effects - offset - with
this setting.
8.
Selections - load/save selection - load selection from disk - look
Emmyeastereggs1 - with this setting.
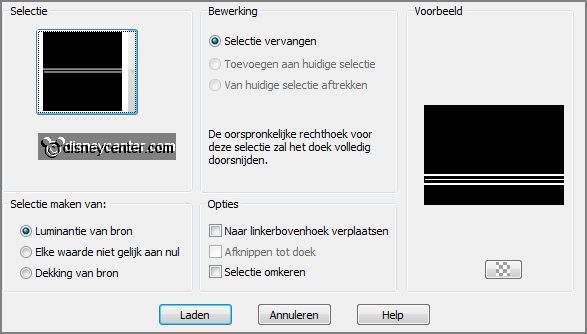
Layers - new raster layer.
Fill the selection with the background color.
Selections - select none.
9.
Effects - Distortion effects - Wave -
with this setting.
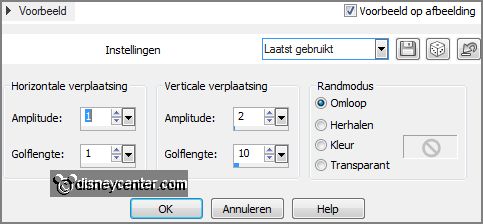
Effects - 3D Effects - Inner Bevel - with this
setting.
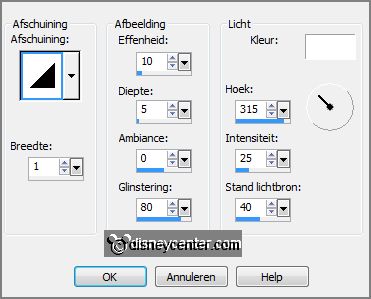
Effects - 3D Effects - drop shadow - with this
setting.
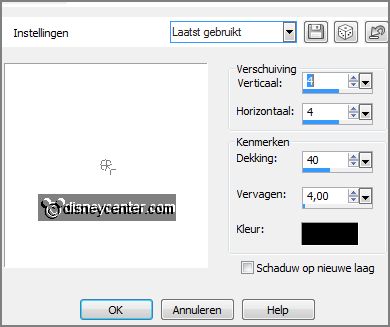
10.
Selections - load/save selection - load selection from disk - look
Emmyeastereggs2 - with this setting.
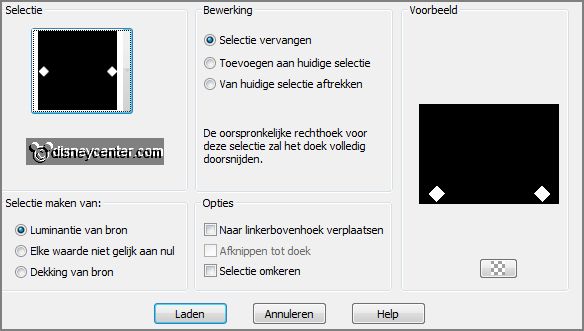
Layers - new raster layer.
Fill the selection with the background color.
Selections - modify - contract 3 pixels.
11.
Set in the material palette the foreground on gradient linear -
with this setting.
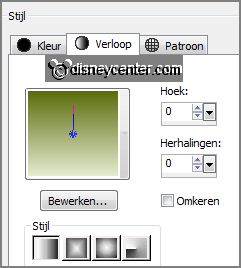
Fill the selection with the gradient.
Effects - plug-ins - Penta.com - Jeans - with this setting - click OK.

Selections - select none.
12.
Effects - Image effects - seamless tiling -
with this setting.
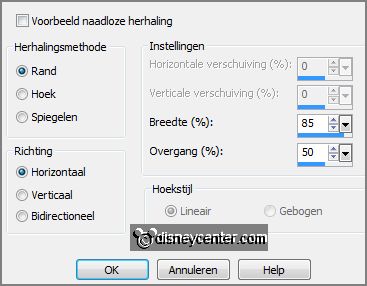
Effects - 3D Effects - drop shadow -
setting is right.
Layers - duplicate.
Layers - merge - merge down.
13.
Effects - 3D Effects - drop shadow - setting is right.
Objects - Align - left.
Layers - duplicate.
Image - mirror.
14.
Layers - merge - merge down.
Layers - merge - merge all.
Layers - duplicate.
15.
Image - resize 85% - all layers not checked.
Objects - Align - bottom.
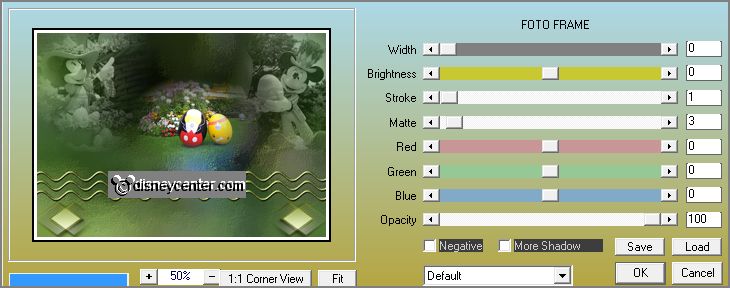
Effects - plug-ins - AAA Frames - Foto Frame -
with this setting - click OK.
16.
Make the bottom layer active.
Adjust - blur - Gaussian blur - radius 20.
Effects - Art Media effects - brush strokes - setting is right.
17.
Activate the tube golvenrand - edit - copy.
Edit - paste as a new layer on the image.
Activate the top layer.
18.
Activate the tube Emmyeastercluster - edit - copy.
Edit - paste as a new layer on the image.
Objects - Align - bottom.
19.
Activate the tube Emmyeastereggs - edit - copy.
Edit - paste as a new layer on the image.
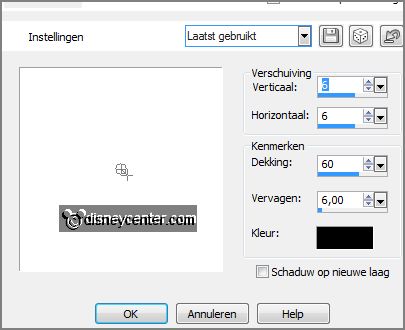
Objects - Align - top - you can also move the tube a little down.
Effects - 3D Effects - drop shadow - with
this setting.
20.
Layers - new raster layer - put your watermark into the image.
Make copy of background active.
Move a little to the bottom, so that the white edge
disappears.
21.
Image - add border - symmetric 3 pixels -color white.
File - export - JPEG Optimizer.
Ready is the tag
I hope you like this tutorial.
greetings Emmy
Tested by Nelly

tutorial written 21-01-2013.
|