#b3a7cb and background color #fde285
1.
Open new image 700x600 - fill this with the foreground color.
New raster layer - fill this with the background color.
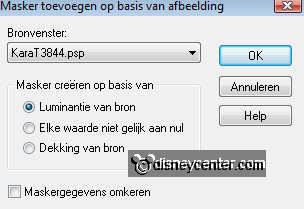
Layers - New mask layer - from image - Look KaraT3844 - with this setting.
Layers - merge - merge group.
Effects - Edge Effects - Enhance.
Effects - texture effects - Emboss.
2.
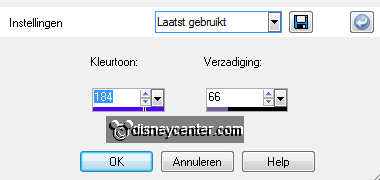
Adjust - Hue and Saturation - Colorize - with this setting.
Move this right at the bottom.
Duplicate this layer - move this left at the top.
3.
Copy DBV Easter2010 frame - and paste as a new layer.
Place this about 100 pixels from the top.
Go to selection tool - Free hand selection - point to point.
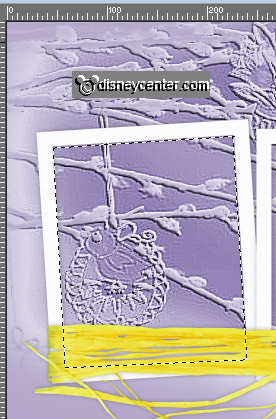
Select the first frame.
Selections - modify - expand 3.
4.
Copy easter - and paste as a new layer.
Move this so....that Minnie is selected in the frame. see example.
Selections - invert - click at the delete key of your keyboard.
Selections - select none.
5.
Select the second frame - the same way you have done in point 3.
Selections - modify - expand 3.
Paste as a new layer. (stays in memory) - Make sure that Easter Wonderland is in
the frame. see example.
Selections - invert - click at the delete key of your keyboard.
Selections - select none.
6.
Select the third frame - the same way you have done in point 3.
Selections - modify - expand 3.
Copy Easter - and paste as a new layer.
Make sure that Mickey is in the frame. see example.
Selections - invert - click at the delete key of your keyboard.
Selections - select none.
7.
Layers - merge - merge down - Repeat this 2 more times.
Layers - Arrange - move down.
Layers - merge - merge down.
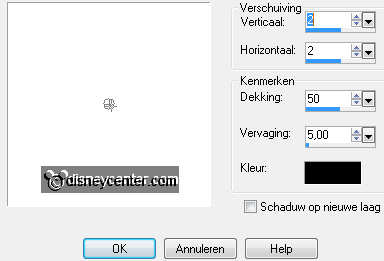
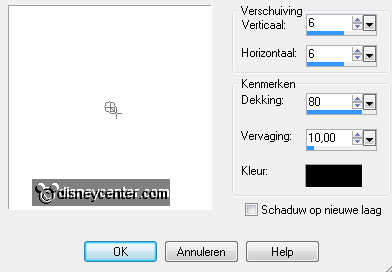
Effects - 3D Effects - drop shadow with this setting.
8.
Copy DBV Easter2010 element 15 and paste as a new layer.
Place this left at the bottom.
Image - Resize 75% - resize all layers not checked.
Give the same drop shadow as in point 7.
9.
Copt DBV Easter 201 element 16 and paste as a new layer.
Place this on the grass.
Image - Resize 75% - resize all layers not checked.
Give the same drop shadow as in point 7.
10.
Copy DBV Easter element 9 and paste as a new layer.
Image - Resize 35% - resize all layers not checked.
Give the same drop shadow as in point 7.
Place this between the second and the third frame below.
Duplicate this layer - image - mirror.
11.
Go to text tool - font Easter Egg - size 48 - stroke width 2.
Foreground color # #7766a2 and background color #cfc8de.
Write - Easter - convert to raster layer.
Give the same drop shadow as in point 7.
Place this in the right top corner.
12.
Layers - merge - merge all.
Image - Resize 75% - resize all layers checked.
New raster layer - put your watermark into the image.
13.
Image - add border 1 - color #7766a2 (as before from the text)
Image - add border 20 - background color (as before from the text)
Selections - select all - selections - modify - contract 20.
Effects - 3D Effects - drop shadow with this setting.
Repeat the drop shadow, but now -6.
14.
Image - add border 1 - color #7766a2.
File - export- jpeg optimizer.

