1.
Set in the material palette the foreground color at #c5b27f and the
background color at #5d4d32.
Activate the image forest.
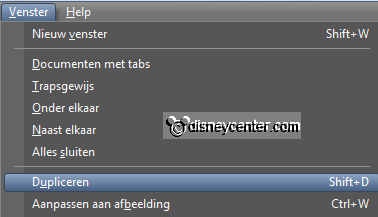
Window – duplicate – close the original image.
2.
Adjust – blur - Gaussian blur – radius at 20.
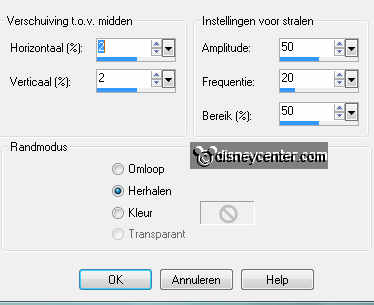
Effects – distortion effects – Spiky Halo – with this setting.
3.
Effects – Edge effects – enhance more.
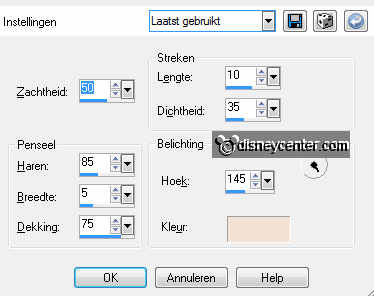
Effects – Art Media effects – brush strokes – with this setting.
4.
Activate the tube forest-tree – edit – copy.
Edit – paste as a new layer on the image.
5.
Activate move tool – put the tube in the right upper corner.
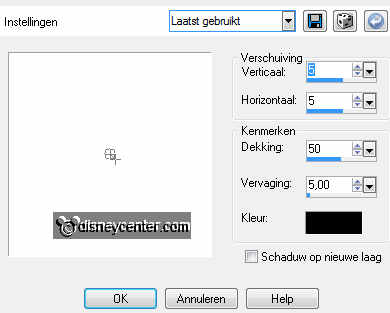
Effects – 3D Effects – drop shadow – with this setting.
6.
Activate the tube rotsplanten - edit – copy.
Edit – paste as a new layer on the image.
7.
Image - resize 75% - all layers not checked.
Activate move tool – set the tube right below.
Effects – 3D Effects – drop shadow – settings are right.
8.
Activate the tube pocahontas - edit - copy.
Edit – paste as a new layer on the image.
9.
Activate move tool – set the tube left below.
Effects – plug-ins – Alien Skin Eye Candy 5 Impact –
Perspective Shadow – settings – User settings – click at Emmeyforest
– click OK
10.
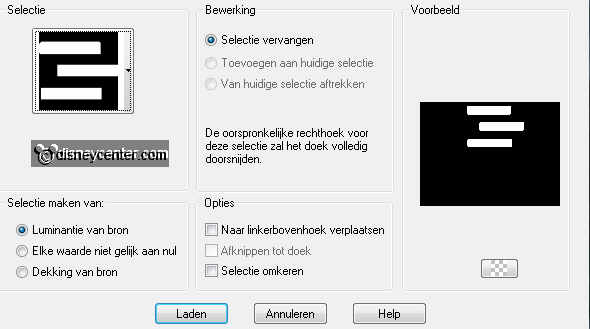
Selections – load/save selection – load selection from disk –
look Emmyforest – with this setting.
11.
Layers – new raster layer.
Activate flood fill tool – fill the selection with the foreground
color.
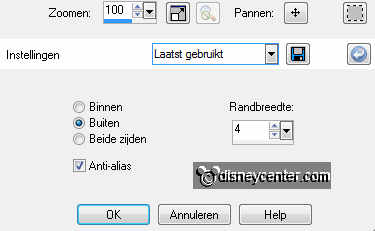
Selections – modify – select selected borders – with this setting.
12.
Activate flood fill tool - fill the selection with the background
color.
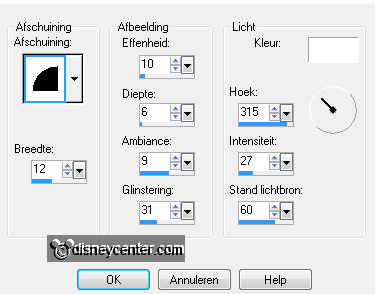
Effects – 3D Effects – Inner Bevel – with this setting.
Selections - select none.
13.
Activate the tube meeko – edit copy.
Edit – paste as a new layer on the image.
Image – resize 50% - all layers not checked.
14.
Activate move tool – set the tube in the middle at the bottom.
Layers – set the blend modus of this layer at Luminance (legacy).
Effects – plug-ins – Alien Skin Eye Candy 5 Impact –
Perspective Shadow – settings – User settings – click op Emmeyforest
– click OK.
15.
Image – add border 3 – symmetric – background color.
Image – add border 25 – symmetric – foreground color.
Image – add border 3 – symmetric – background color..
16.
Activate the magic wand - with this setting - and select the width
border (25).

17.
Make in the layer palette of the foreground color a gradient linear
– with this setting.
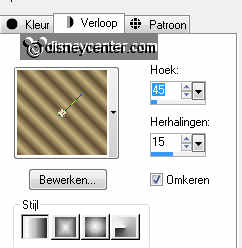
Activate the flood fill – and fill the selection with the gradient.
18.
Effects – plug-ins– Kiwi Oelfilters – Leinwand – with this setting.
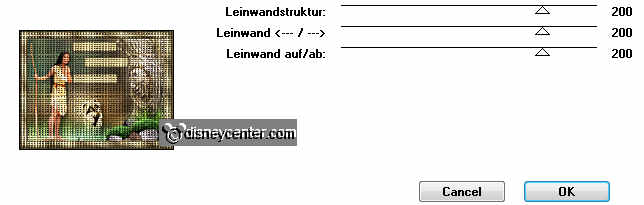
Effects – Edge effects - enhance.
Selections – select none.
19.
Layers - new raster layer – put your watermark into the image.
Layers – merge – merge all.
20.
Activate word-art Emmyforest – edit - copy.
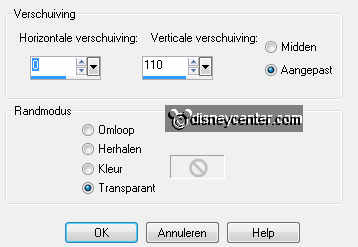
Edit – paste as a new layer on the image.
Effects – Image effects – offset – with this setting.
21.
Layers – duplicate – 3 times.
Lock in the layer palette the 3 top layers.
Make raster 1 active.
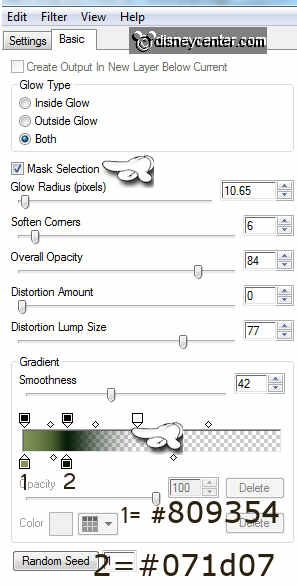
22.
Effects – plug-ins – Alien Skin Eye Candy 5 Impact – Gradient Glow –
with this setting - click OK.
Lock this layer and copy of raster 1.
23.
Repeat Gradient Glow – settings are right. Change color 1 in
white – click OK.
Lock this layer and open copy(1) of raster 1.
24.
Repeat Gradient Glow – settings are right. Change color 1 in #1a1f0f
– and color 2 in #15430b - click OK.
Lock this layer and open copy(2) of raster 1.
25.
Repeat Gradient Glow – settings are right. Change color 1 in
#c5b27f– and color 2 in black - click OK.
Lock this layer and open raster 1.
26.
Make the bottom layer active – edit – copy merged.
Open Animation Shop – edit - paste as a new animation.
27.
Back to PSP – lock raster 1 and open copy of raster 1.
Edit - copy merged.
In AS – paste after active frame.
28.
Back to PSP – lock copy of raster 1 and open copy(1) of
raster1.
Edit - copy merged.
In AS – paste after active frame (last frame).
29.
Back to PSP – lock copy(1) of raster 1 and open copy(2) of
raster1.
Edit - copy merged.
In AS – paste after active frame (last frame)
30.
Edit – select all.
Open animation Emmyforest – edit – select all.
Edit – copy.
31.
Activate the image – edit – paste into selected frame.
Place this left below in the image.
32.
Animation – Frame Properties at 75.
File - save as - give name - click 3
times at next and than at finish.