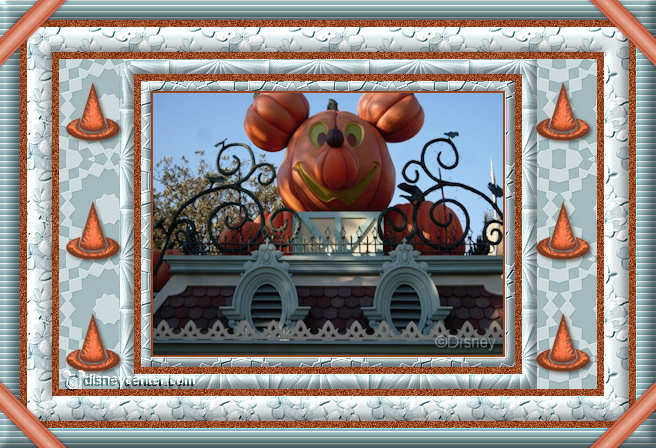
Frame
Halloween
Coloring pattern or accent. Here's how to do.
Click the foreground color - you see this screen.
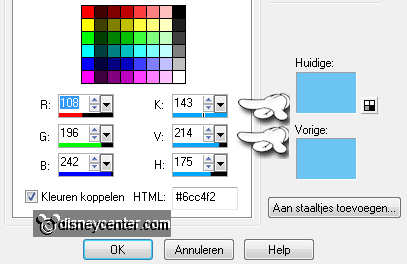
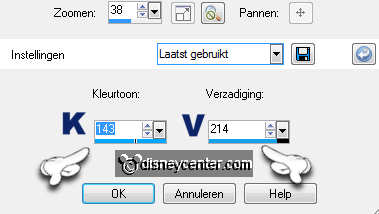
Go to Adjust - Hue and Saturation - Colorize.
As you enter the numbers that K 143 and V 214 in the previous graphic.
1.
Open your image do shift + D and close your original image.
Image - add border 2 pixels - symmetric checked - background color.
Set your background to pattern Adreambgr - with this setting.
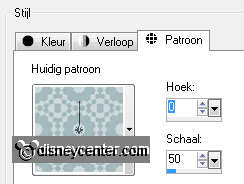
Image - add border 10 pixels - symmetric checked - color white.
Select the white border with your magic wand - with this setting

2.
Fill it with the pattern Adreambgr. Any colorize - see above.
Effects - FM Tile Tools - Blend Emboss - default setting.
Repeat Blend Emboss.
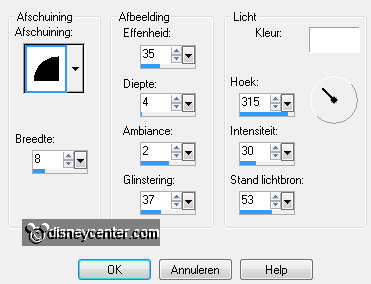
Effects 3D Effects - Inner Bevel - with this setting.
Selections - select none.
3.
Image - add border pixels 7 - symmetric checked - background color.
Select the border - adjust - add noise / remove - add noise - with this setting.

Selections - select none.
4.
Image - add border 15 pixels - symmetric checked - color white.
Set your background to pattern babykbgr - setting is correct.
Select the white border - flood fill with pattern babykbgr. Any colorize - see
above.
Effects - FM Tile Tools - Blend Emboss - default setting.
Apply the same inner bevel as in step 2.
Selections - select none.
5.
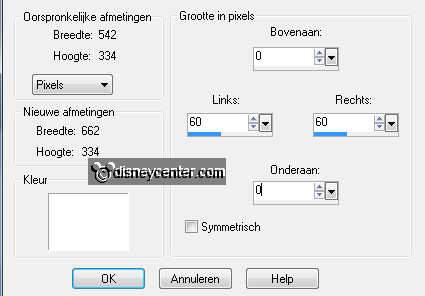
Image - Add Borders - Symmetric unchecked - with this setting - color white.
Set your background to pattern Adreambgr - setting is good.
Select the white border - flood fill with pattern Adreambgr. Any colorize - see
above.
Selections - select none.
6.
Open pfl_accents13 - copy an image. (One you like)
Paste as new layer to the image.
Image - resize 75% - all layers unchecked. (Is different for each image)
Place it on the wide border at the top left.
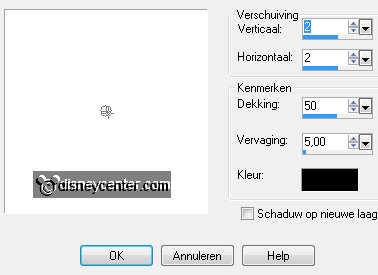
Effects - 3D Effects - Drop Shadow - with this setting.
7.
Duplicate this layer - place it in the middle.
Duplicate again - and put it down.
Layers - merge - merge down - and again.
Duplicate the merged layer - image - mirror.
8.
Image - add border pixels 7 - symmetric checked - background color.
Select the border - adjust - add noise / remove - with the same setting as in
Step 3.
Selections - select none.
9.
Image - add border 25 pixels - symmetric checked - color white.
Set your background to pattern bcindbgr - setting is good.
Select the white border - flood fill with pattern bcindbgr. Any colorize - see
above.
Effects - FM Tile Tools - Blend Emboss - default setting.
Apply the same inner bevel as in step 2.
Selections - select none.
10.
Image - add borders 7pixels - symmetric checked - background color.
Select the border - adjust - add noise / remove - with the same setting as in
Section 3.
Selections - select none.
11.
Image - add border 20 pixels - symmetric checked - foreground color.
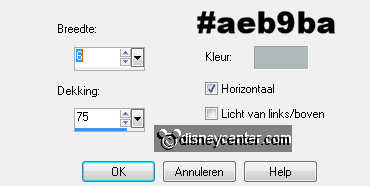
Select the border - Effects - texture effects - blinds - with this setting -
color # aeb9ba.
Effects - FM Tile Tools - Blend Emboss - default setting.
Apply the same inner bevel as in step 2.
Selections - select none
12.
Copy
Ribbons -6-6-LM and paste as new layer to the image.
Adjust - hue and saturation - colorize - with the background color. see above.
Image - Free Rotate - Right 45.
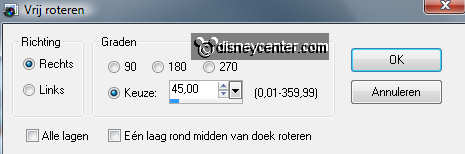
Place the bottom left. see example.
Apply the same drop shadow as in step 6.
13.
Duplicate this layer - image - mirror.
Duplicate- Image - flip.
Duplicate - image - mirror.
14.
New layer - put your watermark in the picture.
Layers - merge - merge all layers.
File - Export - JPEG optimizer.
Ready is the tag
I hope you like this tutorial.
greetings Emmy
Tested by Bep

Tutorial written
25-09-2011

