
This
Tutorial is copyrighted to the Tutorial Writer, © Emmy Kruyswijk 2011.
This Tutorial
may
not be forwarded, shared or otherwise placed on any Web Site or group without written
permission from
Emmy Kruyswijk
Do you want to link my lessons?
Please send
me a mail.
Materials:
download
here
1
plaatje,
1 corner
filter: BorderMania - Frame 2, VM
Distortion - Tiles a GoGo.
Xenoflex1 - Constellation,
Screenworks - Aged Mosaic.
Download
hereZet de filters in de map plug-ins
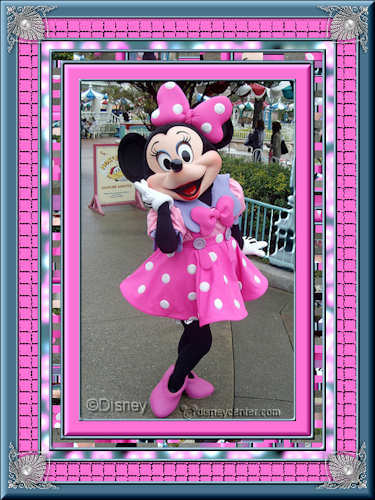
Frame Minnie
Foreground color #49738c and background
color
#fd72d5
1. Open your image _ shift +D - Close the original.
2. Image - add border 3 - foreground color.
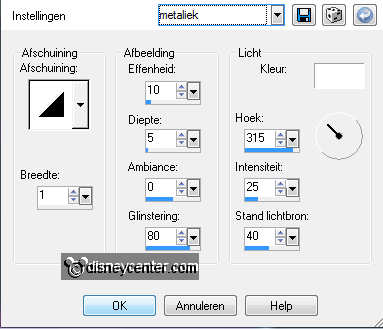
3. Select the border - Effects - 3D Effects - Inner Bevel with this setting.
4. Selections - select none.
5. Image - add border 20 - background color.
6. Select the border.
7. Effects - Border Mania - Frame 2 - with this setting.

8. Selections - select none.
9. Image - add border 5 - foreground color.
10. Select the border - Give the same Inner Bevel as in point 3.
11. Image - add border 10 - background color.
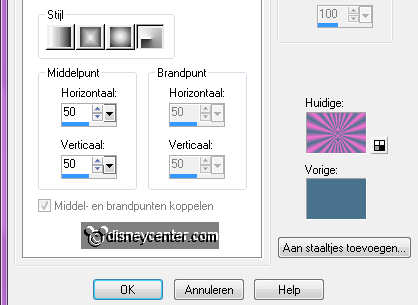
12. Select the border - fill this with the gradient radial.
13. Effects - VM Distortion - Tiles a GoGo - with this setting.

13. Selections - select none.
14. Image - add border 5 - color yellow (choose a color that's not in the image).
15. Select the border - fill this with the foreground color.
16. Give the same Inner Bevel as in point 3.
17.
Image - add border 10 - background color.
19. Select the border.
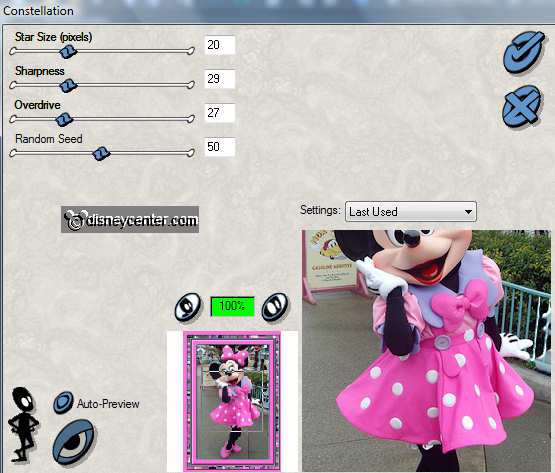
20. Effects - Xenoflex1 - Constellation - with this setting.
21. Selections - select none.
22. Image - add border 5 - color
yellow.
23. Select the border - fill this with the
foreground color
24.
Give the same Inner Bevel as in
point 3.
25. Selections - select none.
26.
Image - add border 25 - background color.
27. Select the border - Effects - Screenworks - Aged Mosaic
31. Selections - select none.
32.
Image - add border 5 - foreground color.
33.
Select the border -
Give the same Inner Bevel as in
point 3.
34.
Selections - select none.
35.
Image - add border 20 - foreground color.
36.
Select the border.
37. Effects - Border Mania - Frame 2 - with the same setting as in point 7.
38. Copy the corner and paste as a new layer.
39. Place this in the left upper corner.
40. Duplicate this layer - image - mirror - duplicate - image- flip -
duplicate - image - mirror.
Now they are in all the corners.
41. Put your watermark into the image.
42. Image- Resize 375x500. Or what you like.
43. File - export - jpg optimizer.
Ready is the tag
I hope you like this tutorial.
greetings Emmy,

Tutorial written 05-09-2009
