1.
File - open new transparent image 800x550.
Set in the material palette the foreground
color at #dfebf9 and the background color
at
#800000.
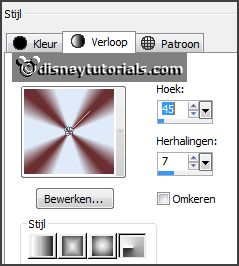
Make from the foreground a gradient radial -
with this setting.
2.
Activate flood fill tool - fill the layer with the gradient.
Adjust - blur - Gaussian blur - radius 35.
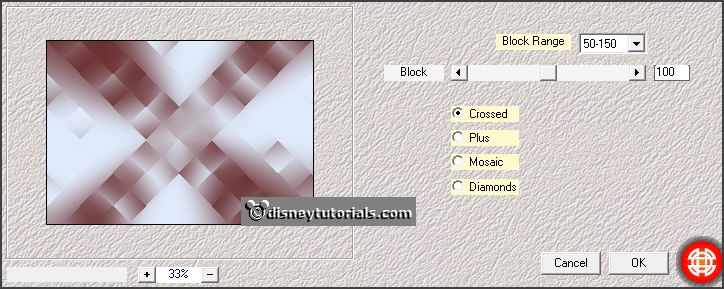
Effects - plug-ins - Mehdi - Sorting Tiles - with this setting - click
OK.
Effects - Edge effects - enhance.
3.
Layers - duplicate.
Effects - plug-ins - Mehdi - Sorting Tiles - with this setting - click OK.
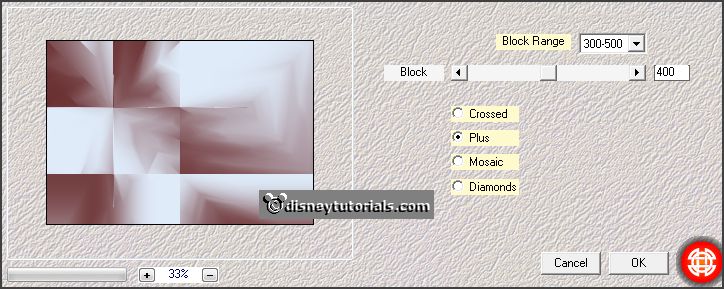
Set in the layer palette the blend mode at soft light and the opacity to 82.
Layers - merge - merge down.
4.
Effects - plug-ins - Simple - Blintz.
Effects - plug-ins - Simple - 4 Way Average.
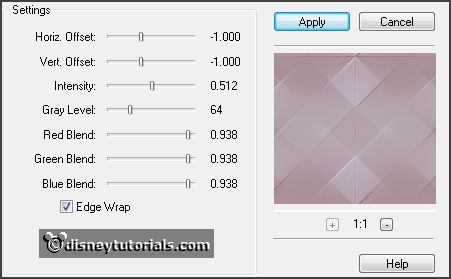
Effects - plug-ins - FM Tile Tools - Blend Emboss -
with this setting - click Apply.
5.
Layers - new raster layers.
Fill the layer with the background color.
Layers - load/save mask - load mask from disk - look emmymask11 -
with this setting.
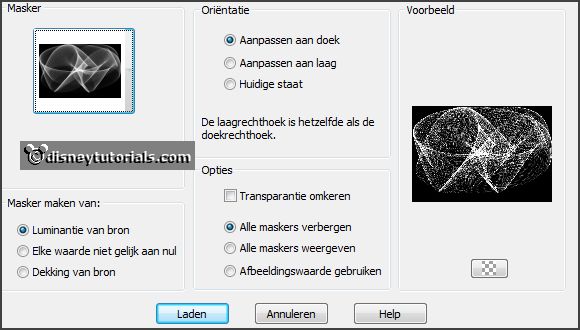
Layers - merge - merge down.
Set the opacity of this layer to 25.
Effects - Edge effects - enhance more.
6.
Layers - new raster layers.
Selections - load/save selection - load selection from disk - look emmyfrostychr
-
with this setting.
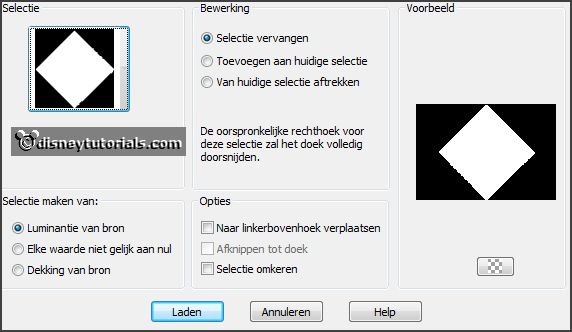
Fill the selection with the gradient.
Adjust
- blur - Gaussian blur - radius 35.
7.
Let selection stay.
Layers - new raster layers.
Fill the selection with the background color.
Selections - modify - contract 8 pixels - click at the delete key.
Selections - select none.
8.
Layers - duplicate.
Image - resize 75% - all layers not checked.
Layers - merge - merge down.
Activate the magic wand -
with this setting below - select between the borders.

Selections - modify - expand 5 pixels.
9.
Layers - new raster layers.
Fill the selection with the background color.
Effects - plug-ins - Carolaine and Sensibility - cs-textures -
with this setting - click OK.
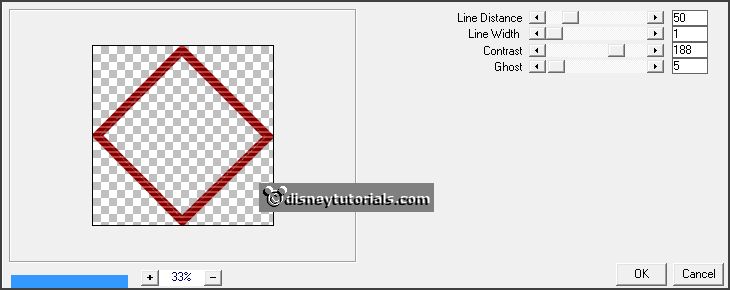
Layers - arrange - move down.
Selections - select none.
10.
Act veer the top layer.
Layers - merge - merge down.
Effects - 3D Effects - drop shadow -
with this setting.
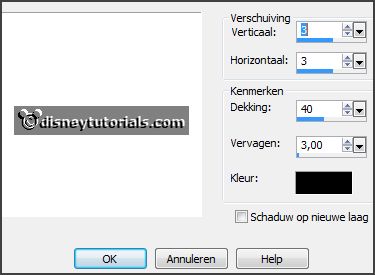
11.
Activate the tube decoEmmy22 -
edit - copy.
Edit - paste as a new layer on the image.
Effects - Image effects - offset -
with this setting.
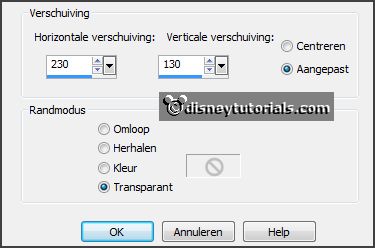
Effects - 3D Effects - drop shadow - setting is right.
12.
Activate the tube decoEmmy21 -
edit - copy.
Edit - paste as a new layer on the image.
Effects - Image effects - offset -
with this setting.
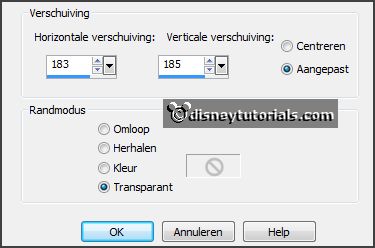
13.
Layers - duplicate
Effects - Image effects - offset -
with this setting.
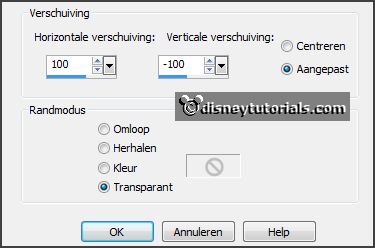
14.
Activate the tube decoEmmy23 -
edit - copy.
Edit - paste as a new layer on the image.
Effects - Image effects - offset -
with this setting.
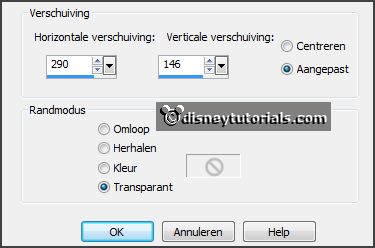
Layers - merge - merge down - and 2 more times.
15.
Layers - duplicate.
Image - mirror.
Layers - merge - merge down.
16.
Activate raster 2.
Activate the tube mickeykerst5 -
edit - copy.
Edit - paste as a new layer on the image.
Activate freehand selection tool - from point to point - and make a
selection - as below.
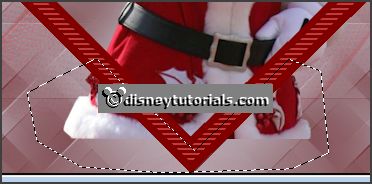
Click at the delete key.
17.
Layers - duplicate .
Layers - arrange - move up and 1 more time.
Activate the eraser - size 15 - and erase the frame at the bottom.
18.
Image - add borders 2 pixels - symmetric - background color.
Image - add borders 5 pixels - symmetric - foreground color.
Image - add borders 40 pixels - symmetric - background color.
Image - add borders 5 pixels - symmetric - foreground color.
Image - add borders 2 pixels - symmetric - background color.
19.
Activate the tube kerstwordart - edit - copy.
Edit - paste as a new layer on the image.
Activate move tool - put this left at the bottom - see example.
20.
Activate the tube kerstcluster2 -
edit - copy.
Edit - paste as a new layer on the image.
Place this right at the bottom -
see example.
21.
Layers - new raster layers - put your watermark into the image.
Layers - merge - merge down.