Halloween
Time
Foreground color #7d3201 and background color #d06f0a
1.
Open new transparent image 650x500
Fill this with the foreground color.
New raster layer - fill this with the background color.
2.
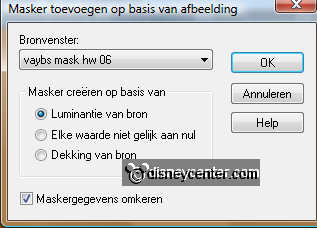
Layers - new mask layer - from image - look vaybs mask hw 06 - with this
setting.
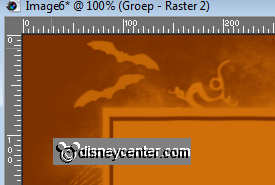
Layers - merge - merge group.
Move this layer to the top left, see below.
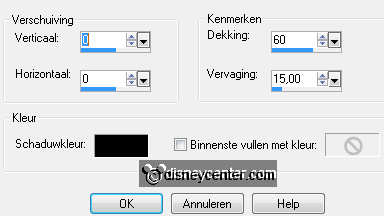
Effects - 3D Effects - drop shadow - with this setting.

3.
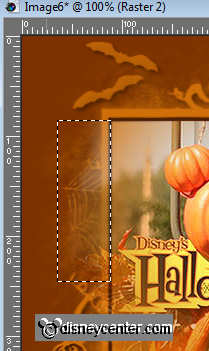
Copy halwmisted and paste as a new layer to the image.
Move this left to the inner edge of the mask. see example.
Go to selection tool - selection - rectangle.
And make a selection as below - click on the delete key on your keyboard.
Selections - select none.
4.
Copy mmhalw1 and paste as a new layer to the image.
Give the same drop shadow as in point 2.
Copy poes (cat) and paste as a new layer to the image.
Adjust - Hue and Saturation - Colorize - with this setting.

Place this left -50 pixels from the side - bottom.
Give the same drop shadow as in point 2.
5.
Copy halwpompoen and paste as a new layer to the image.
Image - resize format 75% - all layers not checked.
Place it for the cat.
Layers - merge - merge all.
New raster layer - put your watermark into the image.
6.
Image - add border - 2 pixels - foreground color.
Image - add border - 2o pixels - background color.
Select the border with the magic want - with this setting.

Effects - 3D Effects - cutout - with this setting.
Repeat Cutout with the same setting.
Image - add border - 2 pixels - foreground color.
7.
Open Animation Shop - copy the image
Paste as a new animation.
Edit - duplicate selected. Repeat this 2 more times. (total 5 frames)
Edit - select all
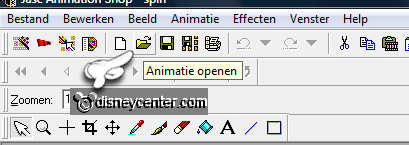
8.
Go to Open Animationn - and look for spin (spider).
Edit - select all
Copy - click in the first frame of the image.
Paste in selected frame - place this left to the inner edge of the frame. see
example.
9.
Animation - Frame properties - Put the first and last frame at 75.
Put frame 2, 3 en 4 at 25.
Copy again - click in the first frame of the image. (care that everything is
selected)
Paste in selected frame - place this to the right.
Make the spider active - animation - Reverse frame.

10.
Copy - click in the first frame -
Paste in selected frame.
Place it in the middle at the top.
Make sure the frame properties are good - 75-25-25-25-75.
File - save as - give name - click 3 times at next and then finish.
Ready is the tag
I hope you like this tutorial.
greetings Emmy
Tested by Bep

Tutorial written
23-09-2011

