1. Open a new image 600x600 transperent
2. Take 2 colors from the tube #992f21 as foreground and #992f21 as background.
3. Make a gradient Linear
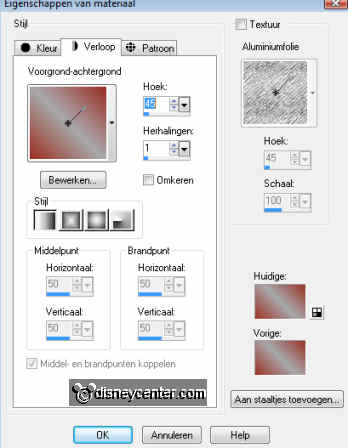
4. Flood fill the image with this gradient.
4. Duplicate this layer
5. Image....Free rotate....right 90....opacity at 50. Layers merge.
6. Copy the tube Dark Woods and paste as a new layer.
7. Go to selection tool....square and draw a square of
420x420. Keep about 25 pixels of the
right and top.
8. New raster layer and flood fill the with the foreground color.
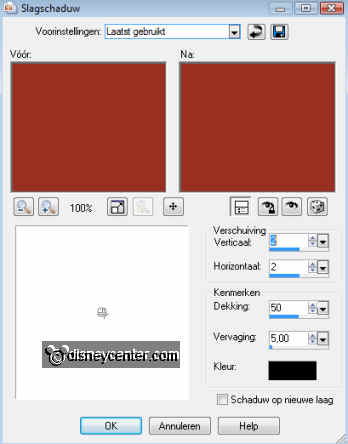
9. Effects...3D effects...drop shadow
10. Duplicate this layer.
11. Go to image....Resize 75%. All layers not checked. Place this in the middle.
12. Select this layer and flood fill this with black color. Same dropshadow as
in point 8.
13. Selections...select none.
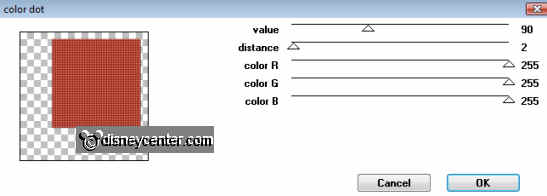
14. Stay at raster 2
15. Effects.....Penta.com - color dot
16. Duplicate the black layer....Image...free rotate right 45.
17. Select this layer and flood fill this with the background color.
18. Selections...select none.
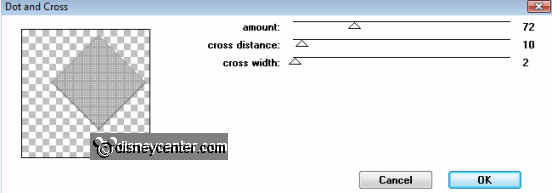
19. Go to Effects......Penta.com - Dot and Cross
20. Go to Layers......Arrange...move down.
21. Copy the tube (tuthalwminnie) and paste as a new layer.
22. Place this left below
23. Give the same drop shadow as in point 8.
24. Layers....Merge...Merge all visible layers.
25. Image...Resize 60 %.
26. Image...Add border 75...flood fill with the foreground color.
27. Copy the halloween22 tube and paste as a new layer. Place this in the left
upper corner.
28. Effects...Simple...Left top mirror.....default setting.
29. Image...Add border 40 ...flood fill this with the background.
30. Select this border.
31. Effects...Tramage - Downstairs....all at 128.
32. Selections...select none.
33. Copy the bliksem tube and paste as a new layer.
34. Place this at the black layer in the top right corner.
35. Duplicate this layer 2 times.
36. Lock the 2 top copies and stay at raster 2 (the first one).
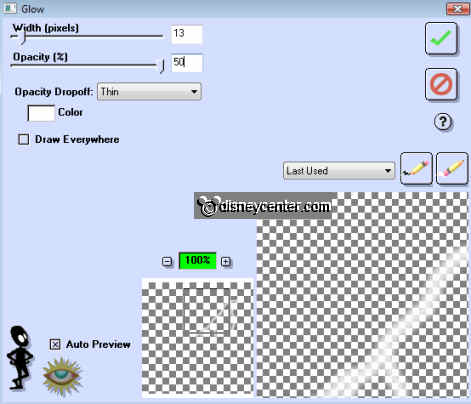
37. Go to Effects....Eye Candy 3.0.....Glow
38. Lock this layer and unlock the copy of raster 2.
39. Go to Effects...Eye Candy 3.0.....Glow... chance opacity in 75
40. Lock this layer too and unlock copy 2 of raster 2.
41. Go to Effects....Eye Candy 3.0.....Glow... change opacity in 100
42. Unlock the other layers.
43. Copy the tube Bats and Moo and paste as a new layer.
44. Place this over the bliksem tube see example.
45. Put your watermark into the image.
46. Go to text tool and look for Plasma Drip BRK size 72 and write
Halloween.
47. Place this under in the middle.
48. Give the same drop shadow as in point 8.
49. Lock the layer of the bliksem tubes.
50. Stay at 1 of the other layers..... Layers....merge...Merge all visible
layers.
51. Unlock the first layer (raster 2)
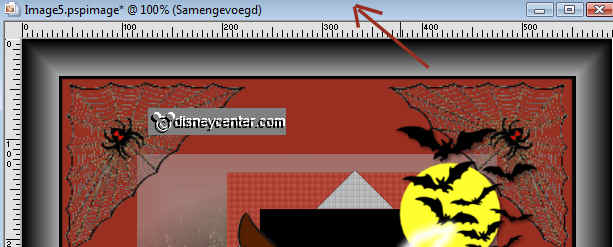
52. Click at the blue border (see arrow.).....Copy merge.
53. Go to animation shop
54. Paste as a new animation
55. Back to PSP lock raster 2 and unlock copy of raster 2.
56. Repeat point 53 and 54.
57. Paste after active frame
58. Back to PSP lock copy of raster 2 and unlock copy 2 of raster 2
59. Repeat point 53 and 54.
60. Paste after active frame
61. In animation shop.... click at View animation and save this.
62. File....save as....Give a name.