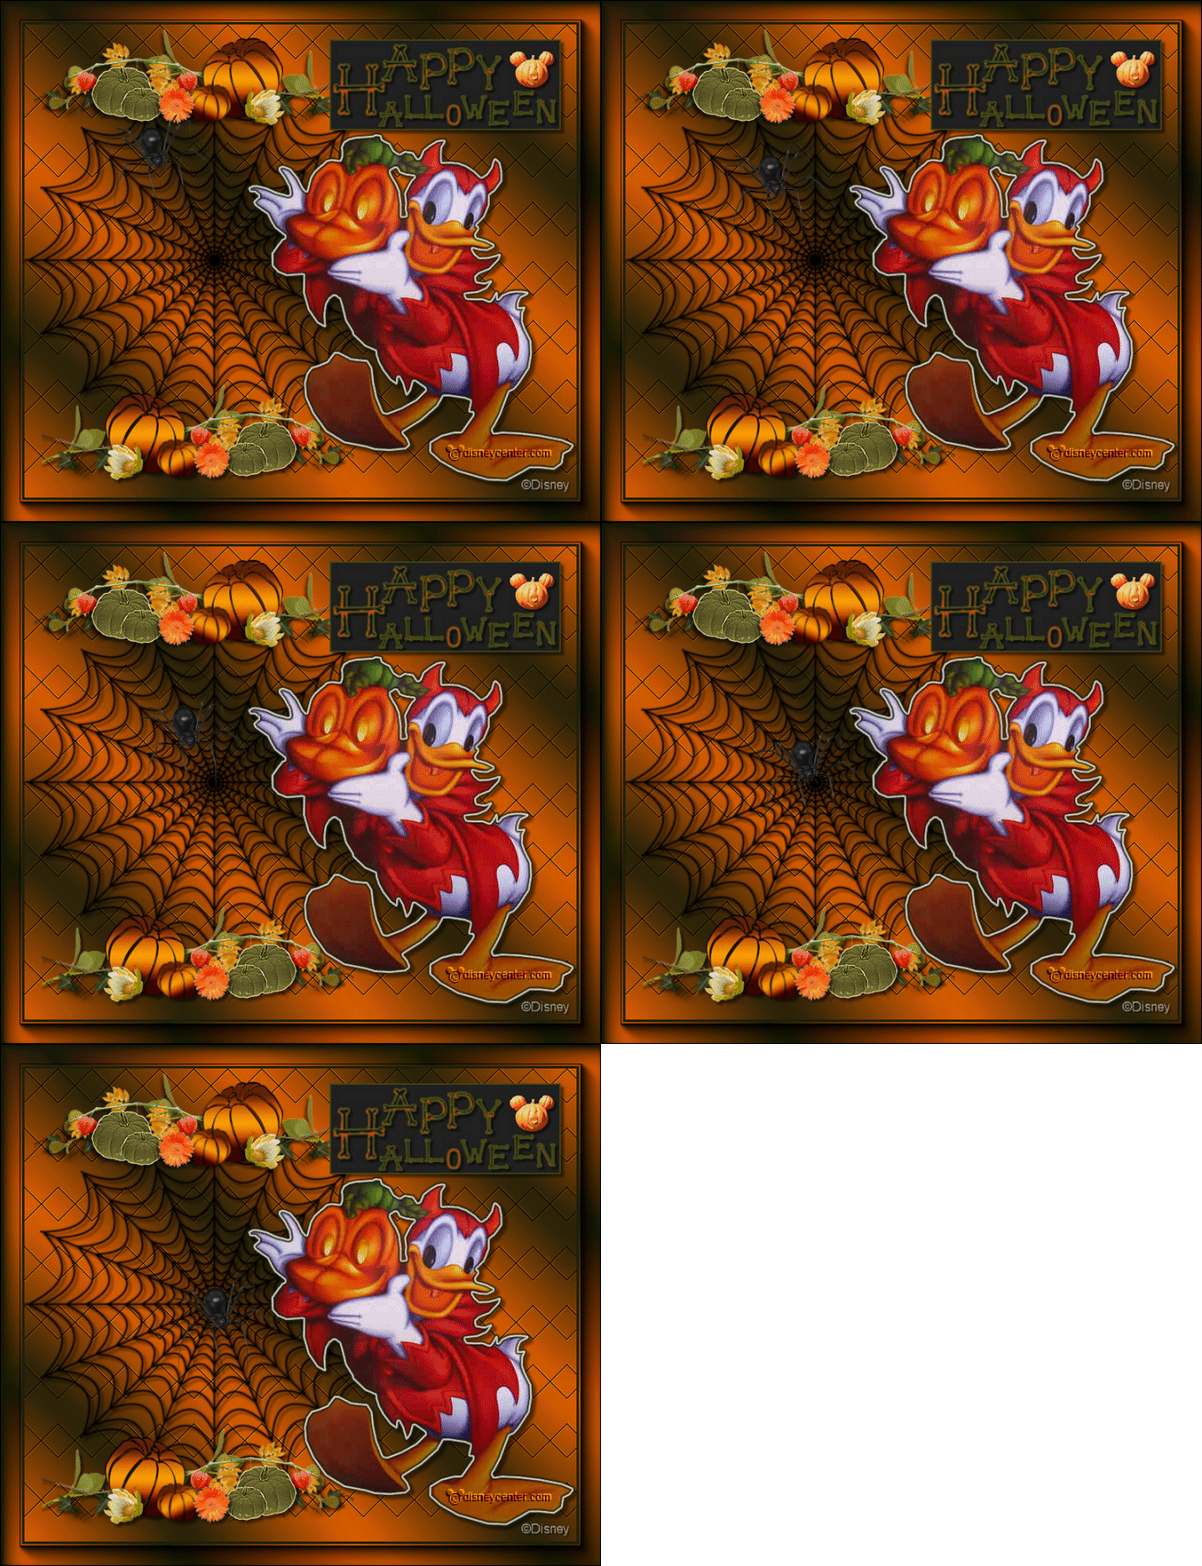
1.
File - open new transparent image
700x600.
Set in the material palette the foreground color on
#1d1f0c
and
the background color on
#e46100.
Make from the foreground a gradient linear – with this setting.
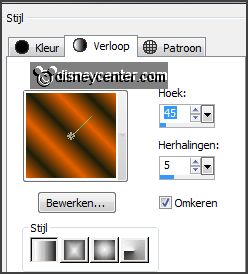
2.
Activate flood fill tool – fill the layer with the gradient.
Adjust – blur – Gaussian blur – radius 18.
Effects – plug-ins – Tramages – Quilt – with this setting- click OK.

3.
Activate ele47 – edit - copy.
Edit - paste as a new layer on the image.
Objects – Align – left.
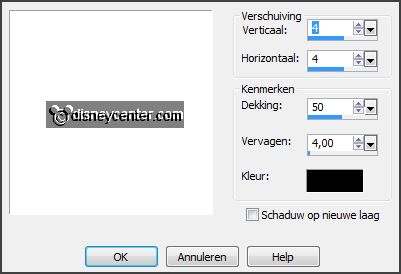
Effects – 3D Effects – drop shadow –
with this setting.
4.
Activate the tube pompoenen – edit - copy.
Edit - paste as a new layer on the image.
Effects – Image effects – offset –
with this setting.
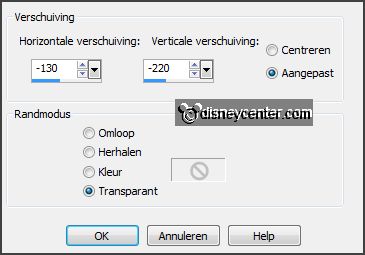
5.
Layers – duplicate.
Image – mirror.
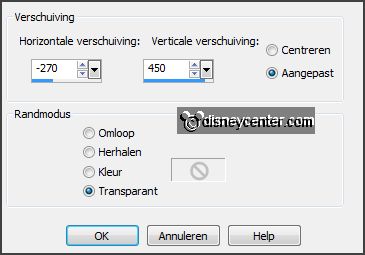
Effects – Image effects – offset – with this setting.
6.
Activate the tube donaldhalw. –
edit - copy.
Edit - paste as a new layer on the image.
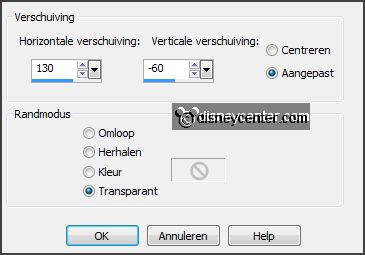
Effects – Image effects – offset –
with this setting.
Effects – plug-ins – Alien Skin Eye Candy 5 Impact – Gradient Glow –
click at Settings – click at User Settings –at click Emmyhappyhalloween – click
OK.
Effects – 3D Effects – drop shadow – setting is right.
7.
Activate the tube hhw – edit - copy.
Edit - paste as a new layer on the image
.Image - resize 80% - all layers not checked.
Effects – 3D Effects – drop shadow –
setting is right.
Activate move tool – put this at the top right – see example.
8.
Image – add borders 3 pixels – symmetric - foreground color.
Image – add borders 25 pixels – symmetric -
background color.
Image – add borders 3 pixels – symmetric -
foreground color.
9.
Activate the magic wand – with setting below – select the width border.

Fill the selection with the gradient –
setting is right.
Selections – select none.
Effects – plug-ins
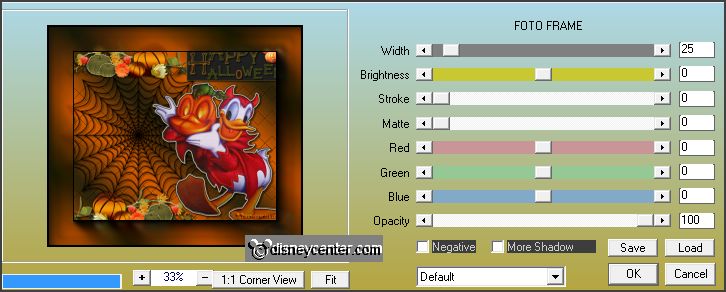
– AAA Filters – Foto Frame – with this setting.
10.
Edit – copy.
Open Animation Shop – paste as a new animation.
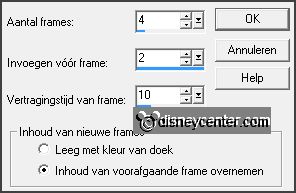
Animation – Insert Frames – Empty Frames –
with this setting - click OK.
11.
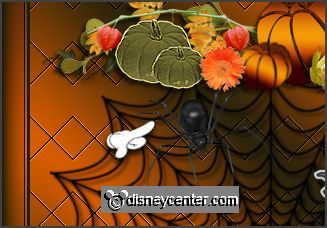
Open the animation Emmyspin1.
Edit – select all.
Edit – copy.
Paste into selected frames – place this as below.
12.
Animation – Frame properties – set frame 1 at 100, frame 2,3 and 4 at 50
and frame 5 (last) at 150.
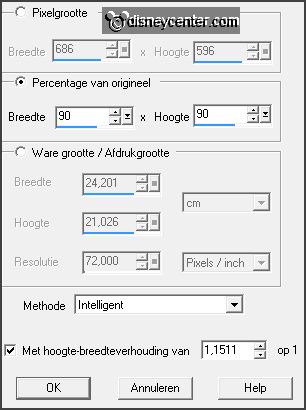
Animation - resize animation - with this setting.
File – save as – give name – click 3 times at next and than at finish.
Ready is the tag
I hope you like this tutorial.
greetings Emmy
Tested by Nelly
