1.
File - open new transparent image
800x550.
Set in the material palette the foreground color at #400000 and
the background at silver pattern. (zilverEmmy)
Activate flood fill tool -
fill the layer with the foreground color.
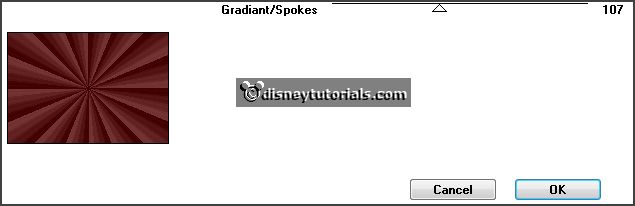
Effects - plug-ins - Tramages - Gradient/Spokes Ratio Maker - with this setting
- click OK.
2.
Layers - new raster layer.
Fill this with the silver pattern.
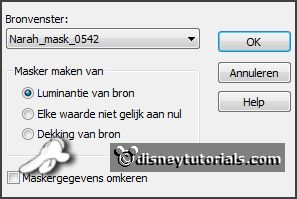
Layers - new mask layer - from image - look Narah_mask 0542 -
with this setting.
Layers - merge - merge group.
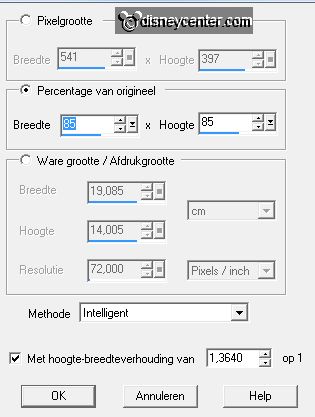
Image - resize 75% - all layers not checked.
Objects - Align - left.
3.
Layers - duplicate.
Image - mirror.
Layers - merge - merge down.
4.
Selections - load/save selection - load selection from disk - look Emmyhny2015 -
with this setting.
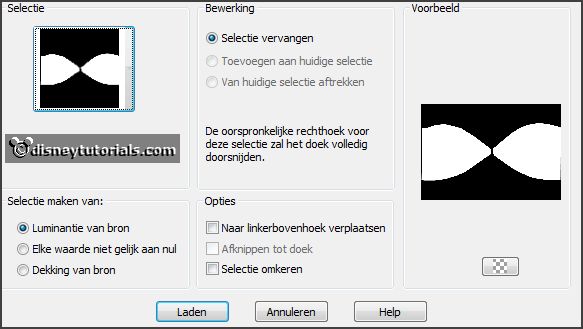
Edit - copy.
Click at the delete key.
5.
Layers - new raster layer.
Edit - paste in selection.
Selections - select none.
Set in the layer palette the opacity to 35.
6.
Layers - duplicate.
Image - free rotate -
with this setting.
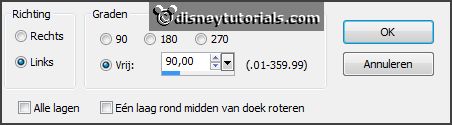
Image - resize 75% - all layers not checked.
Layers - merge - merge down.
7.
Activate the layer group raster 2.
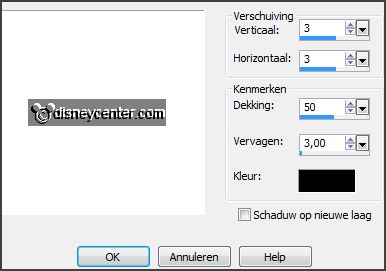
Effects - 3D Effects - drop shadow -
with this setting.
Activate the top layer.
8.
Activate the tube klok - edit - copy.
Edit - paste as a new layer on the image.
Set in the layer palette the blend mode to Luminance (Legacy) and the opacity to 60.
9.
Activate text tool -
with this setting.

Click in the middle of the image.
Write 2 - convert to raster layer.
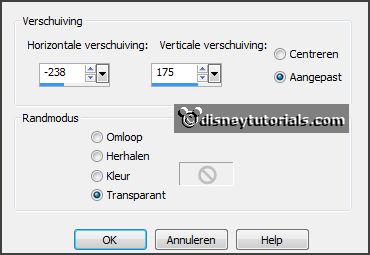
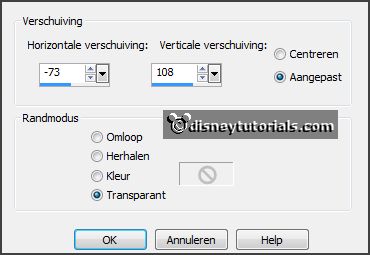
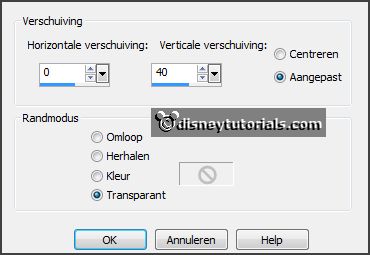
Effects - Image effects - offset -
with this setting.
Click in the middle of the image.
Write 0 - convert to raster layer.
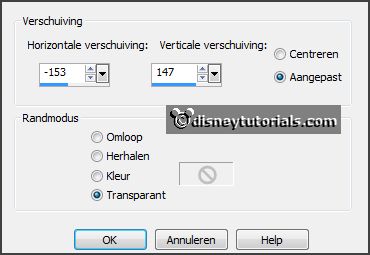
Effects - Image effects - offset -
with this setting.
Click in the middle of the image.
Write 1 - convert to raster layer.
Effects - Image effects - offset -
with this setting.
Click in the middle of the image.
Write 5 - convert to raster layer.
Effects - Image effects - offset -
with this setting.
Layers - merge - merge down - and 2 times more.
Effects - 3D Effects - drop shadow - setting is right.
10.
Activate the tube minnieNY - edit - copy.
Edit - pasta as a new layer on the image.
Objects - Align - right.
Effects - 3D Effects - drop shadow - setting is right.
11.
Activate the tube champagneset1 - edit - copy.
Edit - pasta as a new layer on the image.
Activate move tool - set the tube left at the bottom.
12.
Activate the bottom layer.
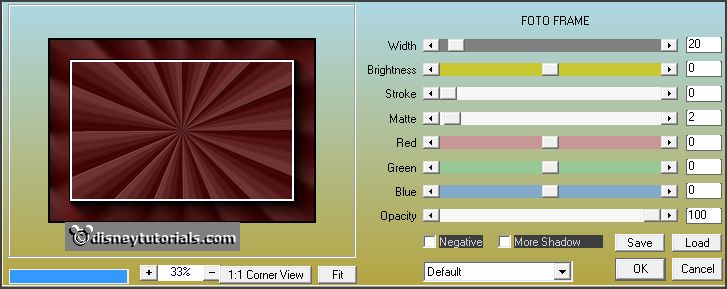
Effects - plug-ins - AAA Frames - Foto Frames -
with this setting - click OK.
If the tubes come off the white border - then slide it in and the text down.
13.
Activate text tool -set the size to 75 and the rest is well.
Write Happy - enter - New Year - convert to raster layer.
Place it in the middle at the bottom - see example.
Effects - 3D Effects - drop shadow - setting is right.
14.
Layers - new raster layer - put your watermark into the image.
Layers - merge - merge all.
Image - add borders - symmetric - 2 pixels - color white.
15.
Edit - copy.
Open Animatie Shop - paste as a new animation.
Edit - selection duplicate.
Edit - select all.
16.
Open the animation Emmybubbels - edit - select all.
Edit - copy.
Edit - paste into selected frames.
Place it at the first glass.
Edit - paste into selected frames.
Place it at the second glass.
17.
Animations – resize format animation –
with this setting.
File – save as – give name – click 3 times at next and than at finish.