Before you begins.......
Plug-ins : Install first your plug-ins before you open PSP and put
them in the folder plug-ins.
Put the mask in the folder mask and the gold
pattern in the folder patterns.
Open your tubes and Template in PSP.
Indian Mickey

foreground color #b54814 and background color #e3db79
1.
Open a new transparent image 600x600
Fill this with the foreground color.
New raster layer - Fill this with the background color.
2.
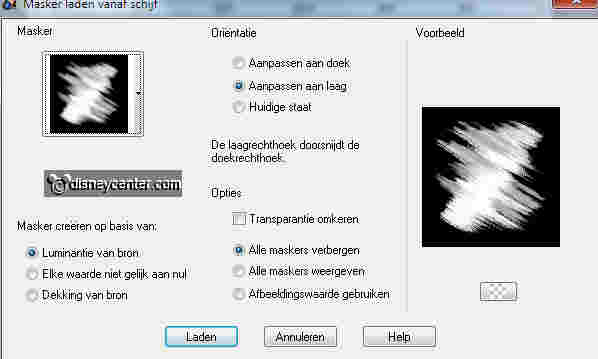
Layers - Loas/Save Mask - Save mask from disk.
Look for IMSK with this setting.
Layers - merge - merge group.
3.
Image - Resize 125% - all layers not checked.
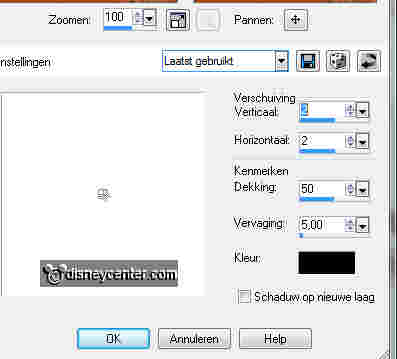
Effects - 3D Effects - Drop Shadow with this setting.
Effects - Edge Effects - Enhance.
Repeat the Edge Effects one more time.
4.
Open Template BlackVelvet
Copy cirkel1 - paste as a new layer.
Image - Resize 75%- all layers not checked.
Select this layer - fill this with the gold pattern.
Selections -select none.
5.
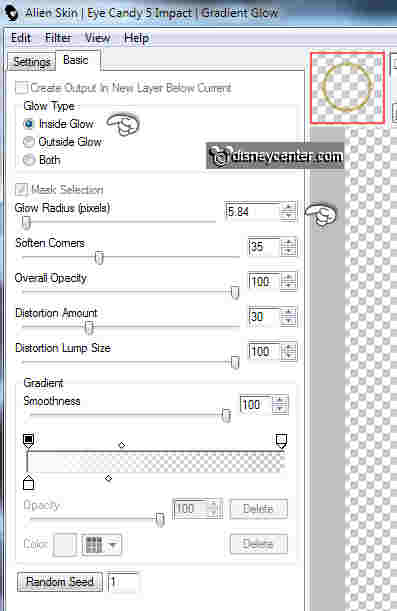
Effects - Alien Skin Eye Candy 5 - Impact - Gradient Glow with this setting.
Setting at Subtle White Glowing.
Copy cirkel3 from the Template - and paste as a new layer
Image - resize 85%- format all layers not checked.
Effects - Alien Skin Eye Candy 5 - Impact - Gradient Glow with the same setting,
only change inside in both.
6.
Copy Swirl of the Template - and paste as a new layer
Image - resize 95%- format all layers not checked.
Give the same drop shadow as in point 3.
Layers - arrange - move down.
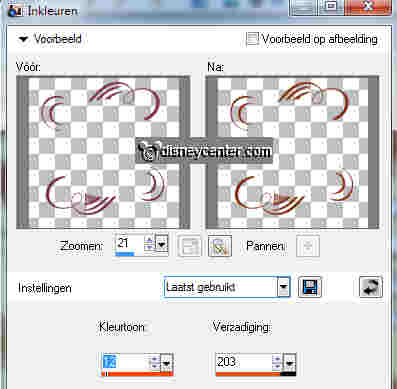
Adjust - hue and saturation - colorize with this setting.
7.
Copy the indiaan - and paste as a new layer
Give the same drop shadow as in point 3.
8.
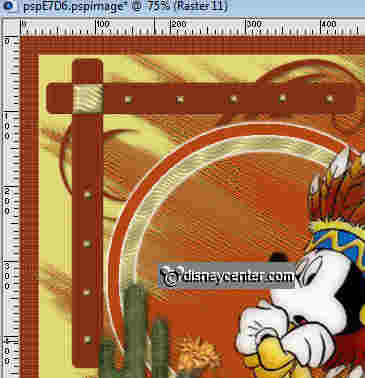
New raster layer - Selection Tool - rounded rectangle
Make a rectangle about 400x20.
Fill this with the color #843013 and place it as below.
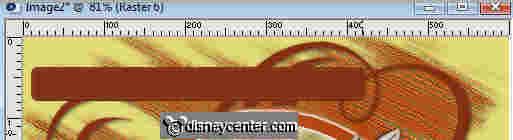
Effects - 3D Effects - Buttonize with this setting.

9.
Duplicate this layer - image - free rotate - 90 left.
Place this to the left side - see example above,
New raster layer - selection tool - square.
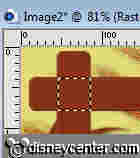
Fill this with the gold pattern.
10.
Copy the gold square 10x10 and paste as a new layer,
Place this on the horizontal bar.
Duplicate this layer 4 times and arrange them on the bar, see example.
Do the same with the vertical bar, see example.
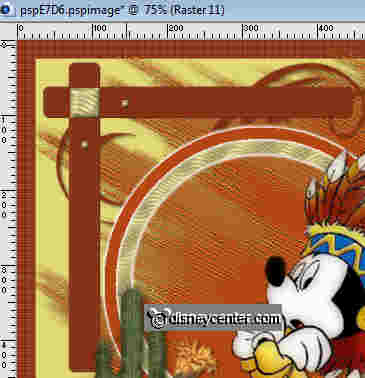
11.
Copy FD Cactus.tub - and paste as a new layer.
Image - resize 75%- format all layers not checked.
Give the same drop shadow as in point 3.
Place this left at the bottom. see example.
12.
Copy PC Cactus_KK - and paste as a new layer.
Give the same drop shadow as in point 3.
Place this left against the side. see example
13.
Copy scgGrass - and paste as a new layer.
Give the same drop shadow as in point 3.
Place this left below.
Duplicate this layer twice and place them side by side. see example.
14.
Make the first cactus layer active.
Layers - merge - merge down.
Layers - merge - merge down.
Layers - merge - merge down.
Layers - merge - merge down.
Layers - merge - merge down.
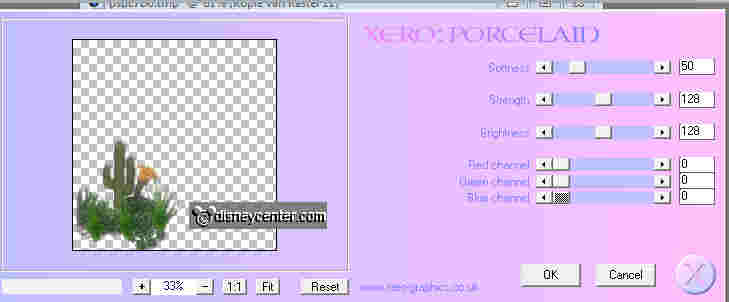
15.
Effects - Xero - Porcelain with this setting.
Make the bottom layer active (background color) - Effects - Xero - Fritillary
- default setting.
Image - Canvas size - width and height 650.
Select the transparent border - fill this with #843013
Effects - Penta.com - Dot and Cross - default setting.
16.
New raster layer - put your watermark into the image.
Open animation shop.
Now we do the animation.
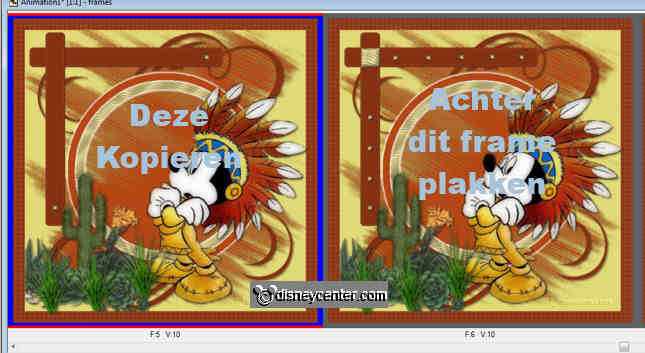
Make sure you have the correct order on the squares 10x10 stand.
Because we are copying them by 2. See below.
17.
Activate the bottom layer and close all squares 10x10 layers, except the
first
horz. and vert. bar.
Edit - Copy merged - in animation shop - paste as a new
animation.
Back in PSP - close the 2 first squares and open the 2 second squares.
Edit - Copy merged - in animation shop - paste after active frame. Make sure the
last frame ia always selected.
Back in PSP - close the 2 second squares and open the 2 third squares.
Edit - Copy merged - in animation shop - paste after active frame.
Back in PSP - close the 2 third squares and open the 2 fourth squares.
Edit - Copy merged - in animation shop - paste after active frame.
Back in PSP - close the 2 fourth squares and open the 2 fifth squares.
Back in PSP - close the 2 second squares and open the 2 third squares.
18.
Back in PSP - Open now all layers of the squares
Edit - Copy merged - in animation shop - paste after active frame.
Select the fifth frame - copy - select frame 6 - paste after active
frame.
Select frame 4 - copy - select frame 7 - paste after active
frame.
Select frame 3 - copy - select frame 8 - paste after active
frame.
Select frame 2 - copy - select frame 9 - paste after active
frame.
Select frame 1 - copy - select frame 10 - paste after active
frame.
Select frame 6 - copy - select frame 11 - paste after active
frame.
19.
Edit - select all - Frame properties at 50.
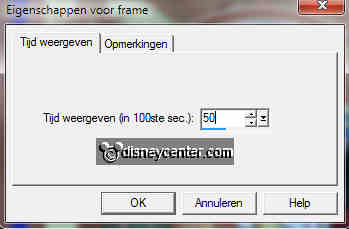
Change now frames 6 and frame 12 -at 75.
Animation - resize format animation 70%.
File - save as - give name - click 3 times at next and than at finish.
Ready is the tag
I hope you like this tutorial.
greetings Emmy,

Tutorial written
21-05-2011