foreground color #f9a113 and background color #802109.
1.
Open new transparent image 700x500.
fill with the background color.
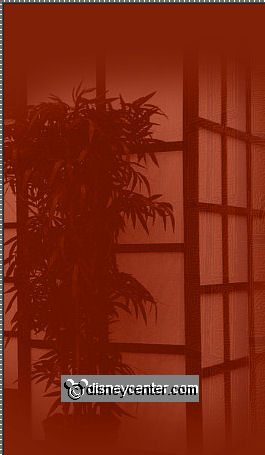
copy Japan02 - paste as new layer.
Move it to the right.
Set the blend mode to soft light - set the opacity to 20.
Effects - Edge Effects - Enhance.
Effects - FM Tile Tools - Blend Emboss - default setting.
Repeat Blend Emboss.
2.
Copy japan02 again - paste as new layer.
Image - mirror - All the way down the to left - see below.
Set the blend mode of this layer to Luminance (Legacy) - set the opacity to 56.
Effects - FM Tile Tools - Blend Emboss - with this setting.
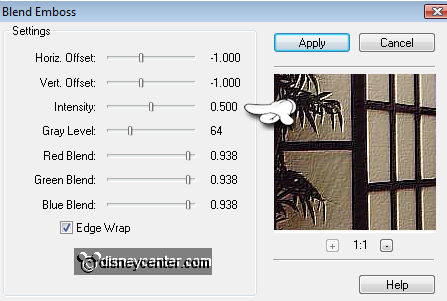
Repeat Blend Emboss.
3.
Copy Japthee and paste as new layer.
Image - resize75% - all layers unchecked.
Place them in the right corner.
Set the blend mode of this layer to soft light.
4.
Copy Disney-chinni86 and paste as new layer.
Image - resize 75% - all layers unchecked.
Place it down - about 200 pixels from the left.
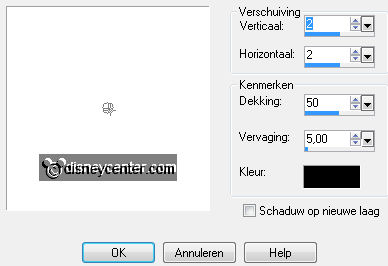
Effects - 3D Effects - Drop Shadow - with this setting.
5.
Copy 7107798-lg KTS and paste as new layer.
Image - resize 75% - all layers unchecked.
Image - mirror - put it in the top right.
Set the blend mode of this layer to soft light.
Set the opacity to 55.
6.
Go to text tool - Japanese font - size 90 - stroke width 2.

Write - Japan - convert to raster layer.
Give the same drop shadow as in step 4.
Place into left corner.
7.
Image - add border 1 - foreground color.
Image - add border 20 - background color.
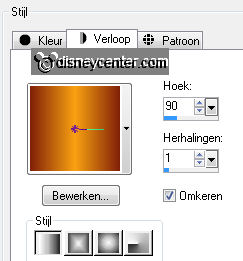
Select the Border - fill it with gradient rectangular - with this setting.
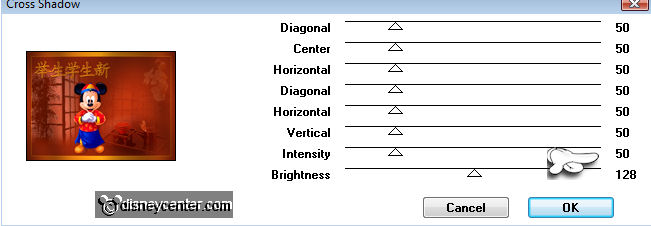
Effects - Graphics Plus - Cross Shadow - with this setting.
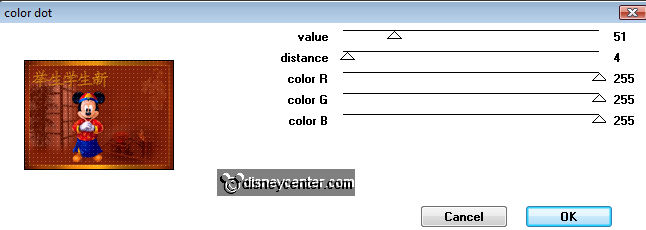
Effects - Penta.com - Dot Cross - with this setting.
Selections - select none.
8.
Image - add border 1 - foreground color.
Image - add border 5 - background color.
Image - add border 1 - foreground color.
9.
Image - add border 20 - background color.
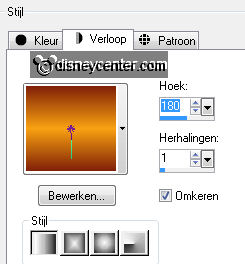
Select the Border - fill it with gradient rectangular - with this setting.
Effects - Graphics Plus - Cross Shadow - with this setting.
Effects - Penta.com - Dot Cross - with this setting.
Selections - select none.
10.
Image - Resize 75% - all layers checked.
New layer - put your watermark in the image.
Layers - Merge - Merge all layers.
11.
Copy Lamp - paste as new layer.
Image - resize 90% - all layers unchecked.
Place it on top - set the blend mode to soft light.
Duplicate this layer.
Set the blend mode back to normal and the opacity
to 50.
12.
Lock the top layer - activate the bottom layer.
Edit - copy - copy merged.
Open Animation Shop - paste as new animation.
13.
Back in PSP - Unlock the top layer.
Edit - copy - copy merged.
In animation shop - paste after active frame.
14.
Edit - select all - animation - frame properties to 25.
File- Save As - give name - click Next 3 times and then finish.