Foreground
color #812825 and background color #65696b.
1.
Open new transparent image 750x600.
Fill this with the foreground color.
New raster layer - fill this with the background color.
2.
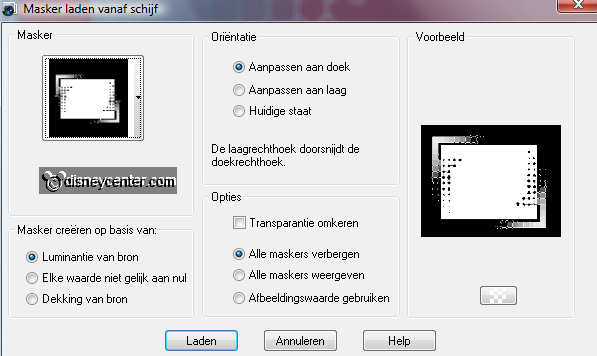
Layers - Load/Save mask - load mask from disk - look frame Mb11
- with this setting.
Layers - merge - merge group.
Effects - Edge effects - enhance.
Effects - FM Tile Tools - Blend Emboss - default setting.
3.
Make raster 1 active - selections - select all.
New raster layer - copy japansetuin - paste into selection.
Set the Blend mode of this layer on luminance (Legacy).
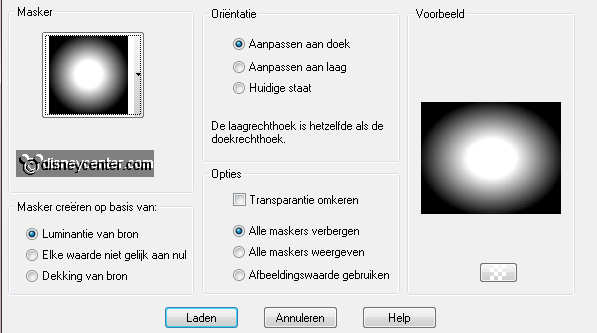
Layers - Load/Save mask - load mask from disk - look 20-20 - with
this setting.
Layers - merge - merge group.
4.
Image - resize 125% - all layers not checked.
Effects - Edge Effects - Trace contour .
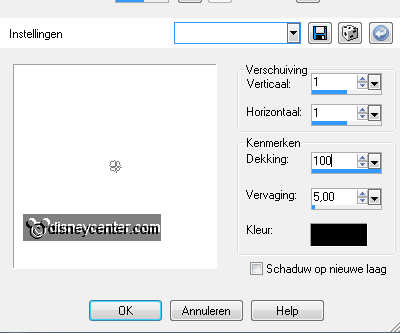
Make the top layer active.
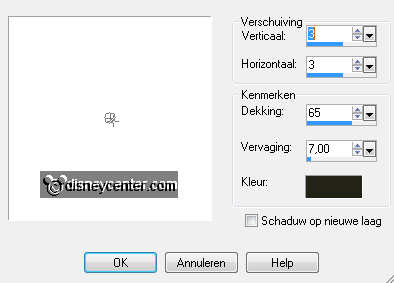
Effects - 3D Effects - drop shadow - with this setting.
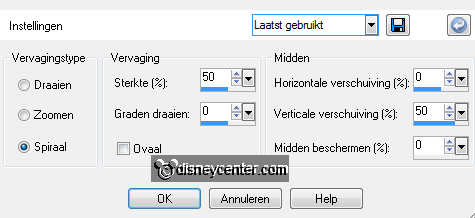
5.
Copy japansetuin1 and paste as a new layer on the image.
Duplicate this layer - Adjust - blur - radial blur - with this
setting.
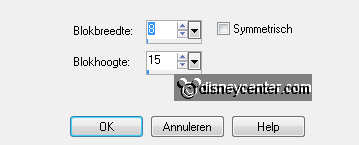
Effects - Distortion Effects - pixelate - with this setting.
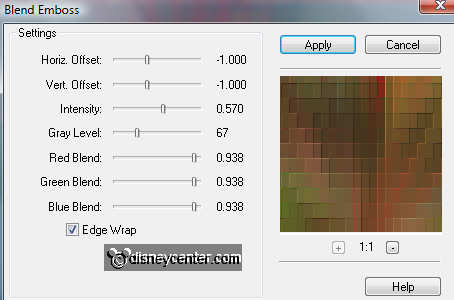
Effects - FM Tile Tools - Blend Emboss - with this setting.
6.
Move this layer to the top - so that the bottom of this layer
stays in the middle. see image below.
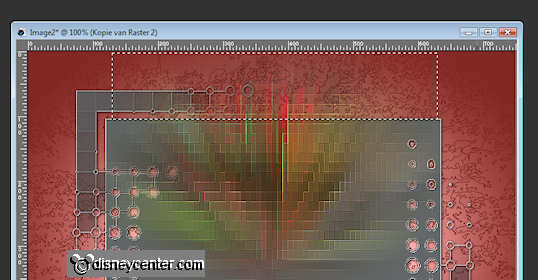
Go to selection tool - selection - rectangle
and pull a rectangle as above.
Click at the delete key - selections - select none.
7.
Duplicate this layer - image - flip.
If he is not right at the bottom then slide it all the way down.
Layers - merge - merge down.
Layers - arrange - move down.
8.
Stay at the top layer.
Image - resize 90% - all layers not checked.
Copy lotus and paste as a new layer on the image.
Image - resize 50% - 1 time 75% - all layers not checked.
Adjust - sharpness - sharpen.
Place this left - Image - mirror.
Give the same drop shadow as in point 4.
9.
Copy minjapan and paste as a new layer on the image.
Place this at the right side. see example.
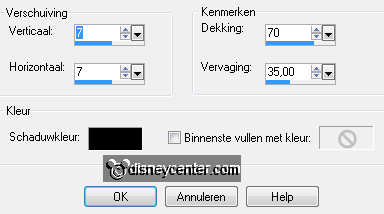
Effects - 3D Effects - drop shadow - with this setting.
10.
Copy word-art and paste as a new layer on the image.
Place this in the middle at the bottom. see example.
Set the background at gold pattern - angle 0 - repeats 100 - turn
the colors.

11.
Selections - select all - selections - modify - contract
2.
Selections - invert - fill this with gold pattern.
Selections - select none.
Image - add border 25 - background color.
Selections - select all - selections - modify - contract 2.
Selections - invert - fill this with the gold pattern.
Selections - select none.
12.
Selections - select all - selections - modify - contract 27.
Effects - 3D Effects - cutout - with this setting.
Repeat cutout with -7.
13.
New raster layer - put your watermark into the image.
Image - resize - 75% - all layers checked.
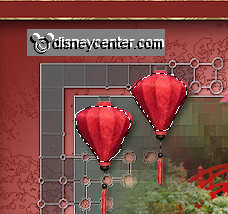
Copy jap.lantaarn and paste as a new layer on the image.
Image - resize - 75% - all layers not checked.
Place this as in the example - at the inner side of the mask.
Give the same drop shadow as in point 4.
14.
Duplicate this layer - place this at the top of the mask. see
example.
Layers - merge - merge down.
Go to selection tool - free hand selection - free
hand.
Make a selection around the 2 lanterns - Duplicate this layer.
15.
Lock the duplicate layer and stay at the other layer.
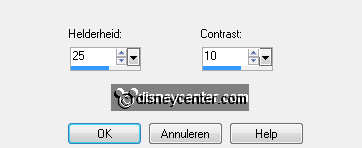
Adjust - Brightness and contrast - with this setting.
Open the copy layer - and lock raster 2.
Adjust - Brightness and contrast - Brightness 50 - contrast the same.
Selections - select none.
16.
Lock the copy layer again and stays at the bottom layer.
Edit - copy merged.
Open animation shop - paste as a new animation.
Back in PSP - Lock raster 2 and open copy of raster 2.
Edit - copy merged.
Back in AS - paste after active frame.
17.
File - save as - give name - click 3 times at next and than at
finish.