|

This
Tutorial is copyrighted to the Tutorial Writer, © Emmy Kruyswijk 2009.
This Tutorial
may
not be forwarded, shared or otherwise placed on any Web Site or group without written
permission from
Emmy Kruyswijk
Do you want to link my lessons?
Please send
me a mail.
Materials
download
here
3 tubes, star,
filters: Penta.com - Dot and
Cross, Graphics Plus - Cross Shadow, Simple - Diamonds.
Put the mask in the folder mask
and the plug-ins in the folder plug-ins.
Christmas
1. Open a new image 650x450
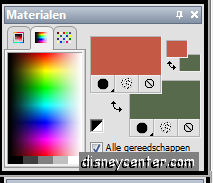
2. Take2 colors from the tube. #576a4c as foreground and #c45a46 as
background color.
3. Flood fill the image with the foreground color.
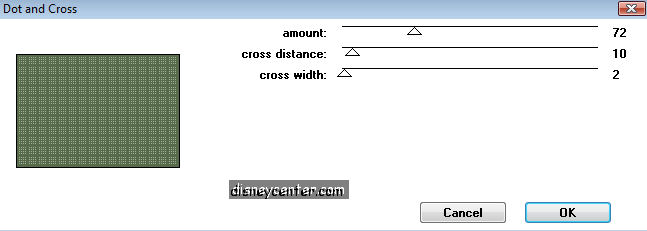
4. Effects - Penta.com - Dot and Cross.
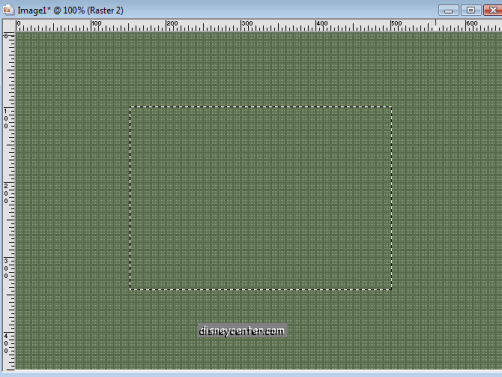
5. New raster layer.
6. Go to selection tool - selections - rectangle.
7. And make a rectangle horz. 150-500, vert.100-350.
8. Flood fill this with the gradient. Style rectangular, angle 0,
repeats 1.
9. Effects - Simple - Diamonds.
10. Opacity of this layer on 50.
11. G0 to Pen tool. width 5.

12. Sign a border round the rectangle.
13. Lock raster 1.
14. Stay at one of the other layers.
15. Layers - merge - merge visible.
16. Stay at the merge layer.
17. Effects - 3D Effects - drop shadow vert. and horz.2, opacity 5,
blur 5.00, color black.
18. Go to text tool and write Merry Christmas. Colors Flip.

19. Go to selection tool - selections - rectangle.
20. Make a rectangle ca.100x70
21. Flood fill this with gradient.
Style rectangular, angle 0, repeats 1.
22. Effects - Simple - Diamonds.
23. Opacity of this layer on 50.
24. Go to Pen Tool. Width 3.
25. Lock all layers, except the layers of the little rectangle and
the pen stripes.
26. Stay at 1 of those layers, Layers - merge - merge visible.
27. Effects - 3D Effects - drop shadow as in point 17,
28. Duplicate this layer.
29. Image - Mirror. Image - Flip.
30. Copy first Minnie and paste as a new layer
31. Effects - 3D Effects - drop shadow as in point 17.
32. Copy now Mickey and paste as a new layer.
33. Give the same drop shadow..
34. Put your name or watermark in the image.
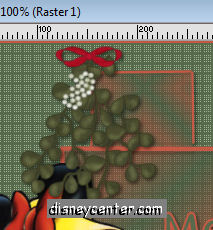
35. Copt the xmas mistletoe and paste as a new layer.
36. Place this on the little rectangle. (see below)
37. Layer - merge - Merge all layers.
38. Image - Add border 25 #c45a46
39. Effects - Graphics Plus - Cross Shadow. All at 50.
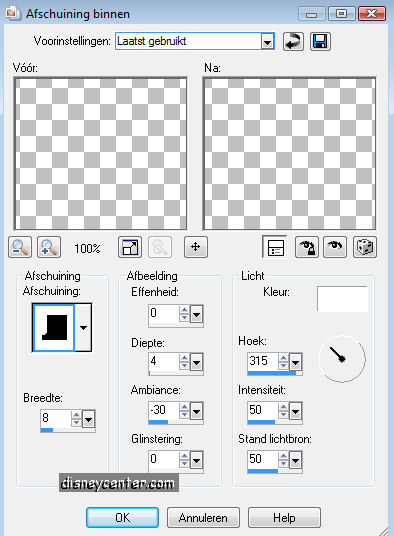
40. Effects - 3D Effects - Inner Bevel
Open animation shop.
41. Copy the image.
42. Go to animation shop.
43. Paste as a new animation.
44. Edit - Duplicate selected -
Duplicate selected
.
45. Open star - animation - Resize animation Pixel size
100x99.
46. Edit - Selected all.
47. Now the other animation Edit - Selected all.
48. Copy Star
49. Click in the animation and paste in selected frame and place
this in the left top corner.
50. Click again in the animation and paste in selected frame
place in the right bottom corner.
51. Make the star active. Animation - Resize animation format - 75%
52. Copy this and click in the image, paste in selected
frame, place this upstairs next the little rectangle.
53. Click again in the image, paste in selected frame, place it now
below fore the little rectangle. (see preview)
54. Animation - Resize animation format with 75%.
55. File - Save as...give a name, next, next,
next, complete.
Ready is the tag
I hope that you like this tutorial.
greetings Emmy,

Tutorial written
30-10-2009
| |