
This
Tutorial is copyrighted to the Tutorial Writer, © Emmy Kruyswijk 2009.
This Tutorial
may
not be forwarded, shared or otherwise placed on any Web Site or group without written
permission from
Emmy Kruyswijk
Do you want to link my lessons?
Please send
me a mail.
Materials:
Download
here
3
Disney
tube,
2 tube , 1 brush
filters:
Screenworks - Hollow Dot,
MuRa's Meister - Clouds.
Download
here
Put the plug-ins in the folder plug-ins and the brush in the
folder brushes.
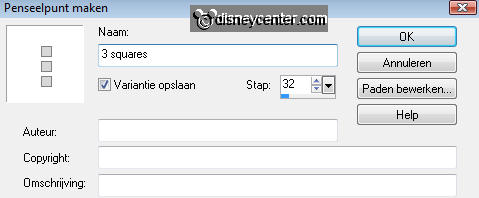
The 3 squares.psp.image save as follow:
Export - Custom brush. give name and click OK
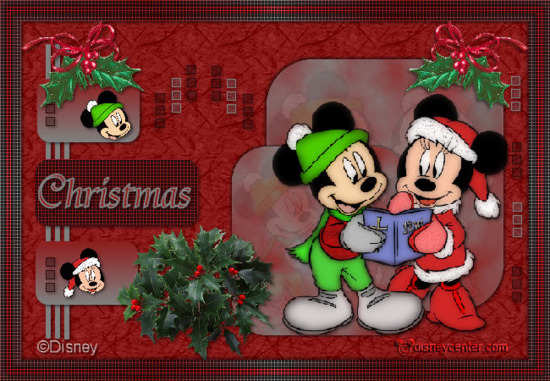
Christmas Song.
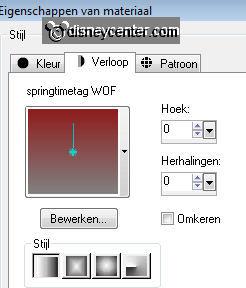
Foreground
color #808080 and background color #8d1d1d
1. Open ew image 600x400
2. Fill this with the background color.
3. Effects - Filters Unlimited 2.0 - Paper Textures - Japanese
Paper default setting.
4. Go to selection tool - selection - rectangle.
5. Draw a rectangle downwards from about 5x300.
6. Place this 50 pixels from the left side.
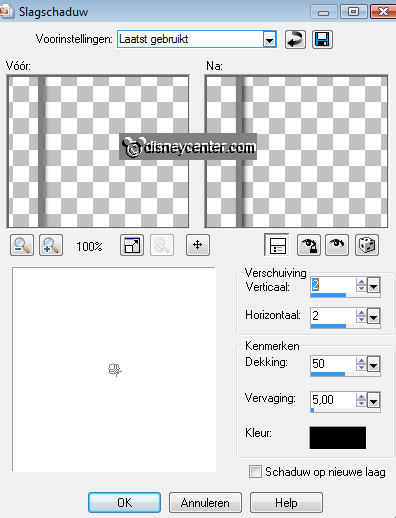
7. Effects - 3D Effects - drop shadow with this setting.
8. Duplicate this layer 2 more times and place this near the other.
With 5
pixels between.
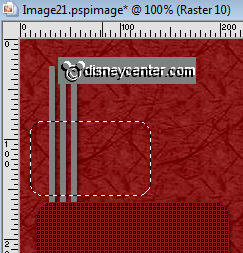
9. Go again to selection tool - selection - rounded rectangle.
10. Draw a rectangle from about 190x75 .
11. New raster layer and fill this with the background color.
12. Selections - select none.
13. Place this in the middle of the vertical lines. see example.
14. Effects - Screenworks - Hollow Dot - default setting.
15. Give the same drop shadow as in point 7.
16. Draw now a rounded rectangle from about 120x75.
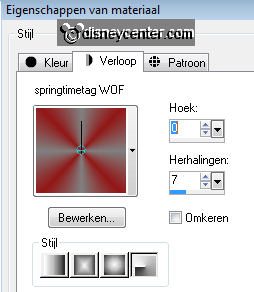
17. New raster layer -fill this with gradient linear.
18. Give the same drop shadow as in point 7.
19. Duplicate the layer and place under the middle rectangle.
20. Draw now a big rounded rectangle 300x300 at the right side.
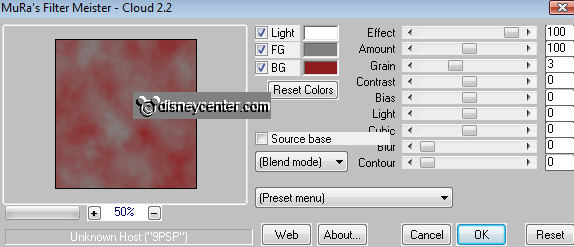
21. New raster layer - fill this with the foreground color.
22. Effects - MuRa's Meister - Clouds - with this setting.
23. Selections - select none.
24. Copy the tube Mickey&Minnie_Sing and paste as a new layer.
25. May be you must go to Image - resize 90%, but this may vary due
to your rectangle.
For me that was just right.
26. Put the opacity of this layer at 4.
27. Lock all layers, except the top 2.
28. Stay at one of the 2 layers.
29. Layers - merge - merge all visible.
30. Give the same drop shadow as in point 7.
31. Repeat the drop shadow but now horz. and vert. at -2
32. Duplicate this layer - image - resize 75%. Resize all layers not
checked.
33. Place this right at the top. see example.
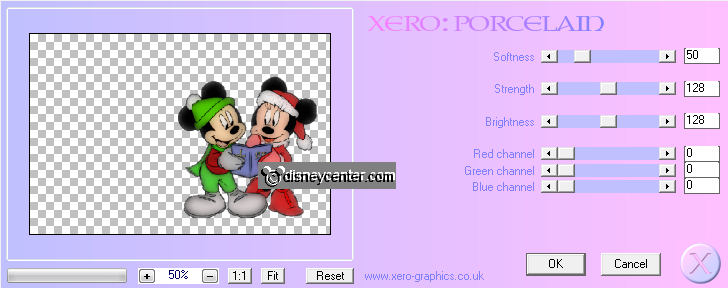
34. Copy the tube Mickey&Minnie_Sing and paste as a new layer.
35. Place this right at the bottom.
36. Effects - Xero - Porcelain - with this setting.
37. Give the same drop shadow as in point 7.
38. Go to pen tool- click the triangle - and look for 3 squares -
size 41.
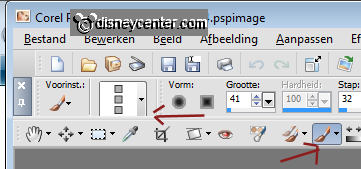
39. Put the background color on #250909, otherwise you did not see
the color..
40. New raster layer.
41. Click now first with the background color, than click foreground
color and again click the background color. see below.

42. Place this left left near the large square at the top.
43. Give the same drop shadow as in point 7.
44. Duplicate this
layer -
image - mirror - place this at the left side of point 42.
45. New raster layer - click now with the background color at the 2 small rectangles at the left side.
46. Give the same drop shadow as in point 7.
47. New raster layer - past the right side.
48. First the
foreground
- below the background - below the foreground and last the
background. see example
49. Give the same drop shadow as in point 7.
50. Copy the tube Leny_kerst3 and paste as a new layer.
51. Give the same drop shadow as in point 7.
52. Place this at the left side of the Mickey tube at the bottom.
53. Copy the tube kt_ribbon-holly and paste as a new layer.
54. Give the same drop shadow as in point 7.
55. Place this left at the top of the image.
56. Duplicate this layer - image - mirror.
57. Copy the tube mhoofd and paste as a new layer.
58. Place this in the upper rectangle on the right.
59. Give the same drop shadow as in point 7.
60. Copy the tube mhoofd1 and paste as a new layer.
61. Place it in the lower rectangle.
62. Give the same drop shadow as in point 7.
63. Put your watermark into the image.
64. Layers - merge - merge all.
65. Image - add border 25 - fill this with gradient radial.
66. Effects - Screenworks - Hollow Dot - default setting.
67. Let selection stay - Copy the border - and paste as a image.
68. Give the same drop shadow as in point 7.
69. Repeat the drop shadow but now horz. and vert. at -2.
70. Selections - select none.
71. Continue with the border.
72. Selections - select all - selections - modify - selections
- contract 7.
73. Selections - Invert - click at the delete key of your keyboard.
74. Select the middle of the rectangle - selections -
expand 10 - click at the delete key.
75. Now you can remove the rounded corners by drawing a rectangular
selection, but not necessarily
76. Selections - select none.
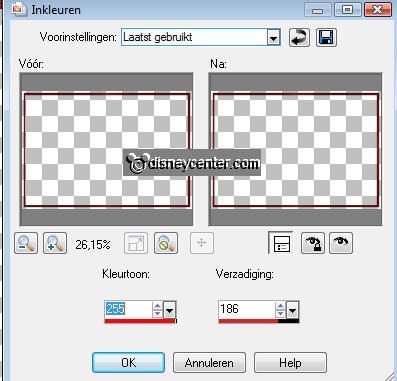
77. Colorize this border. Adjust - Hue and Saturation -
colorize.
78. Copy this border and paste as a new layer on the image.
79. Repeat point 68 en 69.
Ready is the tag
I hope you like this tutorial.
greetings Emmy,

Tutorial written
03-12-2009
