|

This
Tutorial is copyrighted to the Tutorial Writer, © Emmy Kruyswijk 2009.
This Tutorial
may
not be forwarded, shared or otherwise placed on any Web Site or group without written
permission from
Emmy Kruyswijk
Do you want to link my lessons?
Please send
me a mail.
2
tubes, masker 0.121-Wicked
filter Mehdi Wavy Lab, PentaCom VTR2.
Materials
download here
Put the filter in the folder plug-ins and the mask in the folder
Mask.
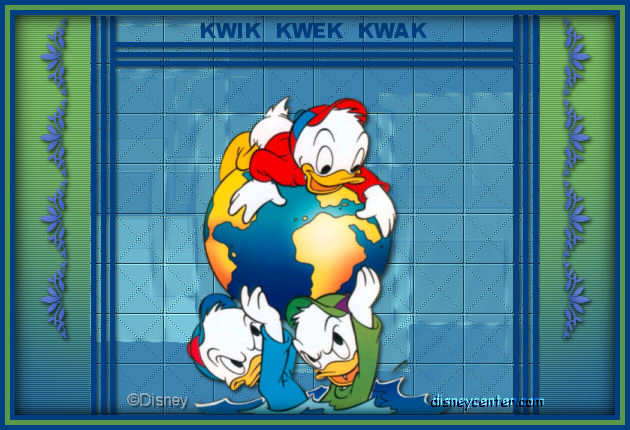
Kwik Kwek Kwak
1. Open new image 600x400
2. Take 2 colors from your tube. I did #5cbdd4 as foreground and
#003f82 as background color.
3. Flood fill the image with the foreground color.
4. New raster layer flood fill with the background color.
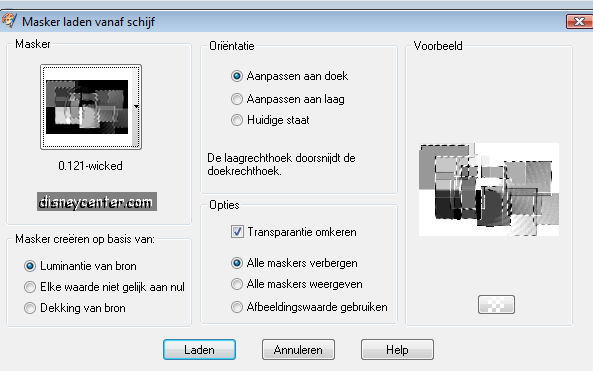
5. Layers- Load/Save Mask - Load Mask from Disk
6. Find masker 0.121-wicked .
7. Layers - Merge group.
8. Opacity of this layer at 50.
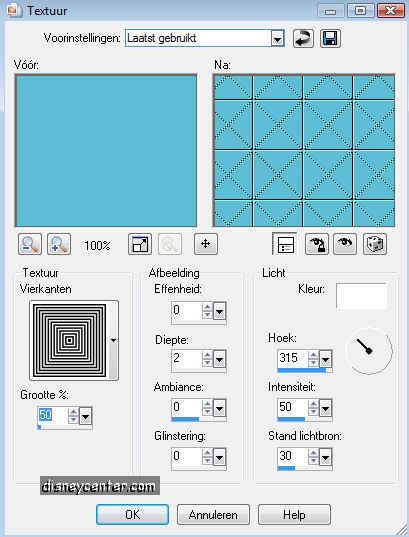
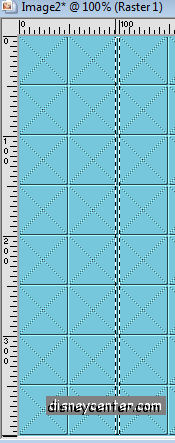
9. Stay at the bottom layer. Effects - Texture Effects -
Texture - Squares.
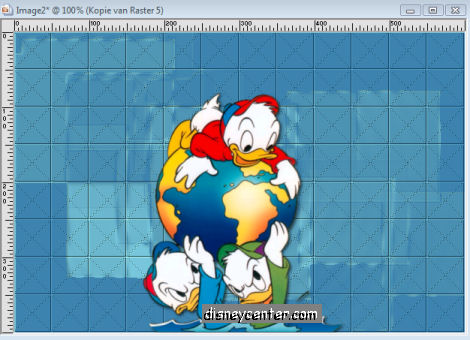
10. Copy your tube and paste as a new layer.
11. Place this at the bottom in the middle
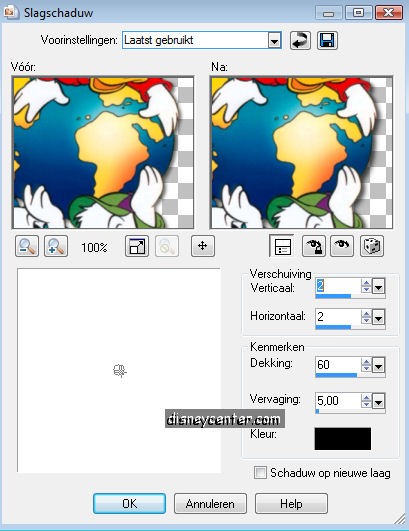
12. Go to Effects-3D Effects - Drop Shadow.
13. Go to Selection tool- rectangle.
14. Make a rectangle about 5x400. (Start by 100 to 95.)
15. New raster layer Flood fill this with the background color.
16. Duplicate this layer and place this a little to the left.
17. Duplicate one more time and place again a little to the left.
18. Layers - merge - merge down and one more time.
19. Give the same Drop Shadow as in point 12.
20. Duplicate this layer.
21. Image - Mirror.
22. Duplicate this layer.
23. Image - Free
Rotate
- Left 90.
24. Place this between the 2 others (see below).
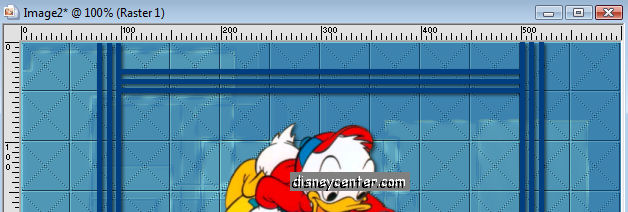
25. Slide the other lines slightly to the right and left, so that
the horizontal lines there between is.
25a.Layers - merge - merge down and one more time.
26. Go to Selection Tool -Custom Selection.

27. Image - crop to selection.
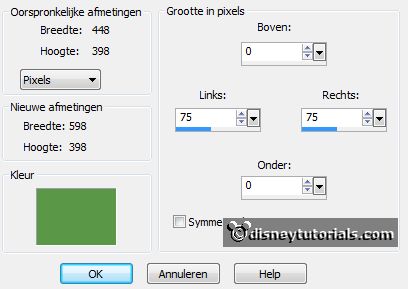
28.Chane the foreground in a other color from the tube I toke
#5b9848.
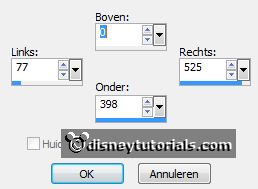
29.Image - add border - not symmetric - foreground color - with this
setting.
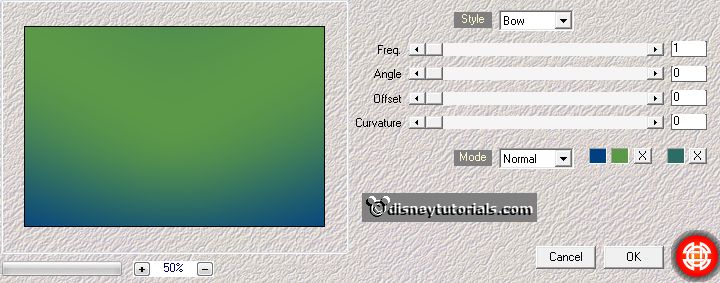
30.Select with the magic wand the width borders.
31. Go to Effects - Mehdi-Wavy Lab - with this setting.
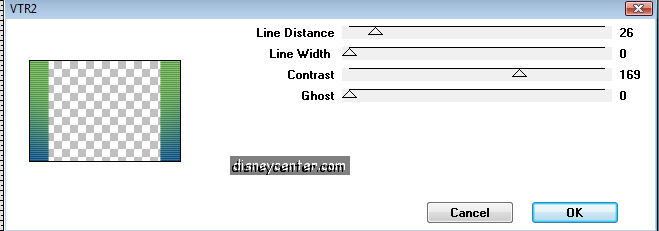
32. Let selection stay.
33. Effects - Penta Com - VTR2.
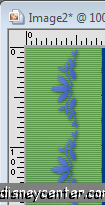
34. Selection none.
35. Copy the tube bloemenrand and paste as a new layer.
36. Place this to the left at 50 see below.
37. Give the same Drop Shadow as in point 12.
38. Duplicate this layer. Image - Mirror
39. Go to Text Tool. I did Arial Black size20.
40. Type with capitals HUEY DEWEY LOUIE. Or anything else
41. Convert to raster layer
42. Place this at the top. see tag.
43. Image - add border 5. Flood fill with background color.
44.
Image - add border 5. Flood fill with foreground color.
45.
Image - add border 5. Flood fill with background color.
46. Selection - Select all- Selection - Modify - Contract
15.

47. Effects - 3D Effects - Cutout.

48. Selct none.
49. Put your name or watermark in the tag.
50. Save as jpg.
Ready is the tag
I hope that you like this tutorial.
greetings Emmy,

Tutorial written
03-08-2009
| |