|

This
Tutorial is copyrighted to the Tutorial Writer, © Emmy Kruyswijk 2011.
This Tutorial
may
not be forwarded, shared or otherwise placed on any Web Site or group without written
permission from
Emmy Kruyswijk
Do you want to link my lessons?
Please send
me
a mail.
Material s
download here
5 Disney tube, 1 misted tube, 1
wordart, Animatie Shop.
filters: Xero -Porcelain, FM Tile Tools - Blend Emboss,
Pixelate - Crystallize, VM Toolbox -
Brightness Noise.
Download
here
Before you begins.......
Filters : Install first your plug-ins before you open PSP and put
them in the folder plug-ins.
Open your tubes in PSP
Open your font and minimize.
This lesson is translated in
 by
Hélène by
Hélène
The Hunchback of Notre Dame
Foreground color # 49572a.
1.
Open new transparent image 700x500.
Fill with the foreground color.
Copy Quasimodo01 and paste as new layer.
Place this right at the side.
2.
Adjust - Blur - Gaussian Blur - 25 range.
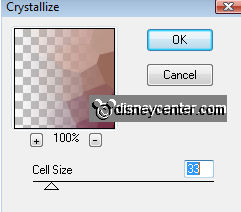
Effects - Pixelate - Crystallize - with this setting.
Effects - FM Tile Tools - Blend Emboss - default setting.
Repeat Blend Emboss.
Duplicate this layer - Image - mirror.
3.
Copy Notre dame and paste as a new layer.
Place at the top in the middle.
Set the blend mode of this layer to Luminance (Legacy).
4.
Copy The Hunchback of Notre Dame24 and paste as a new layer.
Place left at the bottom.
Image - resize 90% - all layers unchecked.
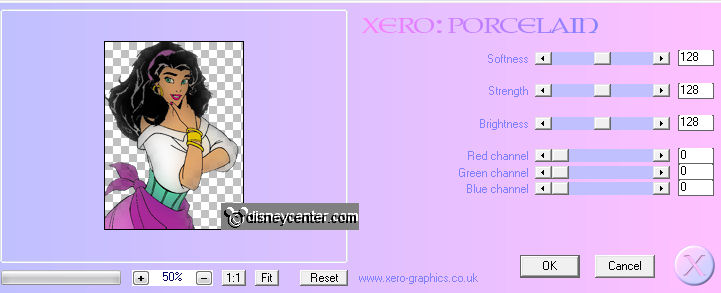
Effects - Xero - Porcelain - with this setting.
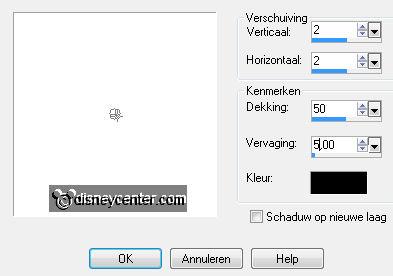
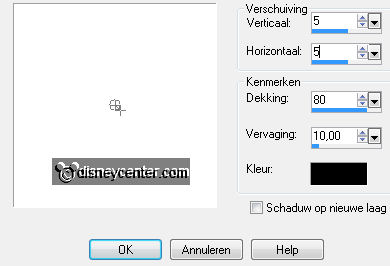
Effects - 3D Effects - Drop Shadow - with this setting.
5.
Copy The Hunchback of Notre Dame40 and paste as a new layer.
Place it right at the bottom - move a little down.
Effects - Xero - Porcelain - with the same setting as in step 4.
Give the same drop shadow as in step 4.
6.
Copy WordartHB and paste as new layer.
Place it in the middle below.
Image - resize 85% - all layers unchecked.
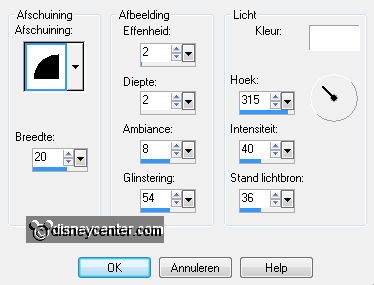
Effects - 3D effects - inner bevel - with this setting.
Give the same drop shadow as in step 4.
Duplicate this layer.
7.
Copy D134 and paste as new layer.
Place it on the wordartHB (at the entrance Notre Dame see example)
Layers - arrange - move down and again.
8.
Image - add borders 1 - color # 642622.
Image - add borders 20 - foreground color.
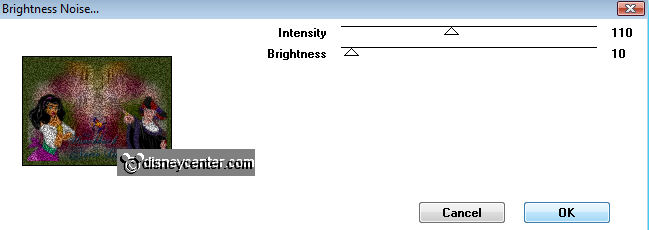
Select the border - Effects - VM Toolbox - Brightness Noise - with this setting.
Selections - select all - selections - modify - contract 20.
Effects - 3D Effects - Cutout - with this setting.
Repeat the cutout but now -2.
Selections - select none.
9.
Image - add borders 1 - color # 642622.
Image - add borders 25 - foreground color.
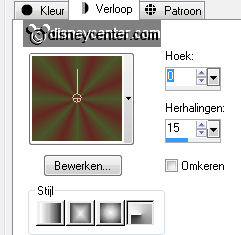
Select the Border - fill it with radial gradient.
Selections - select all - selections modify - contract 25.
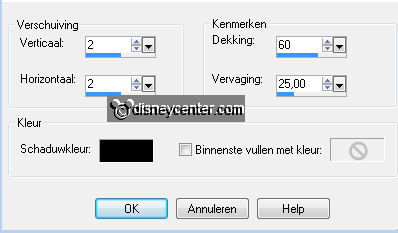
Effects - 3D Effects - Drop Shadow - with this setting.
Repeat the drop shadow, but now with -5.
10.
New layer - put your watermark in the image.
Layers - merge - merge all layers.
Copy The Hunchback of Notre Dame 72 and paste as new layer.
Place it on the right tower at the top

Image - resize 75% - all layers unchecked.
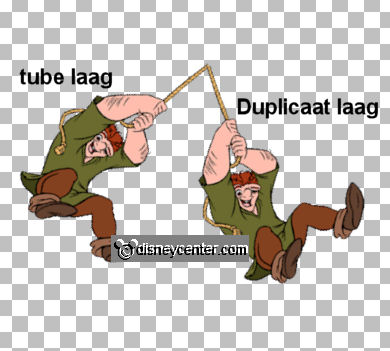
Give the same drop shadow as in step 4. - Duplicate this layer.
Stay at the tube layer -
Image - free rotate - with this setting.
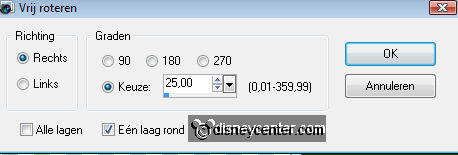
Image - free rotate - but now left 45.
Place it on the right of the other image. see below.
11.
Stay at the bottom layer, Lock the top layer.
Edit - copy - copy merged.
Open Animation Shop - paste as a new animation.
Back in PSP - Lock the middle layer and open the top layer.
Edit - copy - copy merged.
12.
Back in animation shop - paste after current frame.
Edit - select all - Animation - Frame Properties to 75.
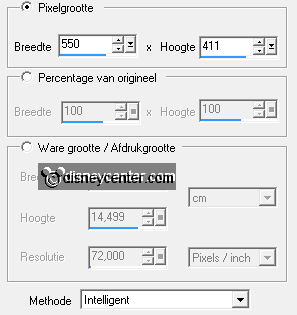
Animation - Resize animation 500x411.
File -Save As - give name - click Next 3 times and then finish.
Ready is the tag
I hope you like this tutorial.
greetings Emmy,

Tutorial written
01-03-2011
| 