|

This
Tutorial is copyrighted to the Tutorial Writer, © Emmy Kruyswijk 2009.
This Tutorial
may
not be forwarded, shared or otherwise placed on any Web Site or group without written
permission from
Emmy Kruyswijk
Do you want to link my lessons?
Please send
me a mail.
Materials
download here
2 tubes who match with each other size 250x345,
corner tutletsdance, masker Cris Taylor_m12,
Filter Factory Gallery H-Zoom Blur,
Toadies -
Weaver,
dsb flux - Bright Noise,
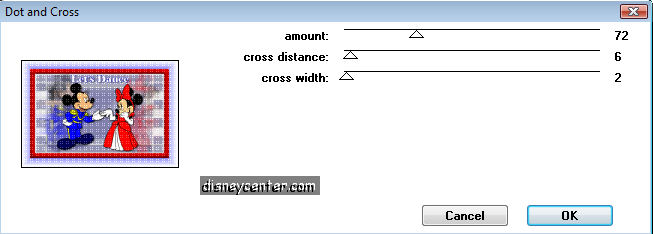
Penta.com-Dot and Cross,
Put the mask in the folder mask
and the plug-ins in the folder plug-ins.
Let's
Dance
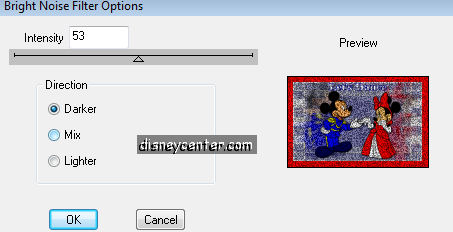
1. Open new image 650x400
2. Take 1 color from your tube. I took #000154 as foreground and
#ffffff white as background color.
3. New raster layer fill this with foreground color.
4. New raster layer fill this with background color.
5. Go to layers - Mask Load/Save Mask - Load Mask from disk -
look for mask Cris Taylor_m12.

6. Layers - merge group.
7. Effects - 3D Effects - drop Shadow.
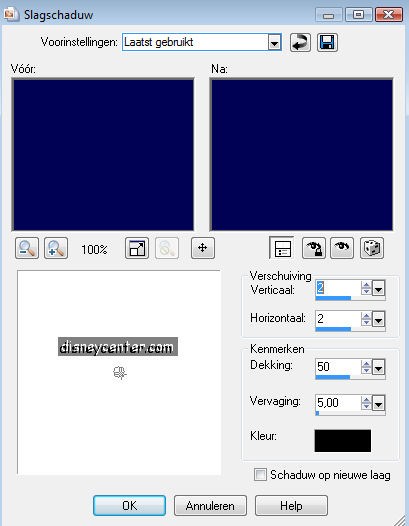 8.
Opacity of this layer at 50.
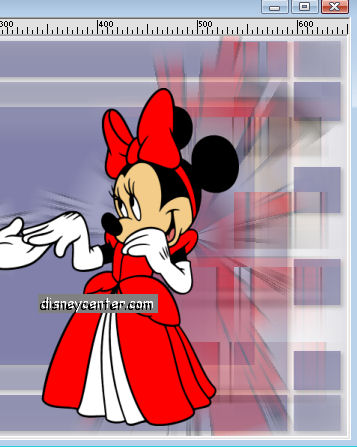
9. Copy your first tube and paste as a new layer, duplicate
this layer 2 times.
Lock the copy of raster 2 and copy(2) of raster 2 and make raster 2
active.
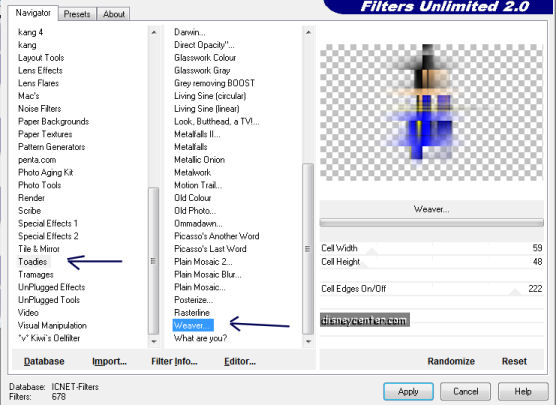
10. Go to Effects - Filters-Unlimited2 - Toadies - Weaver.
11. Opacity of this layer at 50 and place this left to the border.
12. Unlock copy of raster2 and go to Effects -
Filters-Unlimited2 - Filter Factory Gallery H - Zoom Blur.

13. Opacity of this layer at 35. Place it left to the little
rectangles
14. Unlock copy(2) of raster 2 and place it a little to left. see
below
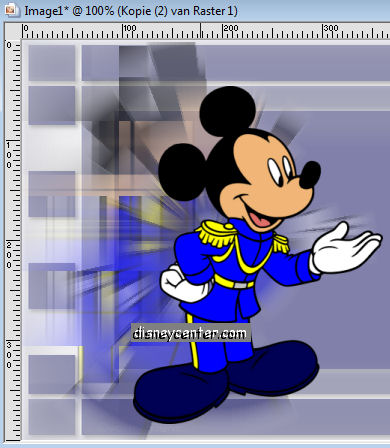
15. Go to Effects- 3D Effects - drop shadow as point 7 but than with horz.
and vert. at 3.
16. Repeat 9,10 with your second tube.
17. Opacity of this layer at 35, this depended on the color and
place this to the right against the border.
18. Repeat 12 and Opacity of this layer at 25, this depended on the
color and place this a little to the right, same as point 13.
19. Repeat 14 en 15 and place it a little to the right, see below..
20. Go to text tool

21. Type what ever you want in the image and place it in the top in
the middle.
22. Give it the same drop shadow as in point 15.
23. Go to image - Add border 25 px color from your tube #ff0000
24. Select the border. Go to Effects - dsb Flux - Bright Noise.
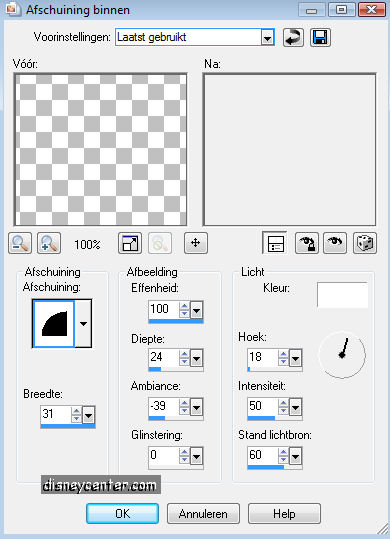
25. Effects - 3D Effects - Inner Bevel.
26. Selections - select none.
27. Go to image - Add border 40px color white.
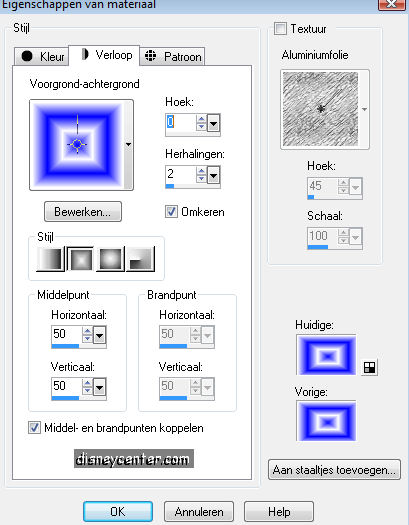
28. Select the border and fill this with the gradient.
29. Stay selected and go to Effects - Penta.com-Dot and
Cross.
30. Selections - Select none.
31. Go to image - Add border 25px color #ff0000 (same as
in 23)
32. Select border.
33. Go to Effects - dsb-flux - Bright Noise (see 24).
34. Repeat point 25.
35. Copy corner tutletsdance and paste as a new layer.
36. Place this in left top corner.
37. Duplicate this layer - Image - mirror - Image -
Flip. Drop shadow is included.
38. Put your name or watermark in the image.
39. Layers - merge layers
40. Go to image - Resize 75%
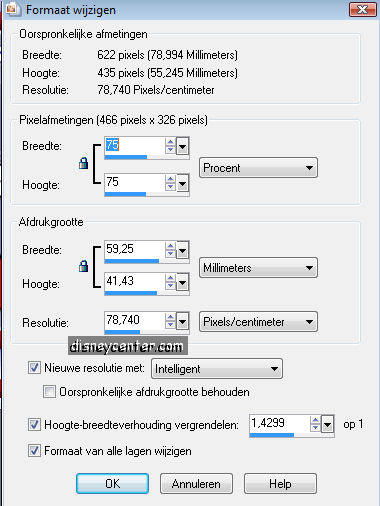
Ready is the tag
I hope that you like this tutorial.
greetings Emmy,

Tutorial written
21-07-2009
| |