|

This
Tutorial is copyrighted to the Tutorial Writer, © Emmy Kruyswijk 10-02-2012.
This Tutorial
may
not be forwarded, shared or otherwise placed on any Web Site or group without written
permission from
Emmy Kruyswijk
At all Disney creations must be copyrighted.
Do you want to link my lessons?
Please send
me a mail.
Needing
1 tube 600 high, made by me,
3 tubes,
unknown,
1 scrapkit from DesignsByLK
download here
Materials

Open the tubes in PSP.
Easter's little bird
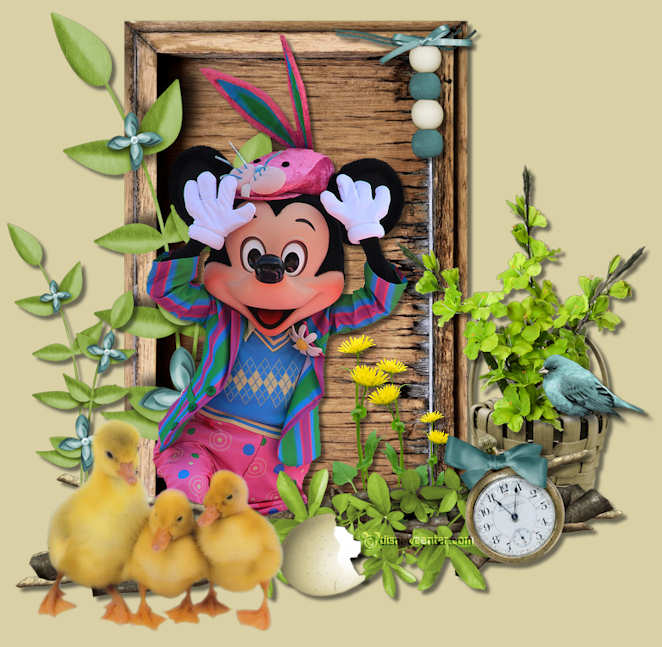
1.
Open new transparent image 800x800.
Open from the scrapkit ele8 - image - resize 35% - all layers
checked.
Edit - copy
2.
Edit - paste as a new layer on the image.
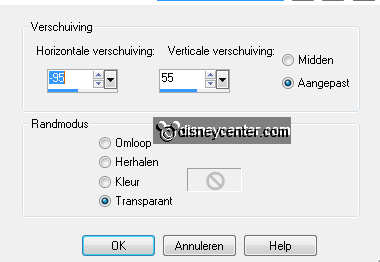
Effects - Image Effects - Offset - with this settings.
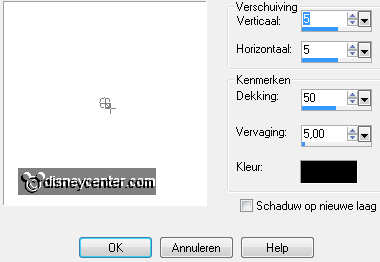
Effects - 3D Effects - drop shadow -
with this settings.
3.
Activate bloemen1 - edit - copy.
Edit - paste as a new layer on the
image.
Activate Move Tool - put the flowers right at the bottom of the
board.
Effects - 3D Effects - drop shadow - settings are good.
4.
Activate the tube - edit - copy.
Edit - paste as a new layer on the
image.
Activate Move Tool - put this at the left side at the bottom of the
board.
Effects - 3D Effects - drop shadow - settings are good.
5.
Open from scrapkit ele9 - image - resize 50% - 1
time 60% -
all layers checked.
Edit
- copy.
Edit - paste as a new layer on the
image.
6.
Effects - 3D Effects - drop shadow - settings are good.
Put this below the tube.
7.
Open from the scrapkit ele6 - image - resize
10% - all layers
checked.
Edit
- copy.
Edit - paste as a new layer on the
image.
8.
Put this on the branches in the middle.
Effects - 3D Effects - drop shadow - settings are good.
Image - free rotate - right 70.
9.
Open from scrapkit ele12 - image - resize 10% - 1 time 75% -
all layers checked.
Edit
- copy.
Edit - paste as a new layer on the
image.
10.
Put this right of the board.
Layers - arrange - move down - and 1 more time.
Effects - 3D Effects - drop shadow - settings are good.
11.
Open from the scrapkit ele18 - image - resize
20% - all layers
checked.
Edit
- copy.
12.
Edit - paste as a new layer on the
image.
Put this left below on the branches.
Effects - 3D Effects - drop shadow - settings are good.
13.
Activate bloemen -
edit
- copy.
Edit - paste as a new layer on the
image.
Put this on the basket - see example.
Effects - 3D Effects - drop shadow - settings are good.
14.
Open from the scrapkit ele11 - image - resize
10% - all layers
checked.
Edit
- copy.
Edit - paste as a new layer on the
image.
15.
Effects - 3D Effects - drop shadow - settings are good.
Put this on the basket right.
16.
Activate kuikentjes - Image - mirror
Edit
- copy.
Edit - paste as a new layer on the
image.
Put this left below
before the branches
- see example.
17.
Effects - 3D Effects - drop shadow - settings are good.
Open from the scrapkit ele1 - image - resize
10% - all layers
checked.
Edit
- copy.
Edit - paste as a new layer on the
image.
18.
Effects - 3D Effects - drop shadow - settings are good.
Put this at the right upper corner of the board.
Layers - new raster layer.
Put your watermark into the image.
19.
Image - resize 80% - all layers checked.
File - export - PNG Optimizer.
Ready is the tag
I hope you like this tutorial.
greetings Emmy
Tested by Cobie,

Tutorial written 19-02-2012
|