|

This
Tutorial is copyrighted to the Tutorial Writer, © Emmy Kruyswijk 2009.
This Tutorial
may
not be forwarded, shared or otherwise placed on any Web Site or group without written
permission from
Emmy Kruyswijk
Do you want to link my lessons?
Please send
me a mail.
Material
download here
1 MM2 Mickey tube,
masker 96MaskkelsWWA, gold pattern,
filters: Penta.com - VTR2, MuRa's Meister - Copies,
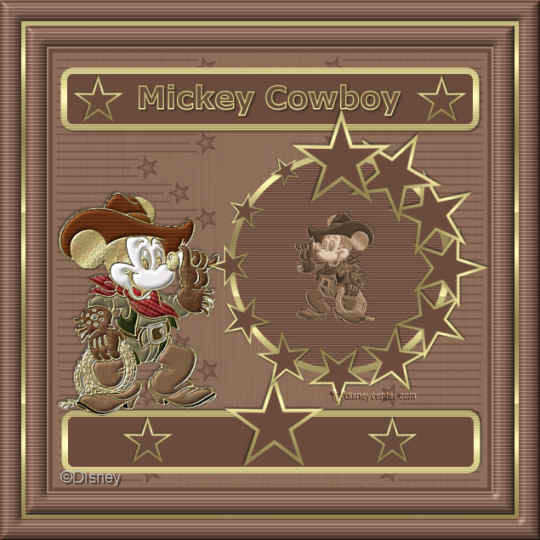
Mickey Cowboy
Put the filters in the folder plug-ins, the masks in the folder masks and the
gold pattern in the folder patterns.
1. Open a new image 700x700
2. Foreground color #b09278 and background color #6b4c3c
3. Flood fill the image with the foreground color.
4. New raster layer and flood fill this with the background color.
5. Layers - Load/Save Mask - Load Mask from Disk.
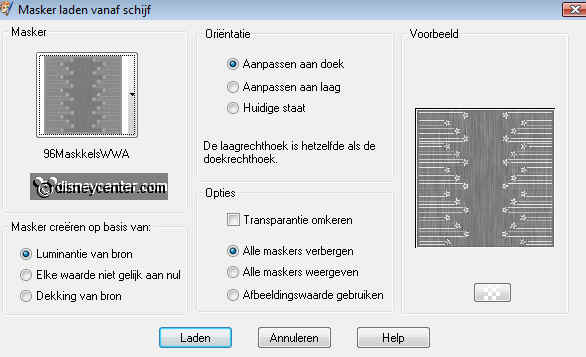
6. Look for 96MaskkelsWWA - Click on Load.
7. Layers - Merge - Merge Group.
8. Go to selection tool - selections - rounded rectangle - over the whole
picture - see example.
8a.Place this in the middle at the top - see example.
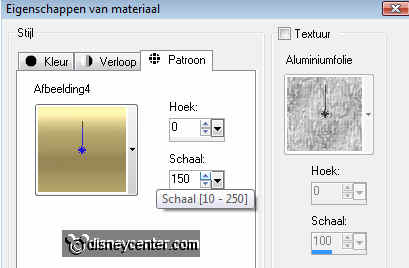
9. New raster layer flood fill with the gold pattern .
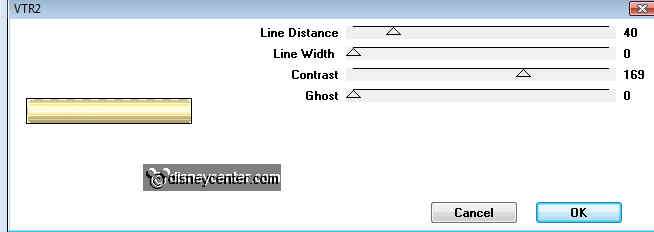
10. Effects - Penta.com - VTR2 - click on OK.
11. Selections - Modify - Contract 10.
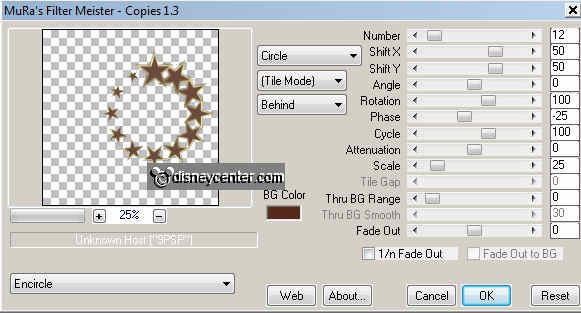
12. New raster layer - flood fill with the background color.
13. Selections - select none.
14. Go to text tool and write Mickey Cowboy.
15. Font Verdana size 48, stroke width 2, foreground gold pattern.
16. Effects - 3D Effects - drop shadow.
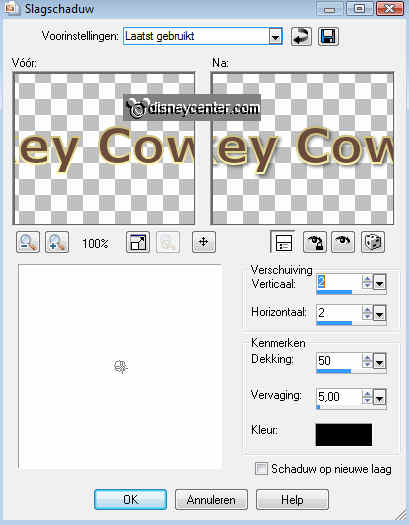
17. Close the 2 bottom layers and stay at 1 of the other layers.
18. Layers - Merge - Merge visible.
19. Open the 2 bottom layers.
20. Duplicate this layer- Image - Flip.
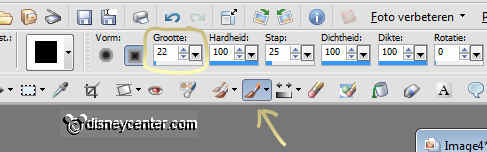
21. Go to Paint Brush and remove the letters off with the background color
22. Copy the tube MM2 of Mickey and paste as a new layer.
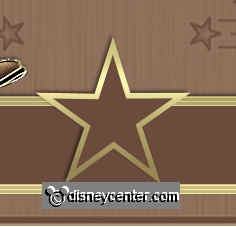
23. Go to Preset Shape Tool - symmetric shape - star.
24. Draw a star with the gold pattern in the foreground and place this at the
bottom in the middle.
25. Duplicate this layer - Image - Resize 50% - all layers not checked.
26. Place this left of the star.
27. Duplicate the smaller layer - Image - Mirror.
28. Duplicate this layer also and place this left in the top bar.
29. Duplicate this layer- Image - Mirror.
30. Duplicate raster 3 (the big star).
31. Place it right in the middle.
32. Effects - MuRa's Meister - Copies.
33. Go to selection tool - selections - circle.
34. You are still at copies of raster 3. Draw a circle in the stars.
35. New raster layer - flood fill with gold pattern.
36. Layers - arrange - move down.
37. Selections - Modify - Contract 10.
38. New raster layer and flood fill with background color.
39. Selections - select none.
40. Stay at raster 5. (the circle with the background color)
41. Effects - Penta.com - VTR2 same settings as in 9.
42. Duplicate the tube MM2 of Mickey. (raster 2)
43. Layer - Arrange - Bring to top.
44. Image - Resize 50% - All layers not checked.
45. Place this in the middle of the circle.
46. Effects - Photo-effects - Sepia Toning.
47. Put your watermark into the image.
48. Image - Resize 75%. All layers checked.
49. Image- Add border 25 - flood fill with background color.
50. Select the border.
51. Effects - Penta.com - VTR2 - same settings as in 9.
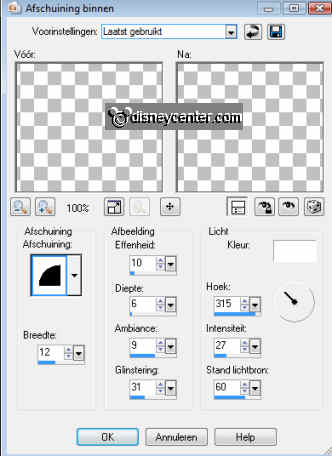
52. Effects - 3D Effects - Inner Bevel.
53. Selections - select none.
54. Image- Add border 5 - flood fill with background color.
55. Select the border - flood fill with gold pattern.
56. Selections - select none
57. Image- Add border 25 - flood fill with background color.
58. Effects - Penta.com - VTR2 - same settings as in 9.
59. Effects - 3D Effects - Inner Bevel same as in 52.
60. Selections - select none.
61. Image - Resize with 85%.
62. File - Save as a jpg file.
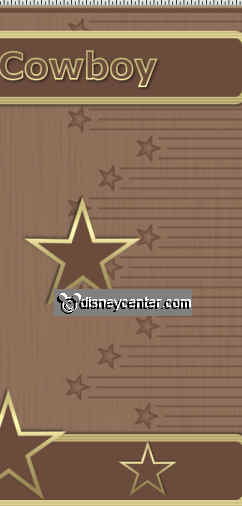
Ready is the tag
I hope that you like this tutorial.
greetings Emmy,
Tutorial written19-09-2009
| |