2. Image-Add border 20 fill with foreground color.
3. Select, go to Effects-Graphic Plus-Cross Shadow all at
50, except the last one that at 128.
4.Adjust-Add/remove noise-Add noise-Gaussian, monochrome checked.
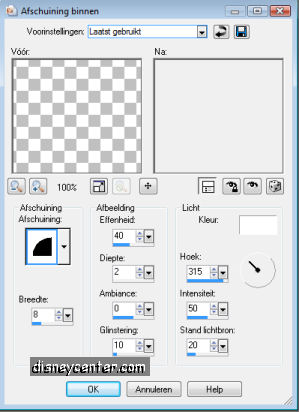
5. Effects-3D Effects-Inner Bevel, preset inner bevel
kussen. (or see below)
6.Selections Modidy.
7.Effects-3D Effects-Chisel with these settings.
8. Select none.
9. Image-Add border 3 with white, select,
10. Fill this with the gold pattern, let the selection stay.
11. Go to Effects - Cybia - Screenworks - PixelShade standard settings.
Select none.
12. Image-Add border 20 the background color, select.
13. Go to Effects - Cybia - Screenworks-Ages Mosaic standard settings.
14. Effects-3D Effects-Inner Bevel,
preset inner bevel
kussen. same as point 5. Select none.
15. Image - Add border-Repeat point 9-11.
16. Image-Add border 35 foreground color, select.
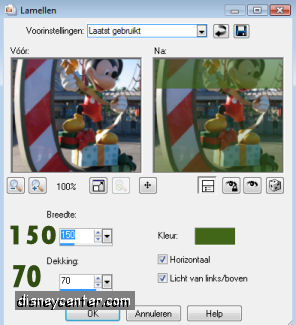
17. Effects-Texture Effects-Blinds with this setting, let selection
stay.
18. Effects-Edge Effects-Enhance.
19. Effects-FM Tile Tools-Blend Emboss standard settings.
20. Adjust-Add/remove Noise-Add noise-Gaussian at 10 Monochrome
checked.
21. Effects-3D Effects-Inner Bevel,
preset inner bevel kussen same as point 5. Select none.
22. Image-Add border-Repeat point 9-11
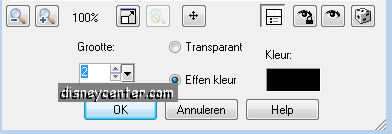
23. Image-Add border 4 background color, select,
24. Effects-3D Effects-Inner Bevel with this setting.

25. Image-Add border-Repeat point 9-11
26. Image-Add border 20 foreground color, select
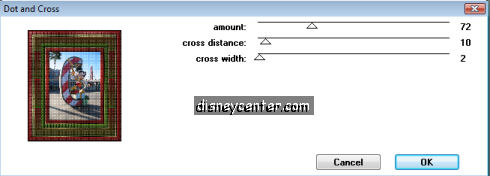
27. Go to Effects-Penta.com-Dot and Cross with this setting.
28. Image-Add border 4 color white, select, fill this with the gold
pattern.
29. Effects-Cybia-Screenworks-Pixel Shade standard settings.
30. Image-Add border 4 foreground color, select.
31. Effects-3D Effects-Inner Bevel see point 24.
32. Image-Add border, repeat point 28 and 29.
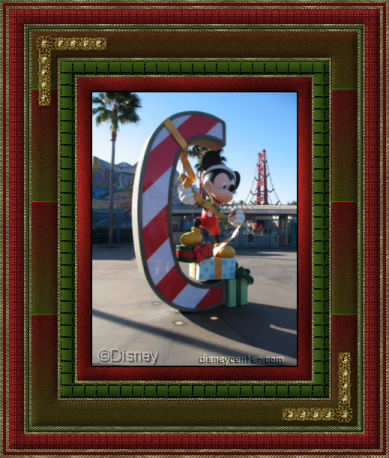
33 Open your corner copy and paste as a new layer at the border with
the stripes in the left top corner.
34. Duplicate this layer, image flip, image mirror.
35. Put your watermark into the image and merge all layers
36. Resize it with 75%. All layers checked.