1. Open a new image 650x570
2. Take 2 colors from your tube. I did #ff8080 as foreground and #bbe1ff
as background color.
3. Fill this with the gradient Style Sunburst, Angle 180, Repeats at 0.
4. New raster layer, fill this with the foreground color.
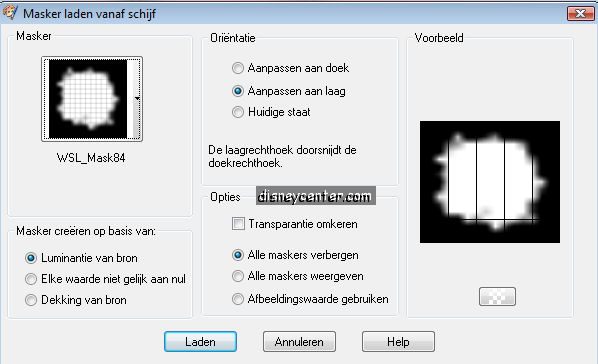
5. Go to Layers - Load/Save Mask - Load Mask from Disk - Choose
WSL_Mask84
6. Layers - Merge Group
7. Effects - 3D Effects - Drop Shadow 3-3-50-5.00 color black.
8. Paste the tube as a new layer
9. Same Drop Shadow as in point 7.
10. Stay on raster 2
11. Click at Preset Shape Tool - Ellipse, and make a circle round your tube
12. Go to Text Tool
13. Type round the circle whatever you want. Take care for the rounding of the
letters.
14. Convert to Raster Layer.
15. Delete the circle (vector 1)
16. Go to raster 4 , the text layer and give it Drop Shadow 2-2-50-5.00 color
black
17. Take off both sides 25 pixels of the image. The width must be now 600..
18. Image - Add border 40 with foreground color.
19. Selected border
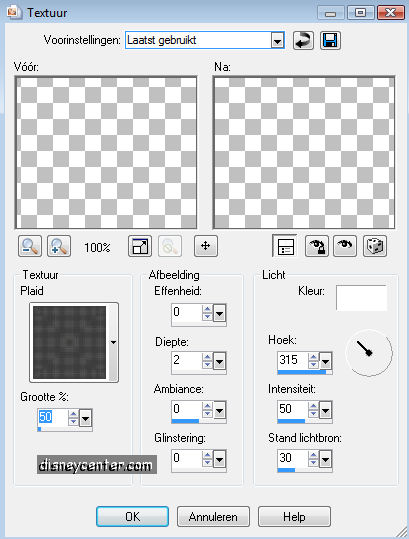
20. Effects - Texture Effects - Texture - Plaid
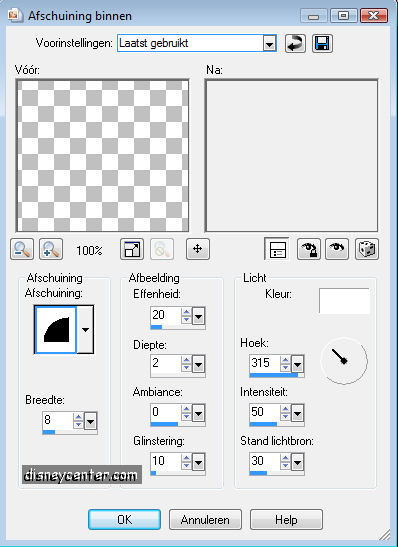
21. Effects - 3D Effects- Inner Bevel.
22. Select None
23. Image - Resize with 75 %.
24. Put your name or watermark in the image
25. Layer Merge all.
26. Open animation shop
27. Open Robertablingbling frame 24
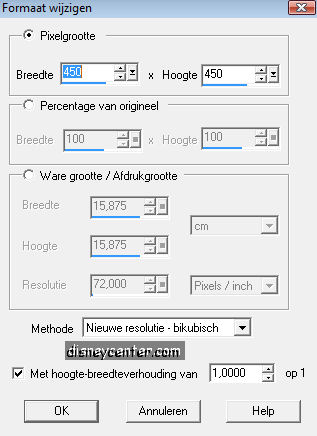
28. Go to animation - Resize the animation 450
29. Go back to Paint shop and copy the image
30. Paste as a new animation in Animation shop.
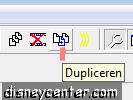
31. Duplicate this twice, so you have now 3 images.
32. Click at the animation - Go to Edit - Select All.
33. Copy Animation
34. Click at the image - Go to Edit - Select All
35. Click in the image - paste into selected frame and put it in the corners.
36. Click at the border of the image
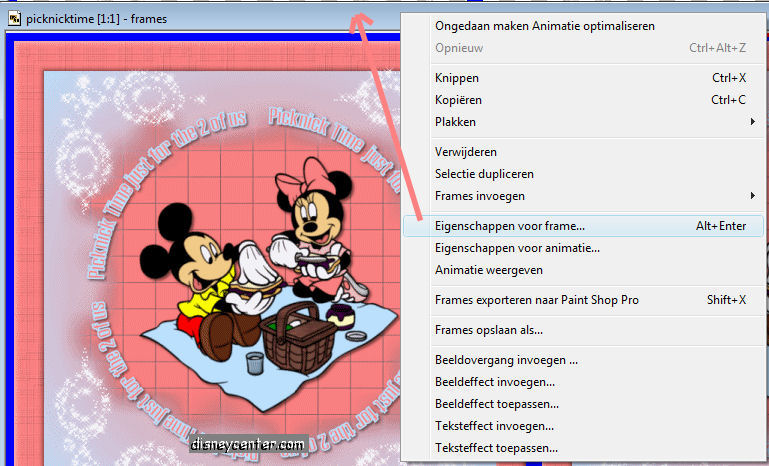
37. Go to Frame Properties and put this at 15.
38. Go to File - save as....give the image a name
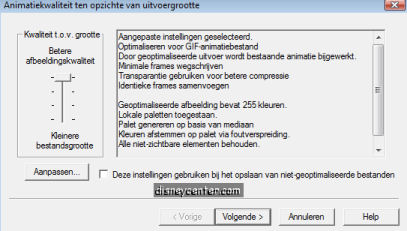
38 click on next, next, next and complete.
Ready is the tag
I hope that you like this tutorial.
greetings Emmy,