1. Open a new image 560x460
2. Take 2 colors from your tube.
3. I did foreground #f069a, background 3#b4cd33
4. Fill this with the gradient linear angle 180 repeats 3.
5. Go to Effects-Texture Effects-Mosaic Glass: 35-35, 50-0-50
6. Copy your tube, paste as a new image,
7. Effects-3D effects-Drop Shadow 2-2-50-5,00 color black
8. Selections-select all-modify-contract 25
9. Selections- invert fill this with the gradient.
10. border selected
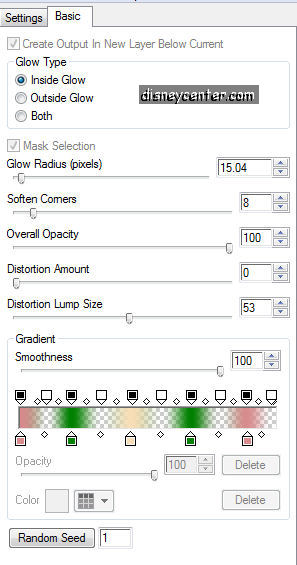
11. Go to Effects-Alien Skin Eye Candy Impact-Gradient Glow (see image)
depends at your colors.
12. Let selection stay
13. Border copy - paste as a new layer.
14. Image-Canvas Size width 800 - height 800
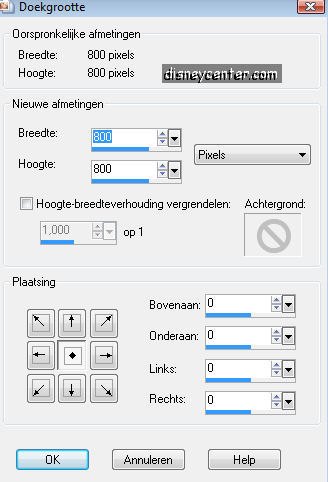
15. Lock aspect ratio not checked.
16. Go stay at the layer of the border
17. Image free rotate (see image.)
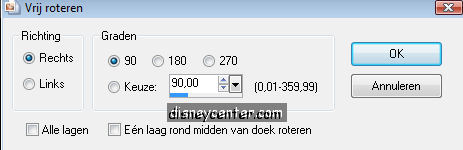
18. Convert to raster layer
19. Layers-Arrange-Send to the bottom
20. Select none
21. Delete the layer of the first border
22. Lock the merge layer
23. Select the other border in the middle.
24. Fill this with the gradient
25. Effects-Texture effects-Mosaic glass, same as point 5.
26. Duplicate this layer
27. Image-free rote-links 90
28. Go to selection tools and click at pick, see image.
29.Pull it about 30 pixels at both sides, see tag
30. The upstairs pull it down 30 pixels and also the bottom high 30 pixels, see
tag
31. Image-resize in width 750- Lock aspect ratio checked.
32. Layer - a new raster layer
33. Layers-Arrange-Send to the bottom
34. Fill this with the gradient, angle 90 repeats 3.
35. Lock this layer
36. Stay at another layer
37. Layers-Merge Visible
38. Layers- new raster layer-fill this with the gradient-angle 180 repeats 3.
39. Opacity of this layer at 50
40. Layers-Merge visible
41. Image- add border 1 foreground color.
42. Image- add border 25 select border - fill this with the gradient, angle 90
repeats 3.
43. Effects-Penta.com-Dot and Cross-72-10-2
44. Effects-3D effects-Inner Bevel, see image.

45. Select none
46. Copy the accent. Past as a new layer right upstairs
47. Duplicate this layer and place the accent links downstairs.
48. Copy the other color accent and paste as a new layer and place this links
upstairs.
49. Duplicate this layer and place the accent right upstairs.
50. Put your name or watermark in the image
51. Open animation shop
52. Lock the layers copy of raster1, raster2 and copy of raster2
53. Stay at the bottom layer and copy merged.
54. Paste as a new animation in animation shop
55. Go back to Paint shop
56. Lock raster 1 and open copy of raster2
57. Again copy merged
58. Paste after current frame
59. Go back to Paint shop
60. Lock copy of raster2 and open copy of raster1
61. Again copy merged
62. Paste after current frame
63.Go back to Paint shop
64. Lock copy of raster1 and open raster2
65. Again copy merged
66. Paste after current frame
67. Frame properties at 50
68. Go to animation and resize with 75%
69. Go to file-save as.....give it a name.
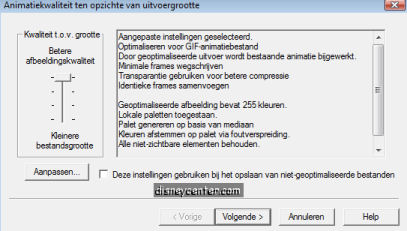
70.
click on next, next, next and complete.
Ready is the tag
I hope that you like this tutorial.
greetings Emmy,