foreground color to # 3c4828.
1.
Open new transparent image 700x550.
Fill with the foreground color.
Open scrapkit 1219072621.
Copy and paste raster 9 as a new layer to the image.
Image - resize 125% - all layers unchecked.
2.
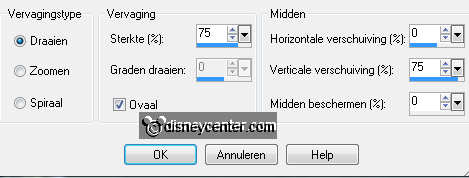
Adjust - Blur - Blur radial - with this setting.
Effects - Edge Effects - Enhance - repeat enhance.
Duplicate this layer - image - flip.
Layers - merge - merge down.
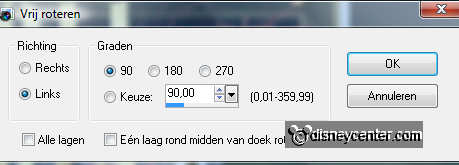
Duplicate this layer - image - free rotate - with this setting.
Set the opacity of this layer to 75.
3.
Make the bottom layer active - Selections - select all - new raster
layer.
Copy raster 3 of the scrapkit and paste into selection.
Selections - select none.
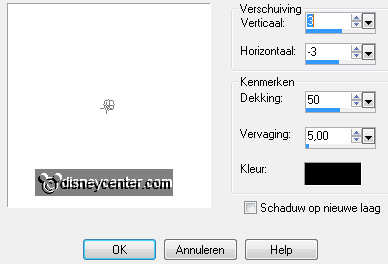
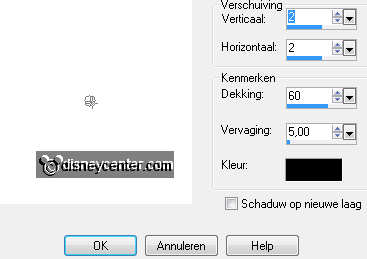
Effects - 3D Effects - Drop Shadow- With this setting.
4.
Make the top layer.
Copy raster 8 of the scrapkit and paste as new layer to the image.
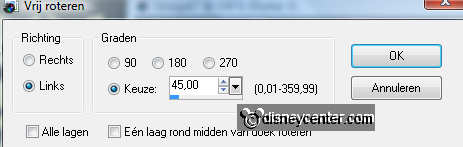
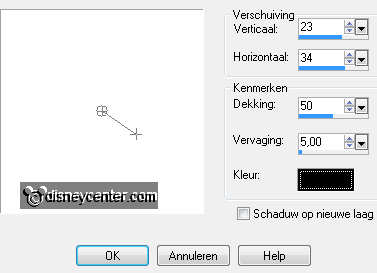
Image - free rotate - with this setting.
Effects - 3D Effects - Drop Shadow - with this setting.
5.
Copy and paste gold ring as a new image on the layer.
Apply the same drop shadow as in step 5.
Copy raster 11 of the scrapkit and paste as new layer to the image.
Place the bottom left.
6.
Copy raster 12 of the scrapkit and paste as new layer to the image.
Image - resize 75% - all layers unchecked.
Place it on the right side of the bottle.
Duplicate this layer and place it alongside the other glass down
slightly.
Layers - merge - merge down - and again.
7.
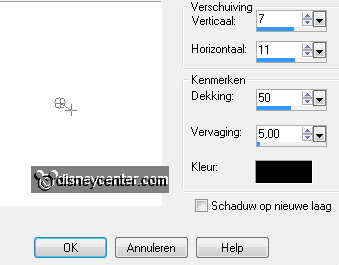
Effects - 3D Effects - Drop Shadow - with this setting.
Copy micsmoking and paste as new layer to the image.
Image - mirror - put it right.
Effects - 3D Effects - Drop Shadow - with this setting.
8.
Copy raster 16 of the scrapkit and paste as new layer.
Apply the same drop shadow as in step 4.
New layer - put your watermark in the picture.
9.
Edit - copy merged.
Open animation shop - paste as new animation.
Edit - Duplicate selection - Edit - duplicate selection.
Edit - select all.
10.
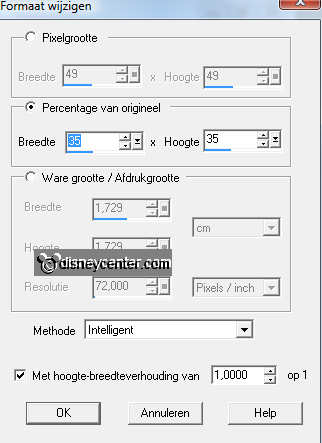
Open blingcreatedbyronny - Animations - Animated resize format
animation 35% - with this setting.
Edit select all - delete the first frame.
Copying - peep in the first frame of your image.
Paste into selected frame.
Place this in the upper left corner.
File - Save As - give name - click on the following three times and
then finish.
Ready is the tag
I hope you like this tutorial.
greetings Emmy,
Tested by Bep
Tutorial written
25-10-2011


