File - open new transparent image 750x550.
Set in the material palette the foreground color at #ff974c
and the background color at #ff4973.
Make from the foreground a
gradient rectangular - with this setting.
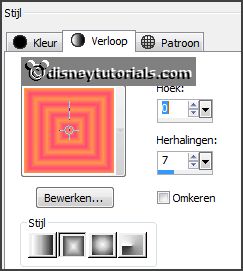
2.
Activate flood fill tool - fill the layer with
the gradient.
Effects - plug-ins - Mehdi - Sorting Tiles - with this setting - click
OK.
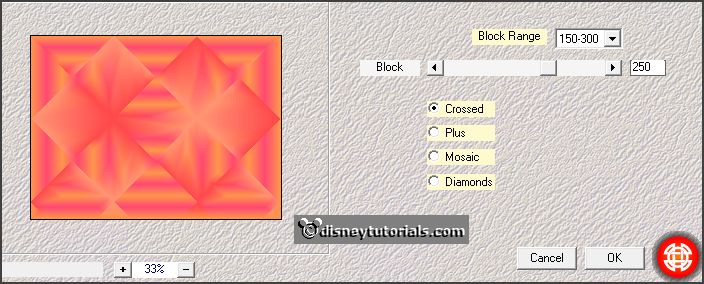
Effects - plug-ins - FM Tile Tools - Blend Emboss -
default setting
- click Apply.
Effects - plug-ins - Mehdi - Weave -
with this setting - click OK.
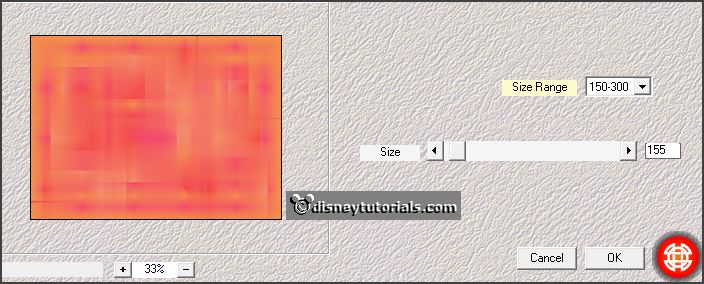
Effects - Rand effects - enhance more.
Effects - plug-ins - Simple - Diamonds.
3.
Layers - new raster layers.
Fill this with the background color.
Layers - load/save mask - load mask from disk - look Emmymask9 -
with this setting.
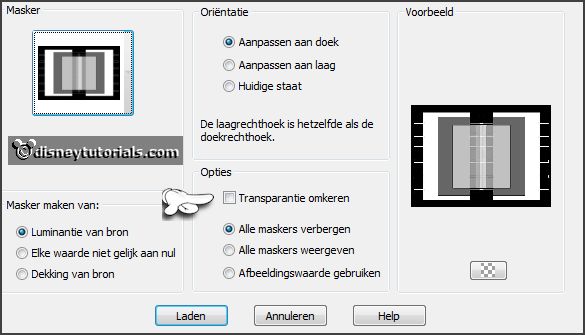
Layers - merge - merge group.
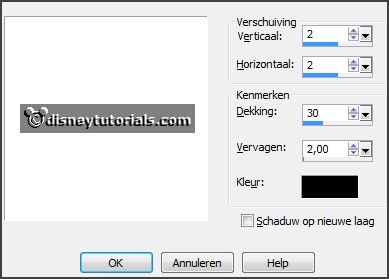
Effects - 3D Effects - drop shadow - with this
setting.
4.
Activate the tube carnavalbling - edit - copy.
Edit - paste as a new layer on the image.
Set in the layer palette the opacity to 50.
5.
Layers - new raster layer.
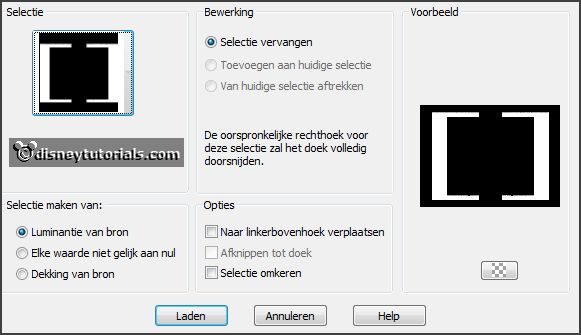
Selections - load/save selection - load selection from disk - look
Emmymincarnaval - with this setting.
Fill the selection with the background color.
Selections - select none.
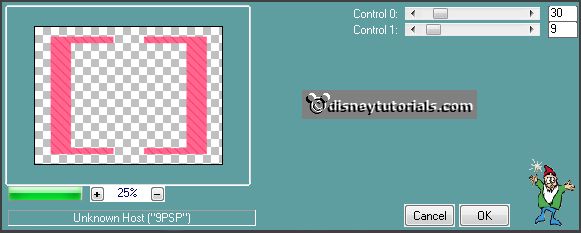
Effects - plug-ins - Caroline and
Sensibility - CS-DLine - with this setting
- click OK.
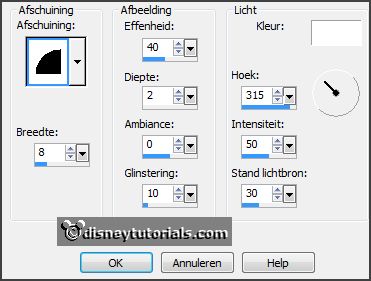
Effects - 3D Effects - Inner Bevel - with this
setting.
6.
Set in the material palette the foreground back to color.
Layers - new raster layer.
Selections - load/save selection - load
selection from disk - look
Emmymincarnaval - setting is right.
Fill the selection with the foreground color.
Effects - Texture effects - Blinds - with this
setting.
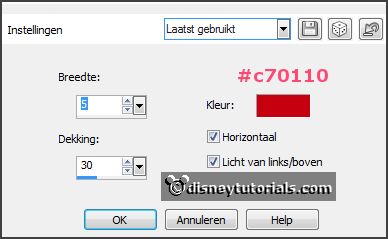
Effects - Image effects - seamless tiling -
default setting.
Image - free rotate - with this setting.

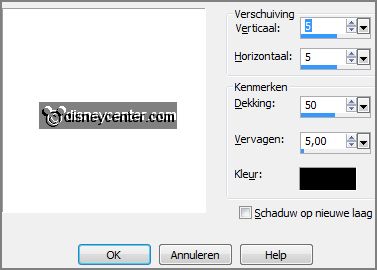
Effects - 3D Effects - drop shadow -
with this setting.
7.
Activate group raster2.
Layers - new raster layer.
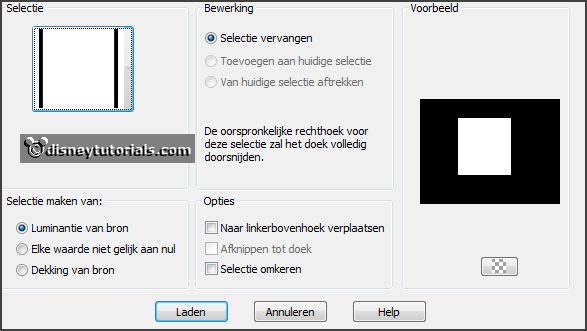
Selections - load/save selection - load
selection from disk - look Emmymincarnaval -
with this setting.
8.
Activate the image 22027 - edit - copy.
Edit - paste as a new layer on the image.
Selections - invert - click at the delete key.
Selections - select none.
Set in the layer palette the opacity to 40.
9.
Activate the top layer.
Activate word-artEmmycarnaval - edit - copy.
Edit - paste as a new layer on the image.
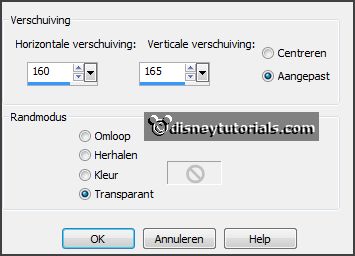
Effects - Image effects - offset - with this
setting.
10.
Activate the tube Emmymask6 - image - mirror.
Image - resize 85% - all layers checked.
Edit - copy.
Edit - paste as a new layer on the image.
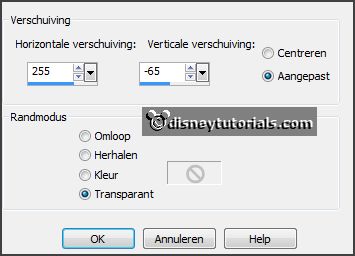
Effects - Image effects - offset -
with this setting.
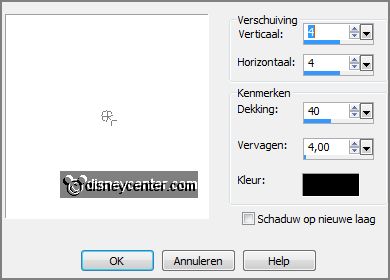
Effects - 3D Effects - drop shadow -
with this setting.
11.
Activate the tube mincarnaval3 - edit - copy.
Edit - paste as a new layer on the image.
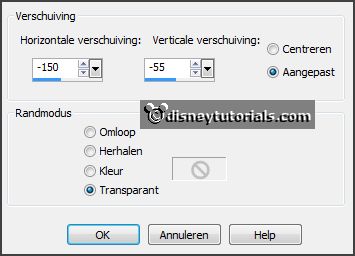
Effects - Image effects - offset -
with this setting.
Effects - plug-ins - Alien Skin Eye Candy 5:Impact - Glass - Settings -Clear
No Drop Shadow - click OK.
Effects - 3D Effects - drop shadow -
setting is right.
12.
Image - add borders 3 pixels - symmetric - background color.
Image - add borders 3 pixels - symmetric -
foreground color.
Image - add borders 3 pixels - symmetric -
background color.
Image - add borders 25 pixels - symmetric -
foreground color.
13.
Select with the magic wand - with this setting - the width border.

Promote selection to layer.
Selections - select none.
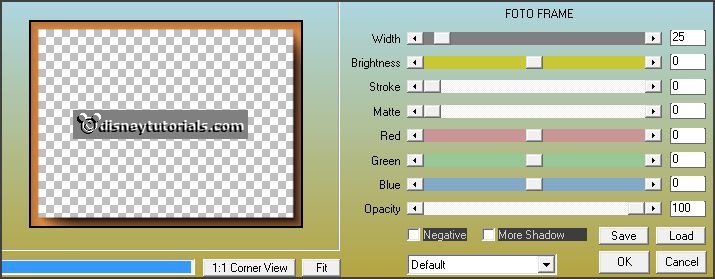
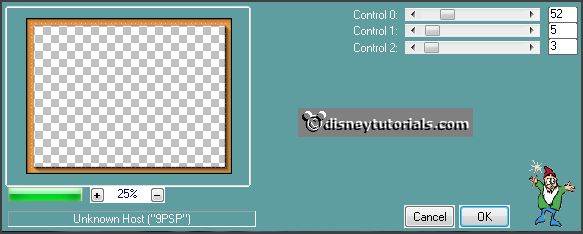
Effects - plug-ins - AAA Frames - Foto
Frame - with this setting - click
OK.
Effects - plug-ins - Caroline and
Sensibility - CS-LDots - with this setting -
click OK.
14.
Image - add borders 3 pixels - symmetric -
background color.
Image - add borders 3 pixels - symmetric - foreground color.
Image - add borders 3 pixels - symmetric - background color.
Image - resize 85% - all layers checked.
15.
Edit - copy.
Open Animation Shop - paste as a new animation.
Edit - selection duplicate.
Edit - select all.
16.
Open animation Eglitter - Edit - select all.
Edit - copy.
Edit - paste in selected frame.
Do this as often you like and put this on the carnavalbling - see example.
17.
File - save as - give name - click 3 times at next and than at finish.