
This
Tutorial is copyrighted to the Tutorial Writer, © Emmy Kruyswijk 2009.
This Tutorial
may
not be forwarded, shared or otherwise placed on any Web Site or group without written
permission from
Emmy Kruyswijk
Do you want to link my lessons?
Please send
me a mail.
Materials:
Download
here
1
Disney tube,
1 mask, 1 preset shape of Gerda, 4 tubes,
font Cooper Black.
filters: Alien Skin Eye Candy -
Texture, Xero - Porcelain.
Download here
Put the plug-ins in the folder plug-ins, the mask in the
folder mask and the preset shape in the folder preset shapes.
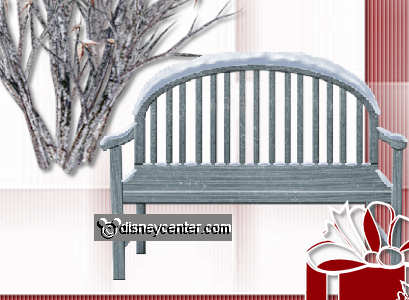
Minnie Christmas.

foreground color #930306 and background
color #ffffff
1. Open new image 650x650.
2. Fill this with the foreground color.
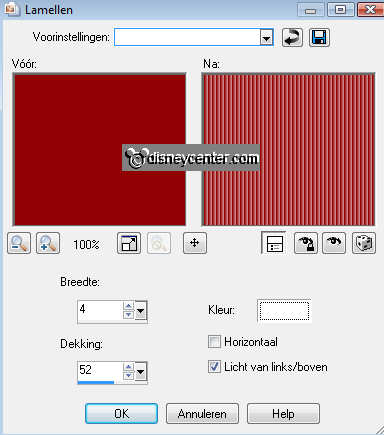
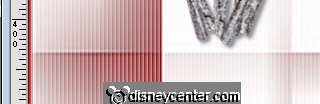
3. Effects - texture effects - texture - blinds.
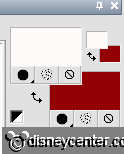
4. New raster layer - fill this with the background color.
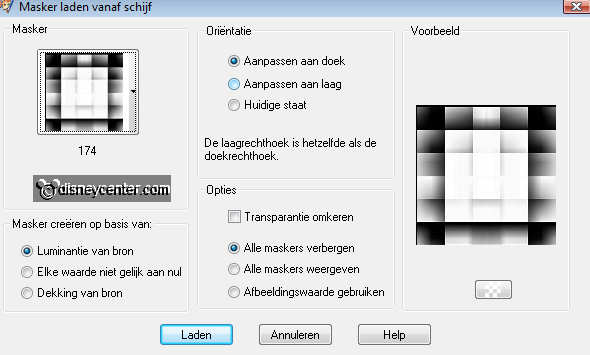
5. Layers - Load/Save Mask - Load Mask from Disk and find mask 174 - with
this setting.
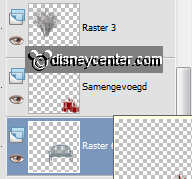
6. Layers - merge - merge group.
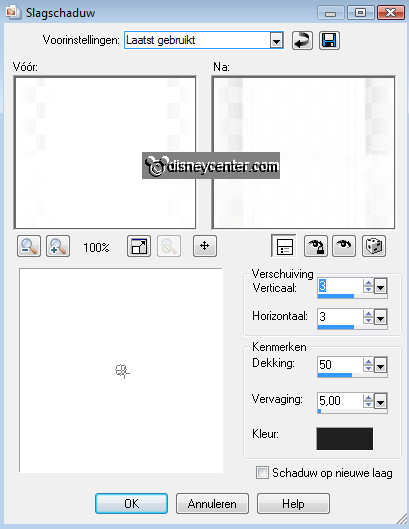
7. Effects - 3D Effects - drop shadow.
8. Go to Preset Shape Tool en find Gerdaxmas11.
9. Change the colors - white is foreground now.
10. Draw a gift pack about 140x165.
11. Give the same drop shadow as in point 7.
12. Place this right at the bottom.
13. Duplicate this layer - image - resize format 75%. All layers not checked.
14. Duplicate one more time -image - resize format 50%. All layers not checked.
15. Place it as shown below.

16. Lock all layers, except the 3 layers with the gift pack.
17. Stay at 1 of these layers - Layers - merge - merge all visible.
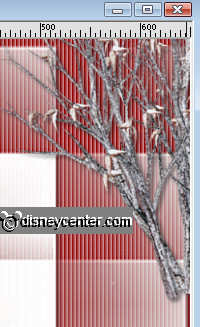
18. Copy the tube ele15 and paste as a new layer.
19. Give the same drop shadow as in point 7.
20. Place this at the top left.
The bottom of the tree is about 420 pixels of the top.
21. Duplicate this layer and place this at the top right.
22. Give the same drop shadow as in point 7.
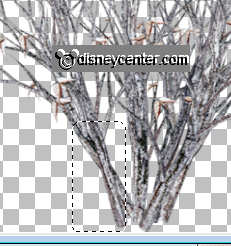
23. Go to selection tool - selection - rectangle.
24. Take the tube ele15 and make a rectangle from the bottom. see below.
25. Copy and paste as a new image.
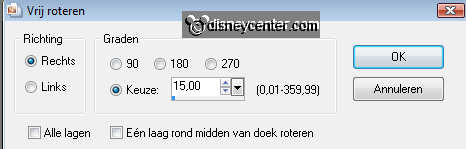
26. Image - free rotate - right 15.
27. Place this at the bottom of the tree.
28. Copy the tube ele7 and paste as a new layer.
29. Give the same drop shadow as in point 7.
30. Place this near the tree at the right side.
31. Layers - arrange - move down 3 times. So he is under the gift pack layer.
32. Copy the tube Sneeuwpop_MPD and paste as a new layer.
33. Give the same drop shadow as in point 7.
34. Place them on the bench.
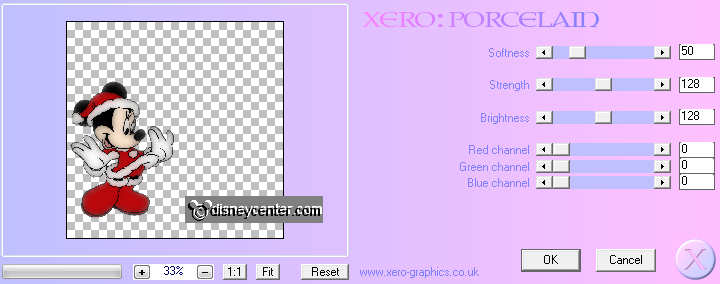
35. Copy the tube Christmas_MinnieMouse025 and paste as a new layer.
36. Place this at the left side. About 60 pixels from the bottom.
37. Effects - Xero - Porcelain - with this setting.
38. Give the same drop shadow as in point 7.
39. Go to text tool - font Cooper Black - size 72 - foreground color white.

40. And wite Christmas. Place this at the bottom left. Write Merry and place
this at the top left.
41. Give the same drop shadow as in point 7.
42. Copy the tube kerstbal and paste as a new layer.
43. Give the same drop shadow as in point 7.
44. Place this at the right side in the tree.
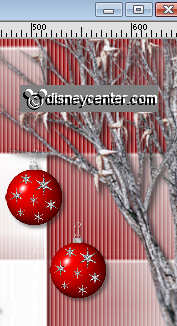
45. Duplicate this layer and place it next to the other ball and a little down.
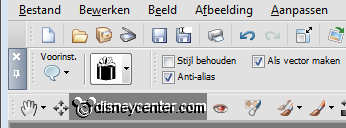
46. Go to pen tool - width 2,00 anti alias checked - draw lines and polylines.
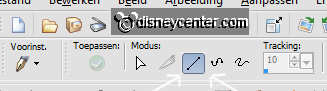
47. Foreground color at #b9b9b9 and draw a line from the Christmas ball
to the branch. Only by the last Christmas ball.
48. Layers- Convert to raster layer.
49.
Give the same drop shadow as in point 7.
50. Image - resize 75%.
51. Layers - merge - merge all.
52. Put your watermark into the image.
Ready is the tag
I hope you like this tutorial.
greetings Emmy,

Tutorial written 28-11-200
