1.
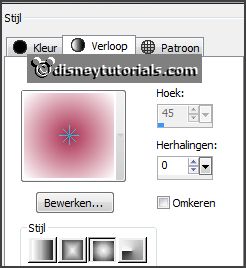
Set in the material palette the foreground
color at #aa2c4e and the background color
at
white.
Make from the foreground a gradient sunburst -
with this setting.
2.
Open the template Halloween.
Shift + D close the original template.
Delete the top layer (copyright).
Lock all layers.
3.
Activate the bottom layer.
Layers - new raster layer.
Activate flood fill tool - fill the layer with the gradient.
Layers - arrange - move down.
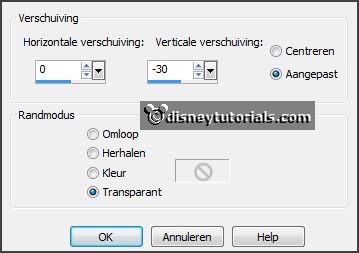
4.
Activate the tube DBV_HMFrame (3) - edit - copy.
Edit - paste as a new layer on the image.
Effects - Image effects - seamless tiling - default setting.
Adjust - blur - Gaussian blur - radius 35.
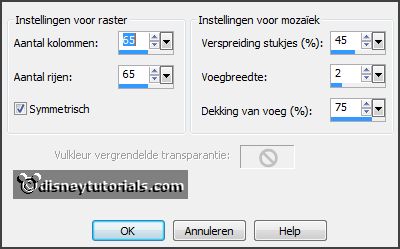
Effects - Texture effects - Texture - Mosaic Antique - with this setting.
Effects - Edge effects - enhance.
5.
Layers - new raster layer.
Set the foreground back to color.
Fill the layer with the foreground color.
Selections - select all.
Selections - modify - contract 5 pixels -click at the delete key.
Selections - select none.
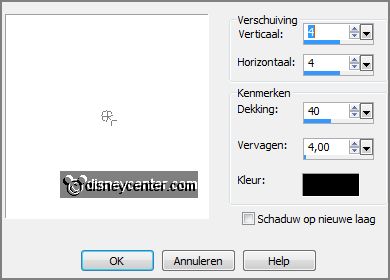
Effects - 3D Effects - drop shadow - with this
setting.
6.
Open van de template zw.lijnen.
Open and activate raster 1.
Layers - duplicate.
Fill the layer with the foreground color.
Layers - arrange - move down.
7.
Activate raster 1.
Selections - select all.
Selections - float - selections - defloat.
Selections - modify - contract 7 pixels - click at the delete key.
Selections - select none.
Layers - merge - merge down - and 1 more time.
Effects - 3D Effects - drop shadow - setting
is right.
8.
Delete paarse rand1 from the template.
Open from the template zw.lijnen 2 and 3.
Open and activate afg.rechthoek paars.
Fill the layer with the foreground color.
9.
Open and activate afg.rechthoek paars1.
Fill the layer with the foreground color.
Layers - merge - merge down - and 2 more time.
Effects - 3D Effects - drop shadow - setting
is right.
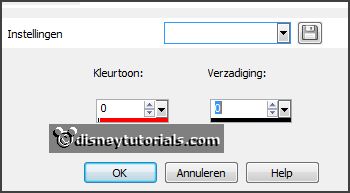
10.
Open and activate afg.rechthoek paars groot.
Adjust - Hue and saturation - colorize - with
this setting.
11.
Open and activate raster 3.
Change the background color in black and set the foreground to gradient -
setting is right.
Fill the layer with the gradient.
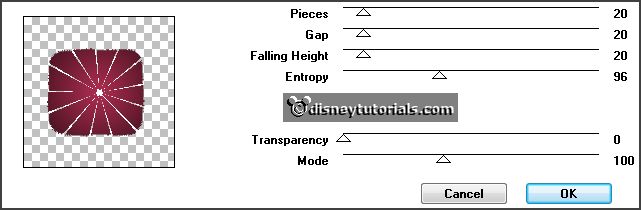
Effects - plug-ins - VM Distortion - Broken Mirror -
with this setting - click OK.
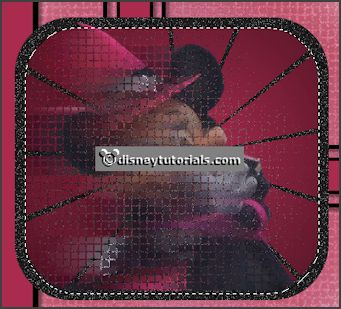
12.
Set the opacity to 55.
Activate selection tool - rounded rectangle -
make a selection -
as below.
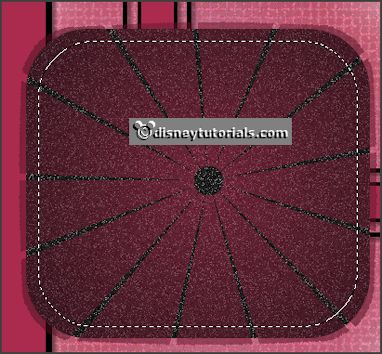
Selections - invert - click at the delete key.
Selections - select none.
Set the opacity back top 100.
Layers - merge - merge down.
Effects - 3D Effects - drop shadow - setting
is right.
13.
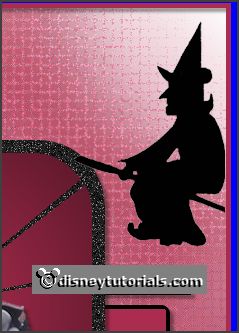
Activate the tube minniehalw - edit - copy.
Edit - paste as a new layer on the image.
Make a selection -
as below - click at the delete key. (piece
of the dress).

Selections - select none.
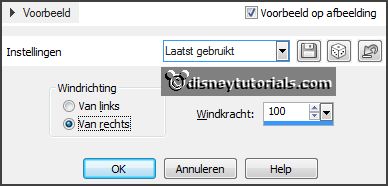
14.
Layers - duplicate.
Effects - Distortion effects - Wind - with
this setting.
Activate selection tool - rounded rectangle - make a selection -
as below.
Selections - invert - click at the delete key.
Selections - select none.
Layers - arrange - move down.
15.
Activate selection tool - rectangle - make a selection - as below
- click at the delete key.
Selections - select none.
Activate raster 1. (tube layer)
Effects - 3D Effects - drop shadow - setting
is right.
16.
Open and activate raster2.
Selections - select all.
Selections - float - selections - defloat.
Layer - new raster layer.
Fill the selection with the background color.
Delete raster2.
17.
Open and activate raster 3.
Set the foreground back to color.
Fill the layer with the foreground color.
Layers - merge - merge down.
18.
Open and activate the layer web.
Effects - 3D Effects - drop shadow - setting
is right.
Layers - merge - merge down.
Effects - Image effects - offset - with this
setting.
Effects - 3D Effects - drop shadow - setting
is right.
19.
Activate the tube DBV_HMelelent (30) - edit -
copy.
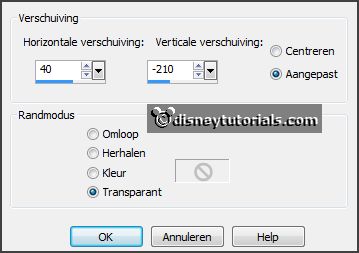
Edit - paste as a new layer on the image.
Effects - Image effects - offset -
with this setting.
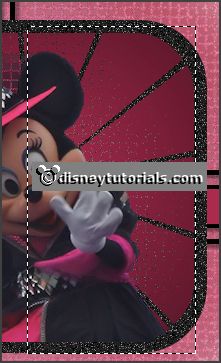
20.
Layers - duplicate.
Image - resize 75% - all layers not checked.
Activate move tool - put this left near the other - see example.
21.
Turn in the material palette the colors.
Open and activate the layer text.
Activate change to target tool - size 15.
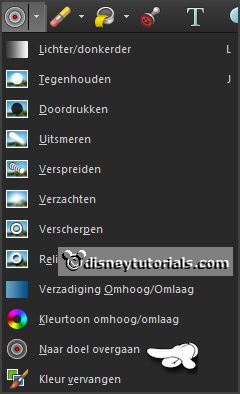
Go over the text till this is black.
22.
If you don't want the animation - open and activate the layer witch.
Effects - 3D Effects - drop shadow - setting is right.
Layers - new raster layer - put your watermark
into the image.
Layers - merge - merge all layers.
File - export - JPEG Optimizer.
Apply Animation
23.
If you want to make the animation - go further with - Layers - new raster layer -
put your watermark into the image.
Layers - merge - merge all layers.
Edit - copy.
24.
Open Animation Shop - paste as a new animation.
Edit - duplicate selected.
Edit - duplicate selected.
Edit - duplicate selected.
Edit - duplicate selected.
Select the last frame - Edit - duplicate
selected.
25.
You must have now 10 frames.
Edit - select all.
Open the animation Emmywitch - edit - select all.
Edit - copy.
Edit - paste in selected frame.
Place this right at the top - see below.
26.
Animation - Frame Properties - set this to 25 and change the last
frame to 100.
File - save as - give name - click 3 times at next and than at finish.