This Tutorial is copyrighted to the Tutorial Writer, © Emmy Kruyswijk 2009.
 This Tutorial may not be forwarded, shared or otherwise placed on any Web Site or group without written
permission from
Emmy Kruyswijk
Do you want to link my lessons?
Please send
me a mail.


Materials download here

Put the filter in the folder plug-ins.
EGframe, EGPapers1 and 6 are from Twinky. Clarey flower is from Clarey.

Mickey Minnie Green


1. Open new transparent image 800x800
2. Convert to raster layer.
3. Selections - Select All.
4. Copy EGPaper1 and paste in selection.
5. Copy framegroen and paste as a new layer.
6. Effects - Mura Meister - Copies.

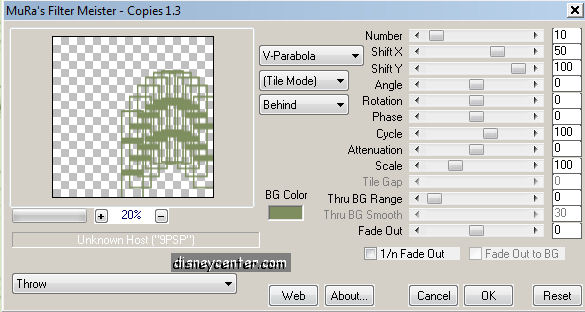
6a.Place this in the middle at the top.
7. Effects - 3D Effects - drop shadow vert. and horz.2, opacity 5, blur 5.0, color black.
8. Copy EGFrame and paste as a new layer.
9. Same drop shadow as in point 7.
10. Click in the middle of the frame.
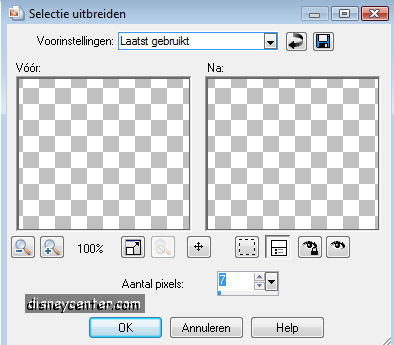
11. Selections- Modify - Expand 7.

12. Copy EDPaper5 and paste as a new layer.
13. Selections invert.
14. Click at the delete button of your keyboard.
15. Layers - Arrange - Move down.
16. Let selection stay.
17. Copy Mickey and paste as a new layer.
18. Click at the delete button.
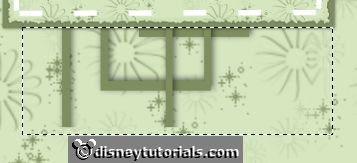
19a.Erase the rest of the Mura Meister layer - see below.


20. Lock the background and the layer of the Mura Meister.
21. Stay at one of the other layers.
22. Layers - Merge - Merge all visible.
23. Place this about 200 vertical. (see image)
24.
Same drop shadow as in point 7.
25. Unlock the 2 layers.
26. Copy framegroen and paste as a new layer.
27. Image - free rotate.

28. Place this about 550 vertical.
29. Copy the Clarey_berryblush and paste as a new layer.
30. Place this in the left square of the frame.
31. Duplicate this layer and place this in the right square of the frame.
32. Duplicate this layer again.
33. Image - Resize with 125% - all layers not checked.
34. Place this on the green flower of the Mickey frame.
35. Copy the hand and paste as a new layer in the middle square of the frame.
36. Copy Minnie and paste as a new layer.
37. Place this right.
38.
Same drop shadow as in point 7.
39. Put your watermark in the image.
40. Go to text tool and type your name.
41. I use the font type Bauhaus93, size 72.

42. Foreground  #7e8e5f and background #d6e6bf.
43. Layers - Merge - Merge all Flatten.
44. Image - Resize 75% and 1 more time.
45. Save as jpg.


Ready is the tag
I hope that you like this tutorial.
greetings Emmy,


Tutorial written 28-04-20