|

This
Tutorial is copyrighted to the Tutorial Writer, © Emmy Kruyswijk 2011.
This Tutorial
may
not be forwarded, shared or otherwise placed on any Web Site or group without written
permission from
Emmy Kruyswijk
Do you want to link my lessons?
Please send
me
a mail.
Material s

5 Disney tube, 1 misted tube, 1
wordart, Animatie Shop.
filters: Xero -Porcelain, FM Tile Tools - Blend Emboss,
Pixelate - Crystallize, VM Toolbox -
Brightness Noise.
Download
here
Before you begins.......
Filters : Install first your plug-ins before you open PSP and put
them in the folder plug-ins.
Open your tubes in PSP
Open your font and minimize.
This lesson is translated in
 by
Hélène by
Hélène
The Music is playing

foreground color# e3b99c and background color # ca753b.
1.
Open new transparent image 650x650.
Fill with black.
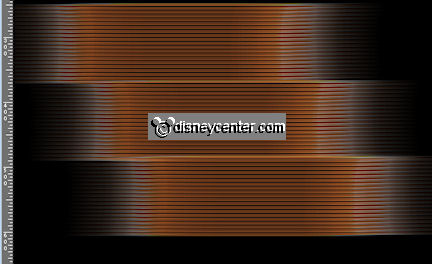
Open template Glamour
Copy Strepen and paste as new layer.
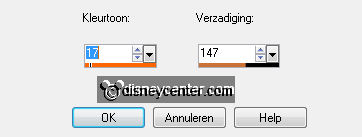
2.
Adjust - hue and saturation - colorize with these settings.
Place it in the middle - at the left side.
Duplicate this layer 2 times and place them diagonally among
themselves.
3.
Copy Ringen and paste as new layer.
Colorize - the same as in step 2.
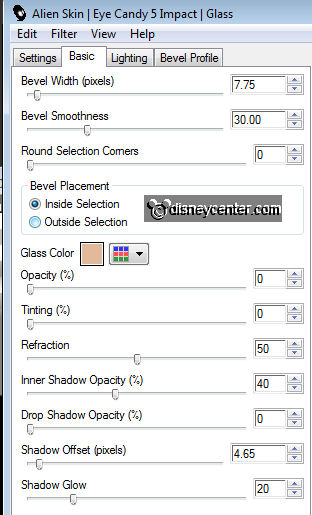
Effects - Alien Skin Eye Candy 5 - Impact - Glass - with this
setting.
4.
Place this half to the top stripes on the left. see example.
Duplicate this layer and place it on the bottom stripes on the
right.
Copy Donald-boys01PS_RmA and paste as new layer.
Effects - Alien Skin Eye Candy 5 - Impact - Glass - the same
setting as Section 4.
5.
Place this on the two rings - see example.
Effects - 3D Effects - Drop Shadow with these settings.
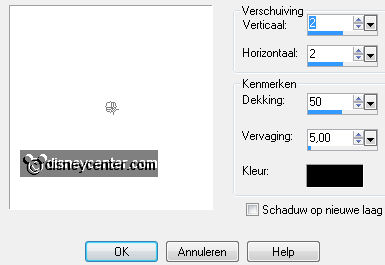
6.
Copy Rechthoek1 and paste as new IMAGE.
Select the black area - fill with the foreground color.
Copy and paste as new layer - place it 40 pixels from the top
and about 220 pixels from the left.
7.
Effects - Filters Unlimited 2.0 - Paper Textures - Japanese
Paper - default.
Effects - Alien Skin Eye Candy 5 - Impact - Glass - the same
setting as Section 4.
Duplicate this layer 2 times and place them diagonally among
themselves. see example.
8.
Copy Music1 and paste as new layer.
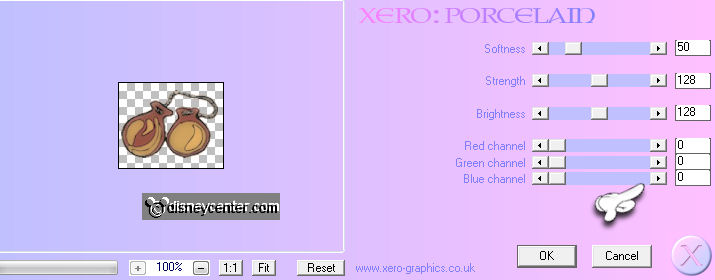
Place it on the top rectangle - Effects - Xero - Porcelain -
with this setting.
Give the same drop shadow as in step 5.
Layers - merge - merge down.
9.
Copy Music2 and paste as new layer.
Place them onthe upper rectangle - Effects - Xero - Porcelain -
with the same setting as Section 8.
Give the same drop shadow as in step 5.
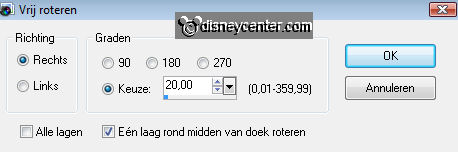
Image - free rotate - right 20.
Layers - merge - merge down.
10.
Copy Music3 and paste as new layer.
Place it on the top rectangle - Effects - Xero - Porcelain -
with the same setting as Section 8.
Give the same drop shadow as in step 5.
Layers - merge - merge down.
11.
Go to text tool - Font Lushus - size 72 - Change Colors.

And writing - Music - convert to raster.
Give the same drop shadow as in step 5.
Place the top right.
Write - Is - convert to raster. Give the same drop shadow
as in step 5.
Put it under the IC. (Of Music) see example.
12.
Again text tool - and write - Playing - convert to
raster.
Give the same drop shadow as in step 5.
Place the bottom left.
13.
New layer - put your watermark in the image.
Selections - select all - selections - modify - contract 10.
Selections - Invert - fill it with # ca753b. (Now in the
foreground)
14.
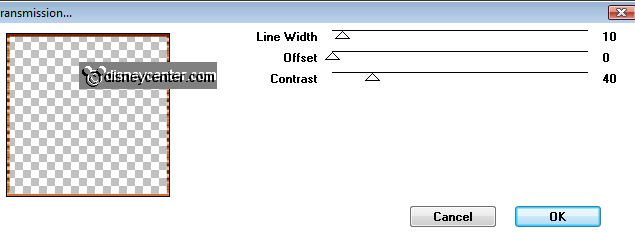
Effects - VM Extravaganza - Transmission - with this
setting.
Effects - Edge Effects - Enhance.
Selections - Select none.
Layers - Merge - Merge all layers.
Image - resize 75% - all layers checked.
File - Export - JPEG. optimization.
Ready is the tag
I hope you like this tutorial.
greetings Emmy,

Tutorial written
11-03-2011
| 