
This
Tutorial is copyrighted to the Tutorial Writer, © Emmy Kruyswijk 2009.
This Tutorial
may
not be forwarded, shared or otherwise placed on any Web Site or group without written
permission from
Emmy Kruyswijk
Do you want to link my lessons?
Please send
me a mail.
Materials:
download here
1
Disney
tube,
1 masker, Scrap kit of Fantasy Moments
here. Animation shop
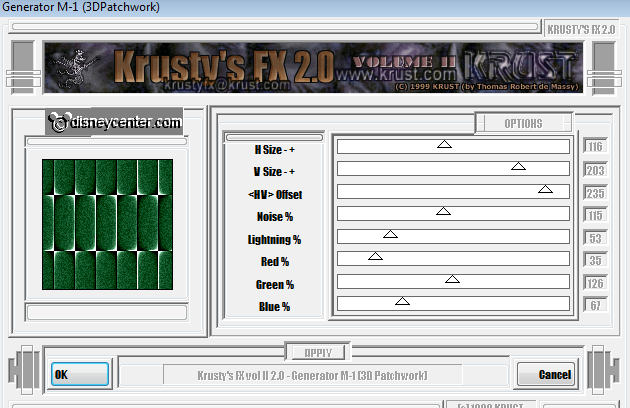
filter: Krusty's FX
2.0 - Generator M-1 Patchwork
,
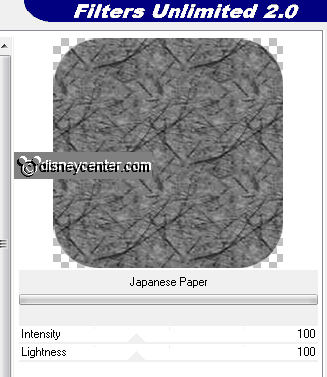
Filters
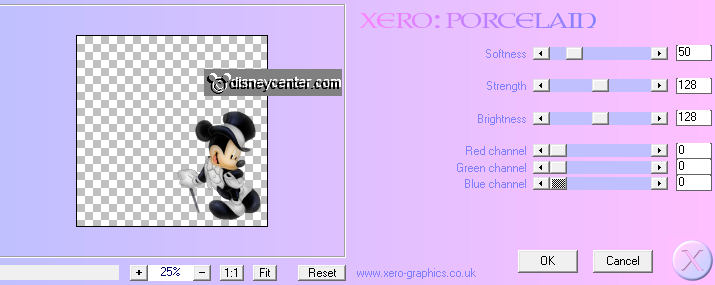
Unlimited 2.0 - Paper Textures - Japanese Paper, Xero -
Porcelain.
Download here
Put the plug-ins in the folder plug-ins and the mask in the
folder mask.
New Year.
Foreground color #e1e1e1 and
background color #777777
1. Open new image 760x760.
2. Fill this
with the foreground color.
3. New raster
layer - fill this with the background color.
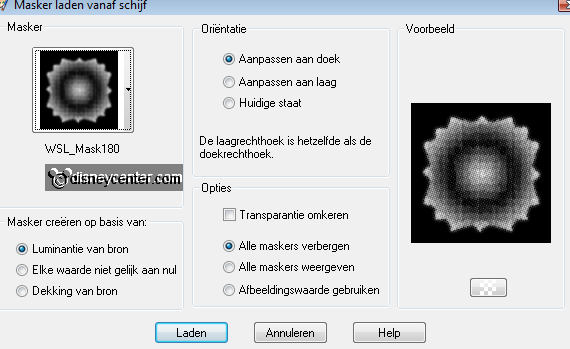
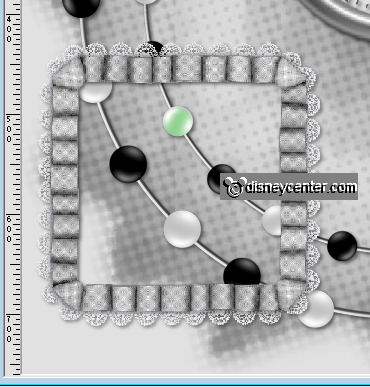
4. Layers -
Load/Save Mask - Load Mask from Disk.
5. Look for
WSL_Mask 180 with this setting.
6. Layers -
merge - merge group. Image - Resize 115%.
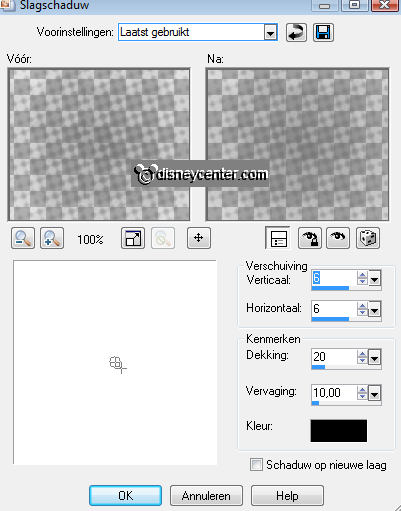
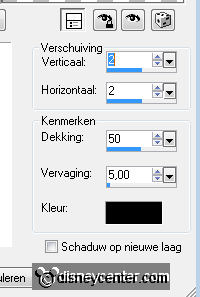
7. Effects -
3D Effects - drop shadow with this setting.
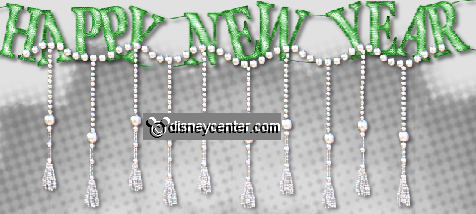
8. Copy thee
tube FM-Happy New Year Element-20 and paste as a new layer.
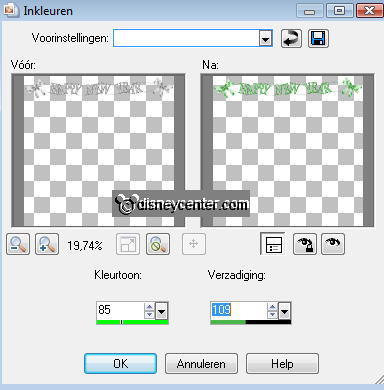
9. Adjust -
Hue and Saturation - colorize.
10. Effects -
3D Effects - drop shadow with this setting.
11. Place this
to the top.
12. Copy the
tube FM-Happy New Year Element-27 and paste as a new layer.
13. Give the
same drop shadow as in point 10.
14.
Place it in the middle
just on the bottom of Happy New Year.
15. Copy the
tube FM-Happy New Year Element-49 and paste as a new layer.
16. Give the
same drop shadow as in point 10.
17. Place this
at the right side of HNY-Element 27.
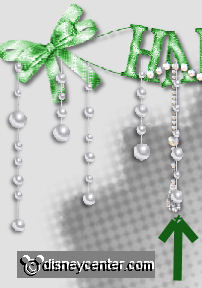
18. Duplicate
this layer and place this at the left side. see image below.
19. Where the
arrow is pointing, take it away with the eraser.
20. Lock all
layers, except the top 3 layers.
21. Layers -
merge - merge all visible.
22. Layers -
arrange - move down.
23. Copy the
tube FM-Happy New Year Element-45 and paste as a new layer.
24. Give the
same drop shadow as in point 10.
25. Place this
under the merge layer.
26
.
Copy the
tube FM-Happy New Year-Element-2 and paste as a new layer.
27. Place this
in the middle 180 pixels of the top.
28. Give the
same drop shadow as in point 10.
29. Layers -
arrange - move down - under the merge layer.
30. Go to
selection tool - selection - circle and draw a circle at the clock.
31. New raster
layer - fill this with the foreground color.
32. Layers -
arrange - move down.
33. Selections
- select none. Make the top layer active.
34. Copy the
tube FM-Happy New Year-Element-63 and paste as a new layer.
35. Place this
at the left side below. see below.
36
. Give
the same drop shadow as in point 10.
37. Go to
selection tool - selection - rounded rectangle - and draw a rounded
rectangle at the HNY Element-63.
38. New raster
layer - fill this with the background color.
39. Layers -
arrange - move down.
40. Let
selection stay. Effects - Filters Unlimited 2.0 - Paper Textures -
Japanese Paper.
41. Selections
- select none.
42. Copy the
tube FM-Happy New Year-Element-16 and paste as a new layer.
43. Place this in HNY-Element-63
at the left side on the border.
44. Give the
same drop shadow as in point 10.
45. Copy the
tube FM-Happy New Year-Element-36 and paste as a new layer.
46. Place
this in HNY-Element-63 at the right side on the border.
47. Give the
same drop shadow as in point 10.
48. Copy the
tube FM-Happy New Year-Element-15 and paste as a new layer.
49. Place this on
the HNY-Element-63 on the left top of the border.
50. Give the
same drop shadow as in point 10.
51. Copy the
Mickeymcp and paste as a new layer.
52. Place this
right at the bottom.
53. Effects -
Xero - Porcelain - with this setting.
54. Give the
same drop shadow as in point 10.
55. Layers -
merge - merge all layers.
56
.
Image
- resize 75% - and one more time.
57. Put your watermark into
the image.
58. Image -
add border 5 - background color.
59. Select the
border - fill this with the pattern silver.
60. Effects -
3D Effects - Inner Bevel with this setting.

61. Image -
add border 10 - background color.
62. Select the
border - Effects - Filters Unlimited 2.0 - Paper Textures -
Japanese Paper as point 44.
63. Image -
add border 5 - background color.
64. Select the
border - fill this with the pattern silver.
65. Give the
same Inner Bevel as in point 64.
66.
Image - add border 20 - background color.
67. Select the
border - Effects - Krusty's FX 2.0 - Generator M-1 Patchwork - with
this setting.
68. Image -
add border 5 - background color.
69. Select the
border - fill this with the pattern silver.
70. Give the
same Inner Bevel as in point 64.
71. Edit-
Copy
72. Open animation
shop
73. Paste as a
new animation.
74. Edit -
duplicate selected - edit - select all - edit -
duplicate selected.
75. Open
the animation bubbelswit.
76. Edit -
select all - Edit - Copy.
77
. Select
the big image - Edit - select all.
78. Click in
the first glass - paste into selected frame - click in the second
glass
- paste into selected frame.
79. File -
give a name - click 3 times at next and than at finish.
Ready is the tag
I hope you like this tutorial.
greetings Emmy,

Tutorial written
11-11-2009
