
This
Tutorial is copyrighted to the Tutorial Writer, © Emmy Kruyswijk 2009.
This Tutorial
may
not be forwarded, shared or otherwise placed on any Web Site or group without written
permission from
Emmy Kruyswijk
Do you want to link my lessons?
Please send
me a mail.
Materials:
Download
here
1
Disney
tube,
3 tubes from
Fantasy Moments
filter:
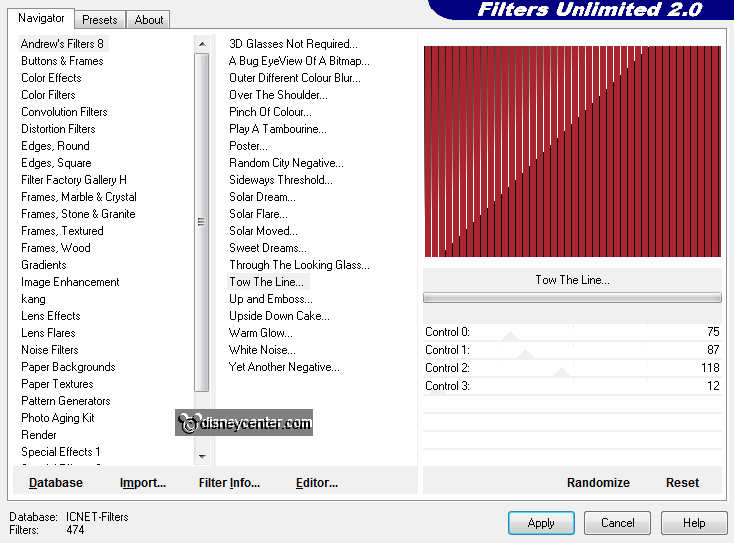
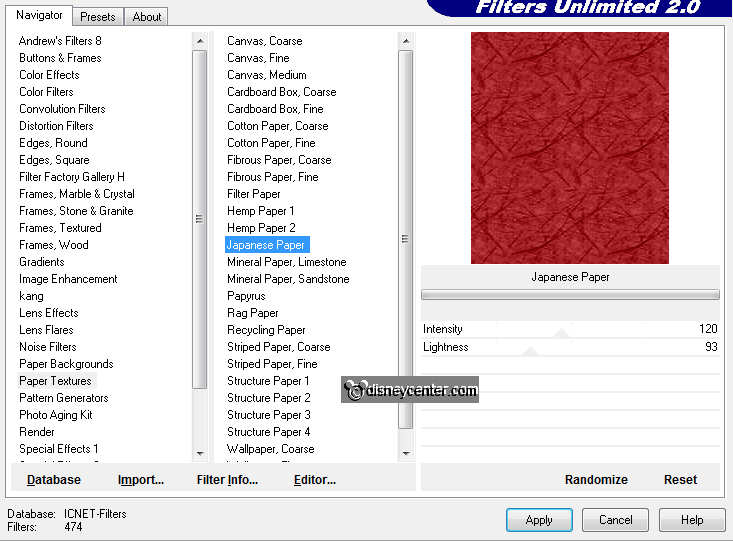
Filters Unlimited - Andrew's Filters 8 - Tow the Line,
Unlimited Filters - Paper Textures - Japanese Paper.
Download
here
Put the plug-ins in the folder plug-ins and the mask in the
folder mask. Also the preset shape in the folder preset shapes.
New Year Mickey and Minnie
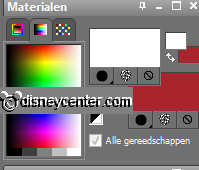
Foreground
color #a8262e
1. Open new image 700x500.
2. Fill this
with the foreground color.
3. Effects -
Filters Unlimited - Andrew's Filters 8 - Tow the Line.
4. Duplicate this layer - Image - mirror.
5. Set the
opacity of this layer to 50.
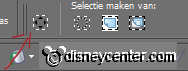
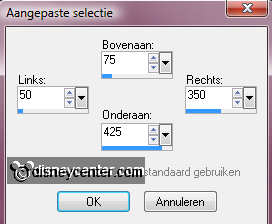
6. Go to
selection tool - selections - custom selection.
7. With this setting.
8. New raster layer - fill this with the foreground color.
9. Effects -
Unlimited Filters - Paper Textures - Japanese Paper with this
setting.
10. Selections - select none.
11. Effects -
3D Effects - drop shadow with this setting.
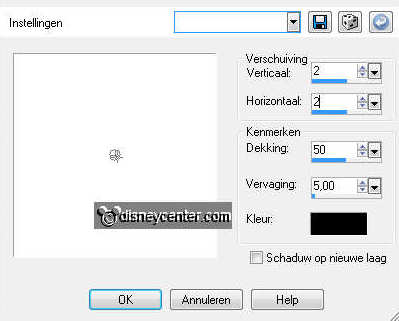
12. Repeat the
drop shadow, but now horz. and vert. at -2
13. Duplicate
this layer - Image - mirror.
14. Close this
layer. We are going with that later.
15. Copy the
tube FM-Happy New Year Element-2 and paste as a new layer.
15a. Place
this in the middle of the red square.
16. Give the
same drop shadow as in point 11.
17. Copy the
tube klok 2 and paste as a new layer.
18. Place this
exactly on the other clock. (This can best be done by zooming in
here.)
It must be right, otherwise you see the animation, it moves the
clock.
19. opy the
tube FM-Happy New Year Element-15 and paste as a new layer.
20. Place at
the top left of the red square.
21. Give the
same drop shadow as in point 11.
22. Copy the
tube Newyearminnie and paste as a new layer. Image - mirror.
23. Place this
at the right side of the image.
24. Give the
same drop shadow as in point 11.
25. Open the
copy of raster 2.
26. And lock
the raster 2, 3, 4, 5, 6,
27. Copy the
tube Newyearminnie one more time and paste as a new layer.
28. Place this
now at the left side of the image.
29. Give the
same drop shadow as in point 11.
30. Copy the
tube Newyearmickey and paste as a new layer.
31. Place this
below in the middle of the red square.
32. Give the
same drop shadow as in point 11.
33. Set the
foreground color at white and the background at #a8262e.
34. Go to text tool - font Franklin Gothic Hea - size 36 - stroke
width 1.0

35. And write Happy New Year.
36. Give the
same drop shadow as in point 11.
37. Copy the
tube FM-Happy New Year Element-15 one more time and paste as a new
layer.
38. Place this
right below at the red square.
39. Give the
same drop shadow as in point 11.
40. Selections
- select all.
41. Selections
- modify - contract 10.
42. Selections
- invert - new raster layer.
43. Fill this
with the background color #a8262e.
44. Repeat the
effects of point 9.
45. Give the
same drop shadow as in point 11 and 12.
46. Put your
watermark into the image.
47. Lock the
layers 10, 9, 8, 7, 5 and copy of raster2.
48. Than are
open raster 1, copy of raster1, 2, 3, 4, 6, 11 and 12.
49. Edit -
copy - copy merged.
50. Open
animation shop.
51. Paste as a
new animation.
52. Back in
PSP - lock raster 4 and open raster 5.
53. Edit -
copy - copy merged.
54. Back in
animation shop - paste after current frame. Make sure the last frame
is selected.
55. Back in
PSP - Lock raster 2, 3, 5, 6 and open raster copy of raster2, 7, 8,
9, 10.
56. Edit -
copy - copy merged.
57. Back in
animation shop - paste after current frame.
58. Select
frame 1 and 2.
59. Animation
- Frame properties at 125.
60. Set the
frame properties to 200 for the third frame.
61. Animation
- Resize animation 85%.
62. File -
save as - give name - click 3 times at next and than at finish.
Ready is the tag
I hope you like this tutorial.
greetings Emmy,

Tutorial written
14-11-2009
