|

This
Tutorial is copyrighted to the Tutorial Writer, © Emmy Kruyswijk 25-11-2012.
This Tutorial
may
not be forwarded, shared or otherwise placed on any Web Site or group without written
permission from
Emmy Kruyswijk
At all Disney creations must be copyrighted.
Do you want to link my lessons?
Please send
me a mail.
Needing:
6 tubes, 1 silver pattern and 1 animation - made by me.
1
tube - unknown.
Before you begins.......
Open the tubes in PSP,
Put the plug-ins in the folder plug-ins and the
pattern in the folder pattern.
Plug-ins:
dsb flux - Linear Transmission,
I.C.NET Software - Filter Unlimited 2.0 -
Paper Textures - Canvas Fine,
FM Tile Tools - Blend Emboss,
Ulead Gif X 2.0, - download
here.
The Ulead Gif X 2.0
works properly not in PSP 13,14 and 15. Look than for another firework
animation.
Material

Happy New Year
1.
File – open new
transparent image 750x550.
Put in the material palette the foreground
on
#7f5f0c
and
the background on
#c4bfb2.
2.
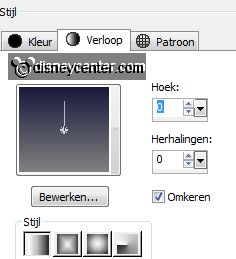
Make of the foreground a gradient sunburst - with this setting.
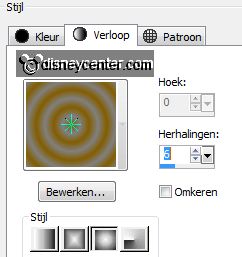
Activate flood fill tool - fill the layer with the
gradient.
3 .
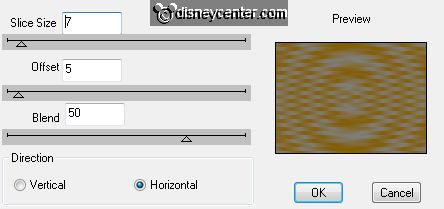
Effects - plug-ins - dsb flux - Linear Transmission -
with this setting - click OK.
Effects - plug-ins - FM Tile Tools - Blend Emboss
- default setting.
Selections - select none.
4.
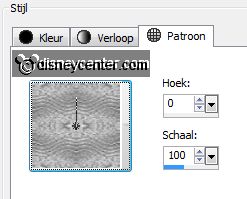
Put in the material palette the foreground to pattern zilverEmmy -
with this setting.
Layers - new raster layer.
Fill the selection
with the pattern.
Selections - modify - contract 5 pixels - click at the delete key.
Selections - select none.
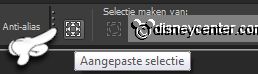
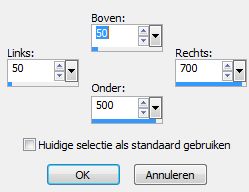
5.
Activate selection tool - custom selection -
with this setting.
Layers - new raster layer.
Fill the selection with the background color.
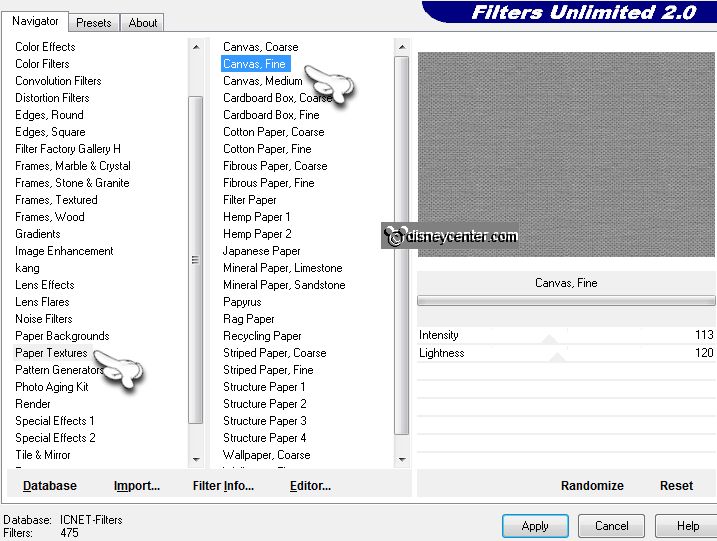
6.
Effects - plug-ins - ICNET-Software - Filters Unlimited 2.0 - Paper Textures -
Canvas Fine - with this setting - click
Apply.
Selections - select none.
Effects - 3D Effects - drop shadow - with
this setting.
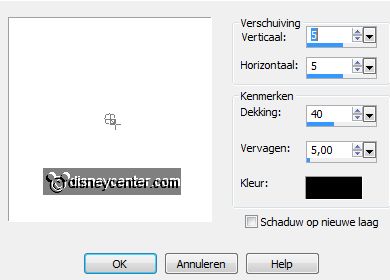
Repeat the drop shadow - now with vert. and horz.
at -5.
7.
Activate the tube venster - edit - copy.
Edit - paste as a new layer on the image.
Effects - Image effects - offset -
with this setting.

8.
Activate the magic wand - with setting below - select the 4 squares of the
window.

Stay at raster 2 -
click at the delete key.
Stay at raster 1 - click at the delete key.
Selections - select none.
9.
Layers - new raster layer.
Layers - arrange - move down.
Put in the material palette the foreground to #19193b and the background at
#808080 - make a gradient linear -
with this setting.
Fill the layer with this gradient.
10.
Layers - duplicate.
Make the bottom layer active.
Effects - plug-ins - Ulead Gif X 2.0 -
with this setting.
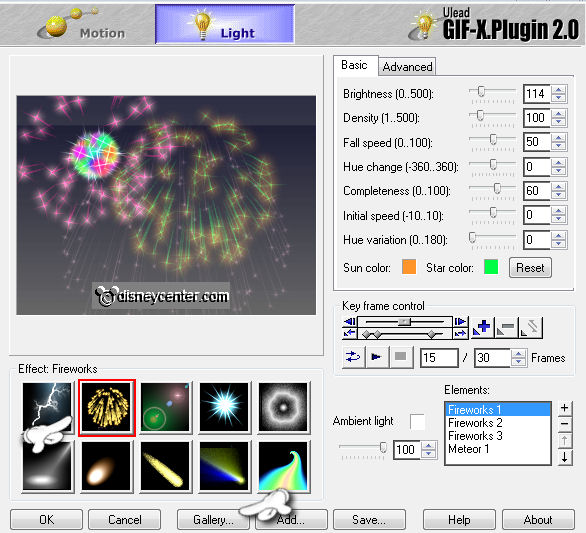
11.
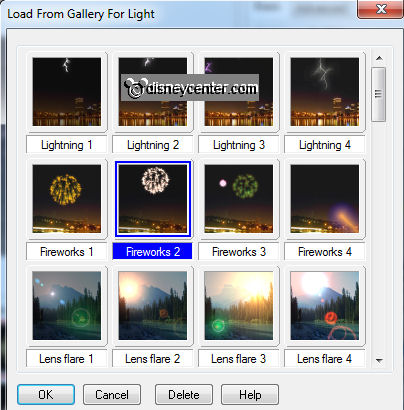
Click at Light - Fireworks - click at Gallery - click OK.
Click at Fireworks 2 - click OK.
12.
Activate the copy of raster 4.
Effects - plug-ins - Ulead Gif X 2.0 - click at Light - click at Gallery - click
at Fireworks 3 - with this setting - click OK.

Lock the copy layer.
13.
Activate the tube christmastree - edit - copy.
Edit - paste as a new layer on the image.
Effects - 3D Effects - drop shadow - setting is right - change the color in
white.
14.
Activate the top layer.
Effects - 3D Effects - drop shadow - setting is right - change the color in
black.
15.
Activate the tube raamlichtjes - edit - copy.
Edit - paste as a new layer on the image.
Effects - Image effects - offset - setting is right.
16.
Layers - duplicate.
Make the original tube layer active.
Adjust - brightness and contrast - brightness/contrast -
with this setting.
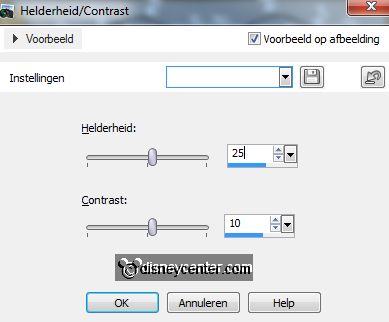
17.
Make the copy layer active and repeat brightness and contrast. Set now
brightness op
45 - contrast stats the same.
Lock the copy layer.
18.
Activate the tube lampionnen2013 - edit - copy.
Edit - paste as a new layer on the image.
Activate move tool - put the tube left at the top against the silver border -
see example.
Effects - 3D Effects - drop shadow - setting is right.
19.
Activate the tube knabbabclarice - edit - copy.
Edit - paste as a new layer on the image.
Effects - 3D Effects - drop shadow - setting is right.
Put the tube left at the bottom - see example.
20.
Activate the tube newyear - edit - copy.
Edit - paste as a new layer on the image.
Put the tube right at the bottom.
21.
Make the top layer active.
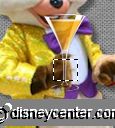
Activate the tube wijnglas - edit - copy.
Edit - paste as a new layer on the image.
Place the glass to Chip or Dale.
Erase this piece - see below.
Effects - 3D Effects - drop shadow - setting is right.
22.
Edit - copy (stays still in memory).
Edit - paste as a new layer on the image.
Erase also this piece.
Effects - 3D Effects - drop shadow - setting is right.
23.
Activate text tool - size 36 - choice of font - background color - lock the
foreground - and write Happy New Year.
Convert to raster layer.
Effects - 3D Effects - drop shadow - setting is right.
24.
Layers - new raster layer - put your watermark into the image.
Edit - copy merged.
25.
Open animation shop -edit - paste as a new animation.
Back to PSP - lock the raster 4 and 6 and open the copy of raster 4 and
6.
Edit - copy merged.
26.
In AS - paste after active frame.
Edit - select all.
27.
Open the animation Emmybubbels.
Edit - select all - edit - copy.
Edit - paste in selected frame.
Set the animation in the first glass.
28.
Edit - paste in selected frame.
Set the animation in the second glass.
Edit - paste in selected frame..
Set the animation in the third glass.
Edit - paste in selected frame.
Set the animation in the fourth glass.
Edit - paste in selected frame.
Set the animation in the fifth glass.
29.
Animation - Frame properties to 15.
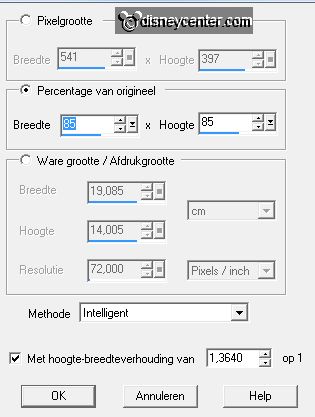
Animation - Resize format of animation -
with this setting.
30.
File - save as - give name - click 3 times at next and than at finish.
Ready is the tag
I hope you like this tutorial.
greetings Emmy
Tested by Nelly

tutorial written 25-11-2012
| 