
This
Tutorial is copyrighted to the Tutorial Writer, © Emmy Kruyswijk October 2011.
This Tutorial
may
not be forwarded, shared or otherwise placed on any Web Site or group without written
permission from
Emmy Kruyswijk
Do you want to link my lessons?
Please send
me a mail.
Materials:

2 tubes from reveries, 1 tube
unknown,1 tube from Tina 2
tube, 1 misted tube all made by me, Animatie Shop.
Filters: FM Tile Tools -
Blend Emboss, Filter Factory (Gallery) F - Guess What?.
download here.
Before you begins........
Plug-ins : Install first your plug-ins in PSP, before you open
PSP, put the plug-ins in the folder plug-ins.
Open the
tubes in PSP
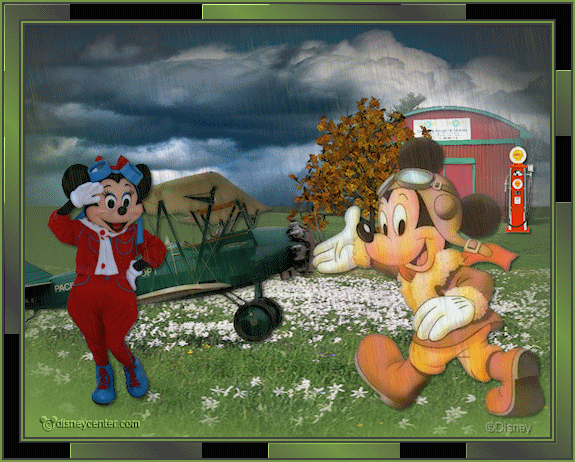
Pilot Training
Foreground color #779b48 and
background color #404040.
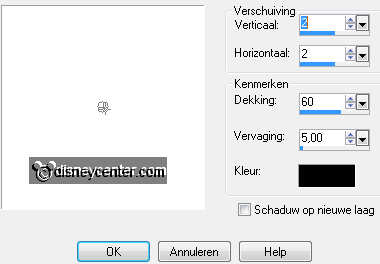
1.
Open new transparent image 700x550.
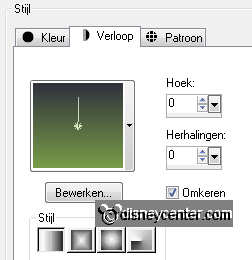
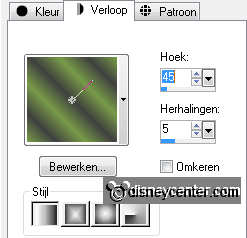
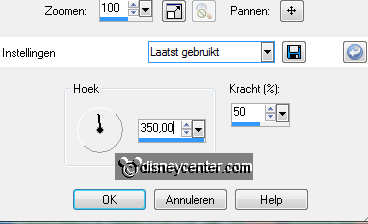
Fill this with gradient linear - with this setting.
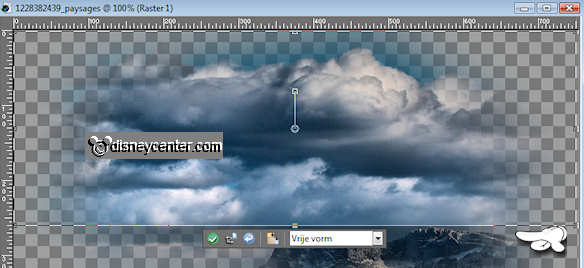
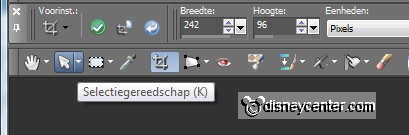
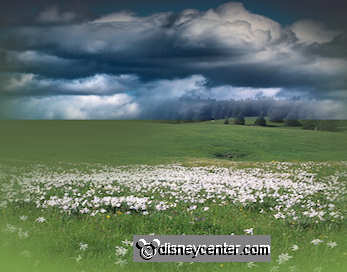
Open 1228382439_paysages (clouds) and go to crop tool.
Crop this as you see below. Click at the green v.
2.
Copy this and paste as a new layer on the image.
Place this at the top.
Go to move tool - click on the little triangle - pick.
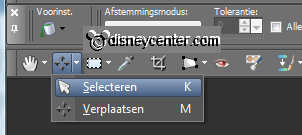
Move the clouds first to right - and pull to the left.
So it across the width of your graphic.
3.
Copy 1228382474_paysages (grass) and paste as a new layer on the
image.
Place this right at the bottom.
Go again to move tool - click on the little triangle - pick.
Pull the image to the left. So it must look
4.
Copy house and paste as a new layer on the image.
Image - resize 65% - all layers not checked.
Place this to the right side at 100 pixels from the top.
Copy tree and paste as a new layer on the image.
Place this for the house.
Effects - 3D Effects - drop shadow - with this setting.
5
Open gas pump - resize - 2 times 50% - all layers checked.
Copy this and paste as a new layer on the image.
Give the same drop shadow as in point 4.
Place this right for the house.
6.
Copy vliegtuig and paste as a new layer on the image.
Place this to the left side. see example.
Give the same drop shadow as in point 4.
7.
Copy minniepilote and paste as a new layer on the image.
Image - resize 65% - all layers not checked.
Place this to the left.
Give the same drop shadow as in point 4.
8.
Copy Tina-Disney45 and paste as a new layer on the image.
Image - mirror.
Image - resize 85% - all layers not checked.
Place this to the right.
9.
New raster later - put your watermark into the image.
Layers - merge - merge all.
Image - resize 75% - all layers checked.
Give the same drop shadow as in point 4.
10.
Image - add border 2 pixels symmetric - background color.
Image - add border 2 pixels symmetric - foreground color.
Image - add border 2 pixels symmetric - background color.
Image - add border 15 pixels symmetric - foreground color.
11.
Select the wide border with the magic wand - with this setting.

Fill this with gradient linear - with this setting.
Effects - Filter Factory Gallery F - Guess What? - with this
setting.

Effects - FM Tile Tools - Blend Emboss - default setting.
12.
Image - add border 2 pixels symmetric - background color.
Image - add border 2 pixels symmetric - foreground color.
Image - add border 2 pixels symmetric - background color.
13.
Selections - select all - selections - modify - contract 27.
New raster layer - duplicate this layer 2 times. (3 new layers
total)
Close the top 2 layers.
Go to airbrush - with this setting. He is bigger than your picture.

Set the foreground color at #404040.
Stay at the first new layer and click 1 time in the middle.
Close this layer and open layer 2.
Stay at the second layer and click then upwards in the middle
Close this layer and open layer 3.
Stay at the third layer and click something down in the middle.
14.
Open all layers. Make layer 1 active.
Adjust - blur - motion blur - with this setting.
Repeat motion blur for the 2 other layers. (setting stay the same).
Selections - select none.
15.
Make the background active - and close the 2 top layers,
Edit - copy merged.
Open Animation Shop - paste as a new animation.
Back in PSP.
Close raster 1 and open copy of raster1.
Edit - copy merged.
Back in AS - paste after active frame.
Back in PSP.
Close copy of raster 1 and open copy (2) of raster1.
Edit - copy merged.
Back in AS - paste after active frame. (make sure the last frame is
selected).
16.
File - save as - give name - click 3 times at next and than at finish.
Ready is the tag
I hope you like this tutorial.
greetings Emmy,
Tested by Bep

Tutorial written
22-10-2011
